Y’all!! Today is a day that I’ve been waiting on for quite a while now. As you know, we have been in the process of moving, and it has definitely been a process. We have moved a little at a time for about three weeks now. This weather has not been cooperating. Between what we have so lovingly referred to as the “snowpocalypse” and the pouring down rain and thunderstorms that we’ve had here in Louisiana, it’s been slow going.

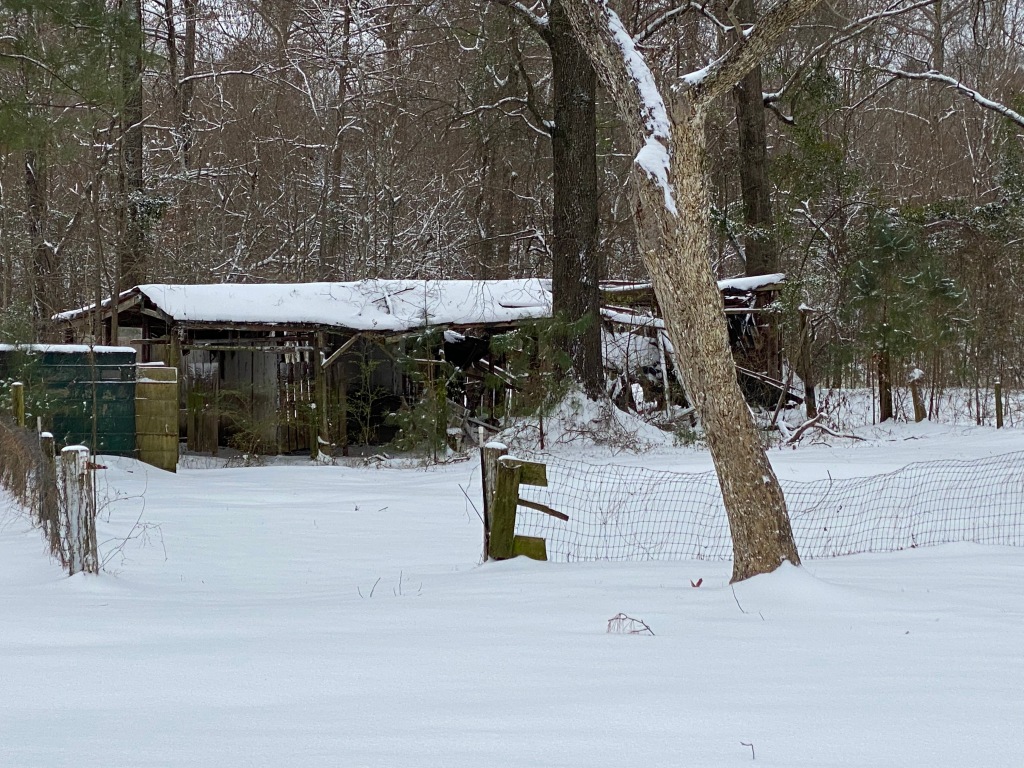
This much snow is a very, rare thing here. But, I am glad to say that just about 90% of the craft room has been moved and finally unpacked. I have been dreaming about this craft room for a long time now. I know most crafters are probably that way. You have things you’ve always said you would do if you ever got the dedicated space. Well, this has finally been my chance. Today as I stood there, I have to admit I was just a little bit overwelmed as to where to begin. LOL. But only for about a minute. Once I got over myself, I decided to dive in.


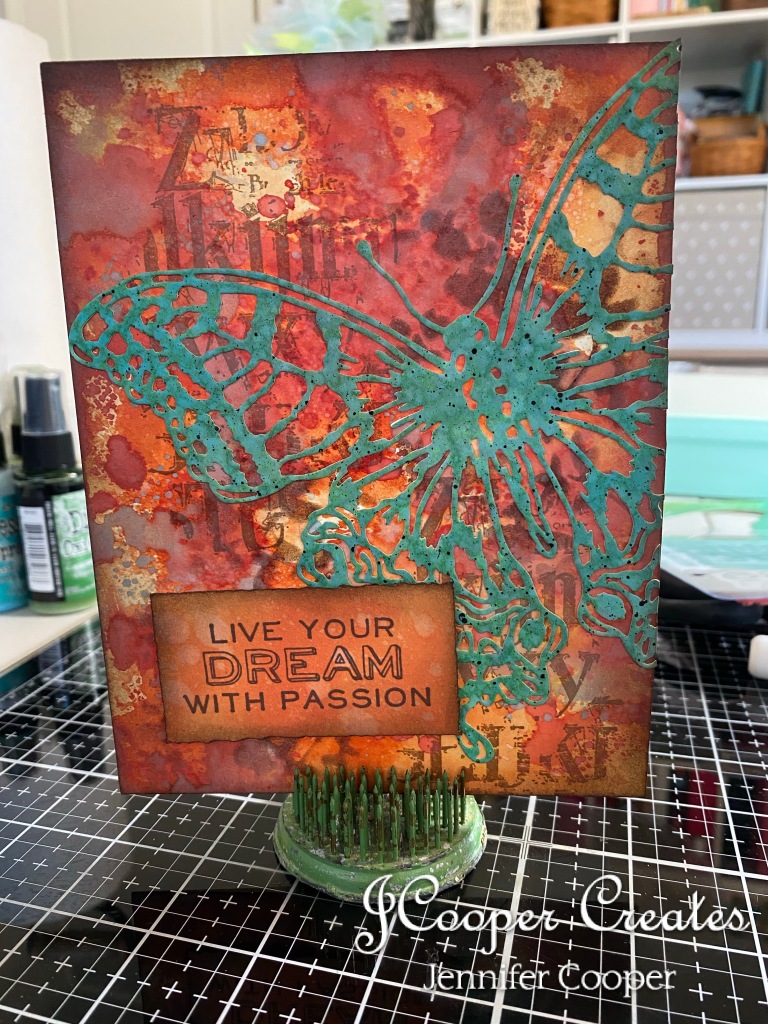
Todays make just seemed to really flow. I decided a while back, that I was gonna be taking off the wrappers on products and tools and finally make use of them. I think I unwrapped a few things today. However, these things haven’t really been with me that long. I’ve been dying to play with the new Sizzix die “Perspective Butterfly” (665201) (unwrapped) from Tim Holtz. I’ve been seeing some amazing inspiration on social media. This butterfly is HUGE! I think it turned out pretty nice. Let’s me take you through the process.


The first step was to cut out this beautiful butterfly. For the background, I used Distress Mixed Media Heavystock by Tim Holtz. The weight of this paper is amazing for getting inky. I sprayed the paper with three of my Distress Oxide ink sprays. The colors I used were Peeled Paint, Peacock Feathers, and Rustic Wilderness. I dried it with my Ranger Heat It tool and then spritzed it with a little water. I dabbed up the excess water with a cotton rag and it left those wonderful water droplets. I then splattered a little Black Soot Distress Paint with my Splatter Brush. Once this was good and dry, I used my Vagabond and the Perspective die to cut out the butterfly. I did run it through the vagabond a few times, but only because the butterfly was so intricate.


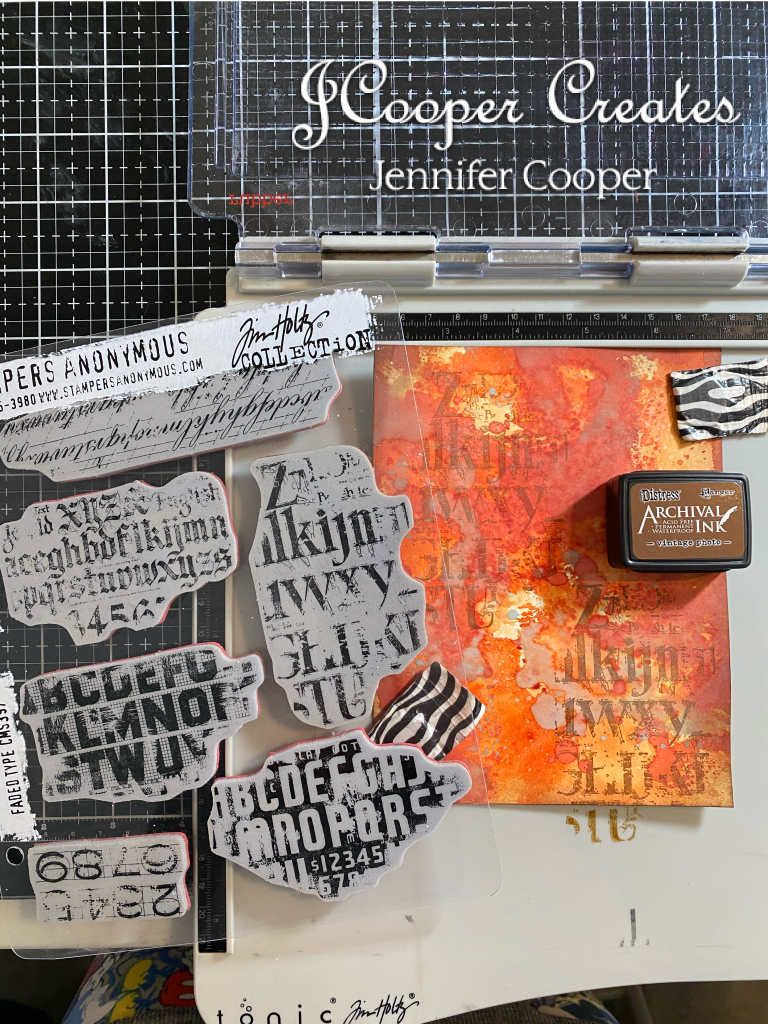


Next up was the background for my card. For this I used “Crackling Campfire” in both regular Distress ink and Distress Oxide ink, and “Speckled Egg” in Distress Oxide. I used my favorite technique of smudging a little ink onto my nonstick mat side of my Tonic Glass Media Mat. I spritzed the ink with a little water, and then dabbed my heavystock into the mix. I used this same process for each color, being sure to dry my paper in between each color choice. Once I was happy with the coverage, I distressed the edges with a little “Vintage Photo” Distress ink, and a little more “Ground Espresso”. You can never have too much brown. LOL. I used one of my favorite stamp sets to stamp a little bit of text into the background. The set I used was Stampers Anonymous “Faded Text” (CMS397) by Tim Holtz. I then took a mini stencil and some more “Vintage Photo” to stencil some foliage onto the background. I applied the ink thru the stencil with a Distress stencil brush. As you can see from the pic, a tip I learned from watching all the Tim Holtz Saturday demos was to have a stencil brush for each shade. I have one that has been marked with a brown sharpie that I can use with all the shades of brown Distress inks. One for brown, one for red, one for pink, one for blue….. You get the picture.


After I glued my butterfly to my background, the next and last part was the sentiment for the card. I used a scrap from the piece I had cut for the butterfly. I always save scraps. You never know what you’re gonna need. I used my “Crackling Campfire” Distress Oxide and a mini blending tool to color my scrap. I spritzed it with a little water and dabbed the excess water with a cotton rag. I then chose my sentiment from another stamp set from Stampers Anonymous called “Perspective” (CMS213). I love this sentiment. I think it is definitely perfect for todays make. LOL. I stamped the sentiment with Ranger’s Distress Archival Ink “Ground Espresso”. I trimmed it down with my brand new (unwrapped) Tonic Deckle trimmer and then distressed the edges with some more Distress “Vintage Photo” and “Ground Espresso”. I pop-dotted it onto the card and I call that done.

I simply LOVE just about everything about the way this make turned out. I love the colors. I love the butterfly. And I definitley love the sentiment. I’ts perfect for today. This was my first make in a brand new craft room that I have definitely had a passion for and been dreaming about for years now. I love making things, playing with products, but I’ve always had to clean up the table when company came over. I think that may have hindered me a bit. Now, I love having a dedicated space where I can just stop what I’m doing if need be. I can come back to it later and not have to worry about the craft room having to become a dining room again. Now it’s “A place for everything and everything in it’s place.” Now, I just have to remember where I put it all. LOL.
Until next time,
Jennifer

Wow, B E A U T I F U L. And so is your Make.
LikeLike
❤️❤️
LikeLike
I love this piece
LikeLike
Thank you so much!!❤️❤️
LikeLike