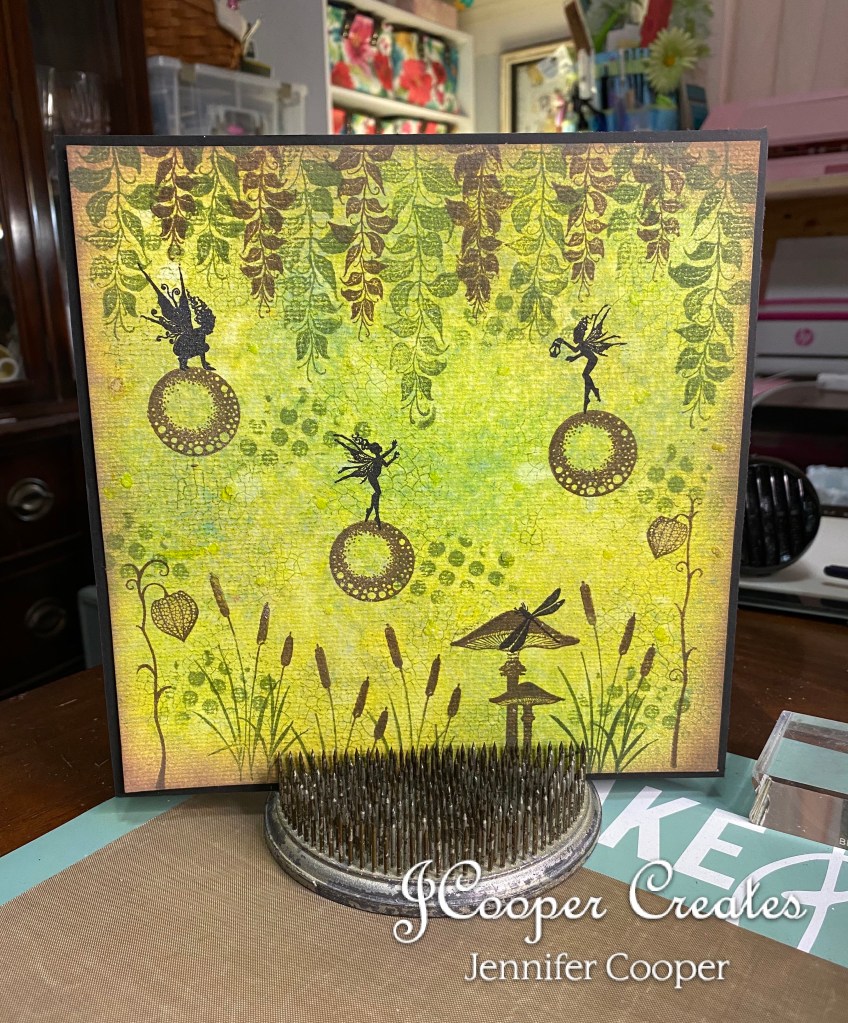
Todays theme for the Simon Says Stamp Monday Challenge was “We’re Going Around in Circles”. Immediately I thought of my Lavinia Stamps Fairy Orbs (LAV377). However, my design literally turned out going around ON circles. The thing I love about Lavinia Stamps is the whimsical, fairytale vibe. They are just amazing. I’m very pleased with how it turned out. And that is really what it is all about, whether you are pleased with your finished make. I hope you enjoy following along in this step by step process of how I made my art journal page.
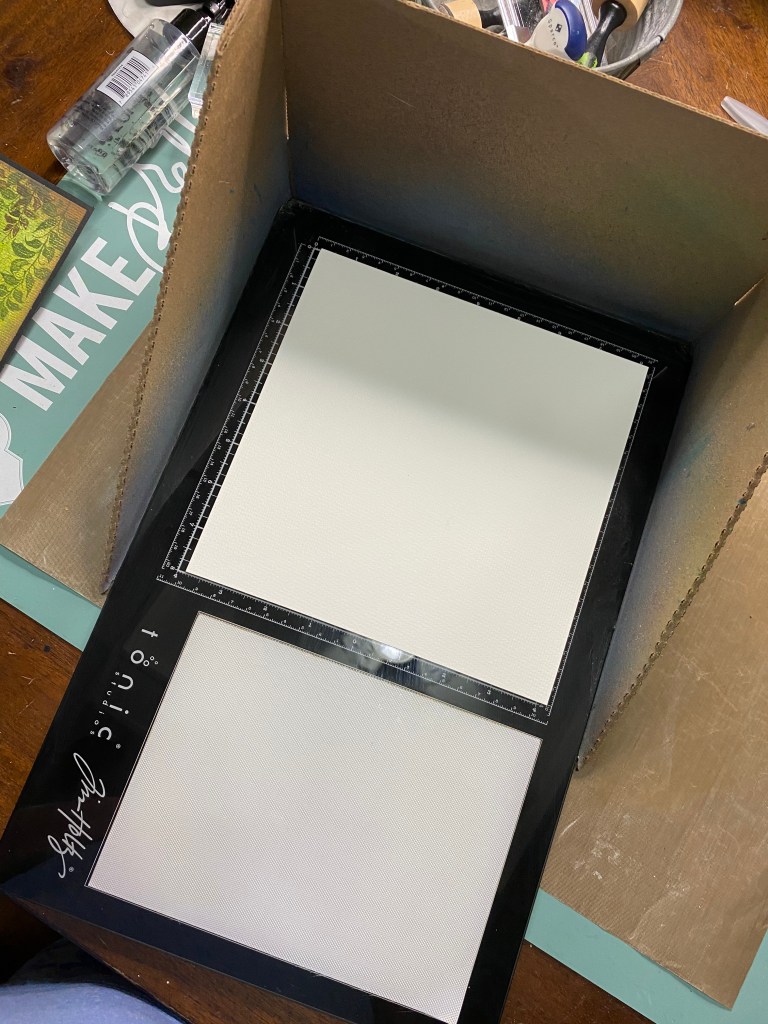
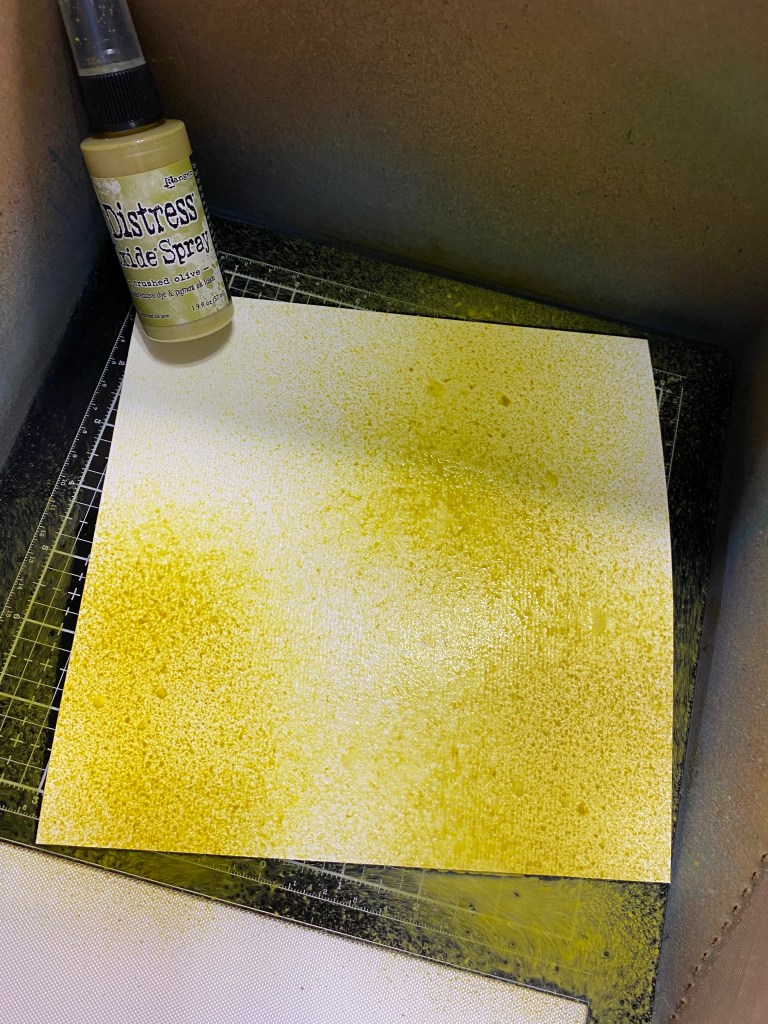


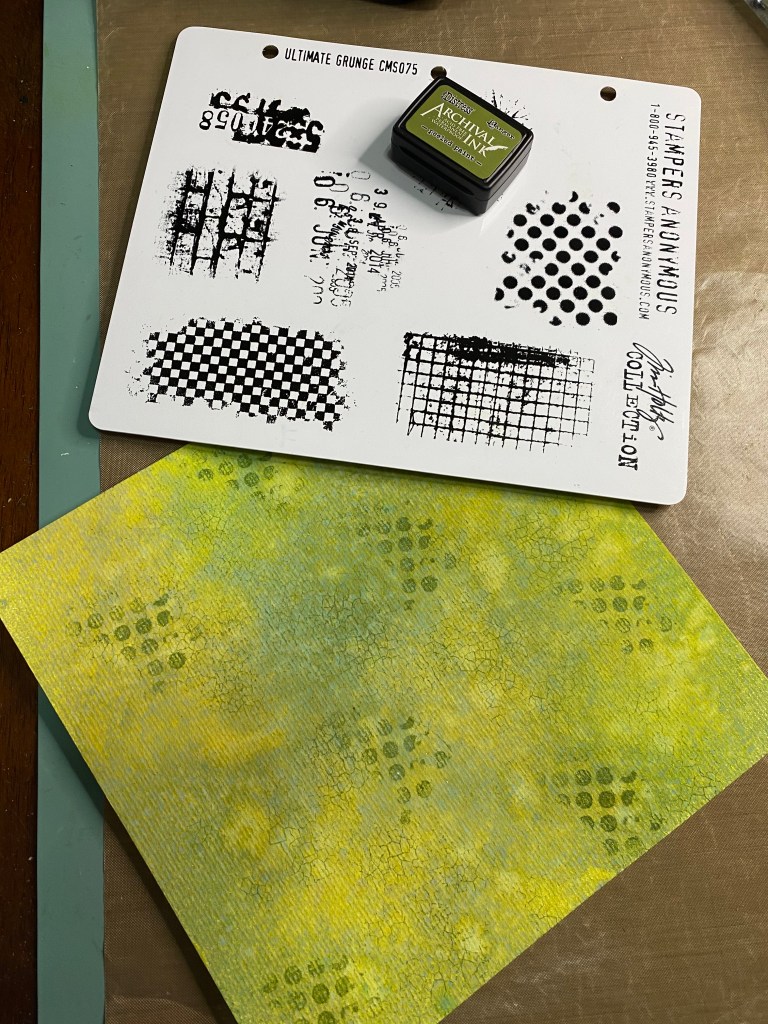
Todays entry was a page for my 8″ spiral art journal. I started with Arteza brand watercolor paper that I cut down to 8″x8″ For the colors in my background I chose Distress Oxide Sprays by Tim Holtz. The colors were Crushed Olive, Mowed Lawn, and Peeled Paint. I placed my paper on top of my travel size Tim Holtz Media Mat and placed that inside of my Splat box. I spritzed the paper with some water to assist in the blending of the colors. I spritzed just a little of each shade of green until I was pleased with the coverage. Then I used my Ranger Heat It craft tool to dry the paper. As I was drying the page, I spritzed it with a little water to give it that speckled, water drop look that is just so groovy.

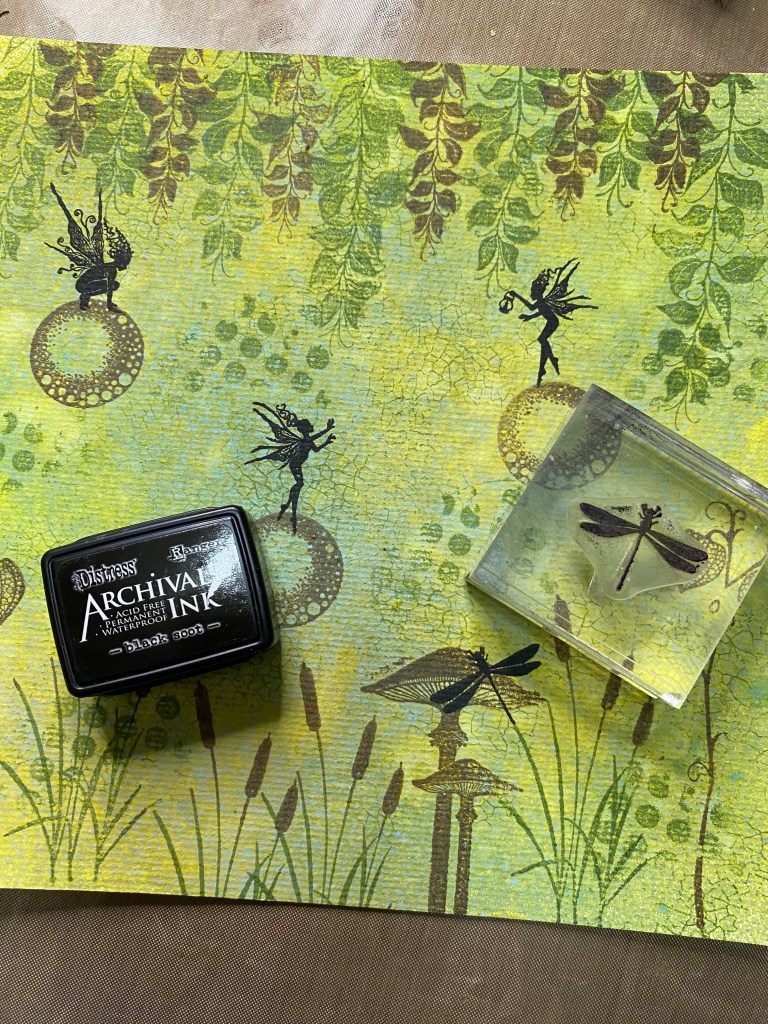
Next, I used two different stamp sets made by Stampers Anonymous. They were Craze & Planks (CMS344) and Ultimate Grunge (CMS075). I think these are two of my favorite goto stamp sets when doing backgrounds. I stamped the images with the Distress Archival Ink Peeled Paint by Tim Holtz. I think that crazing and crackle look is one of my favorite additions to backgrounds. I may use it too much! I don’t think that’s possible tho. HaHa.

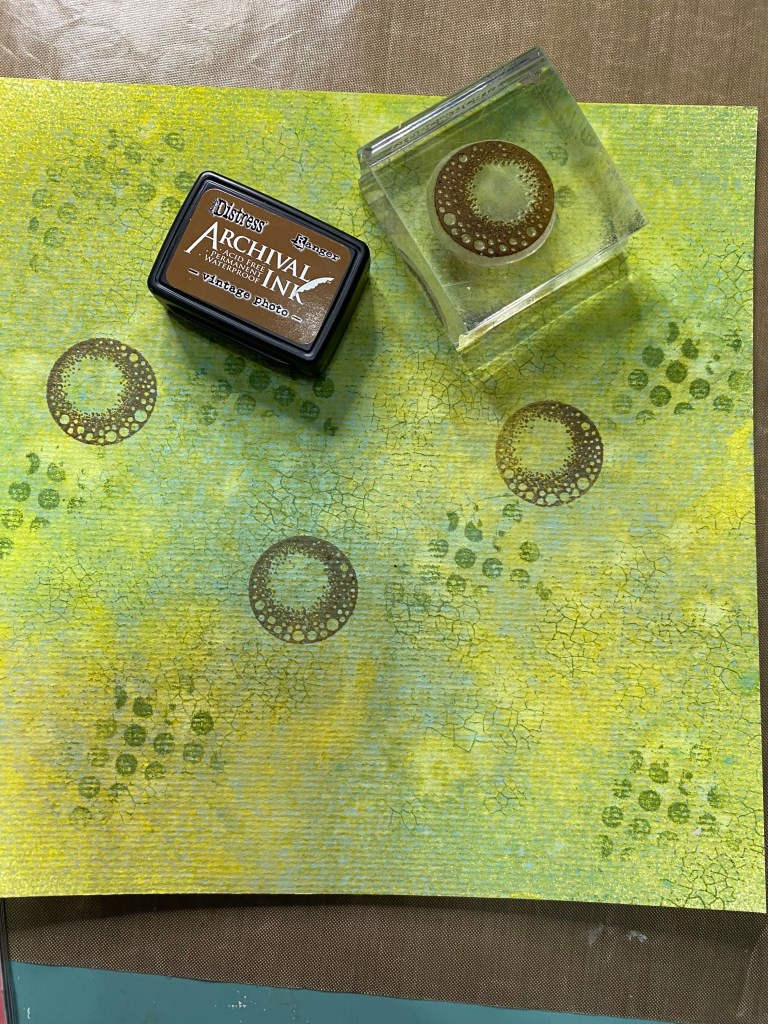
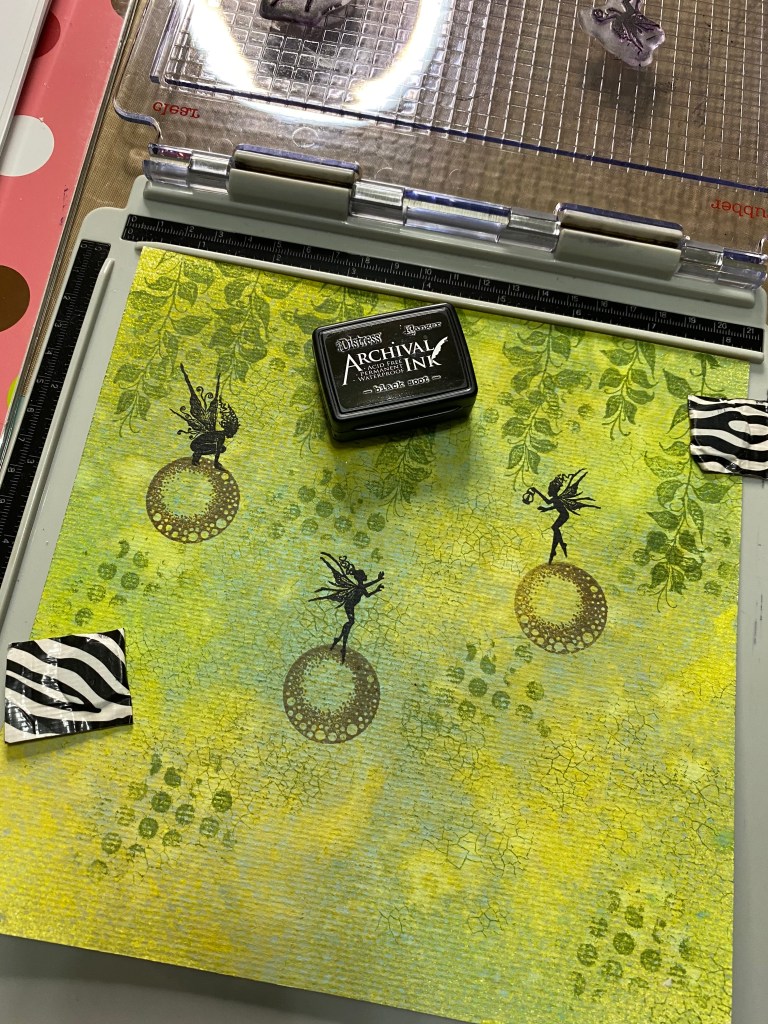
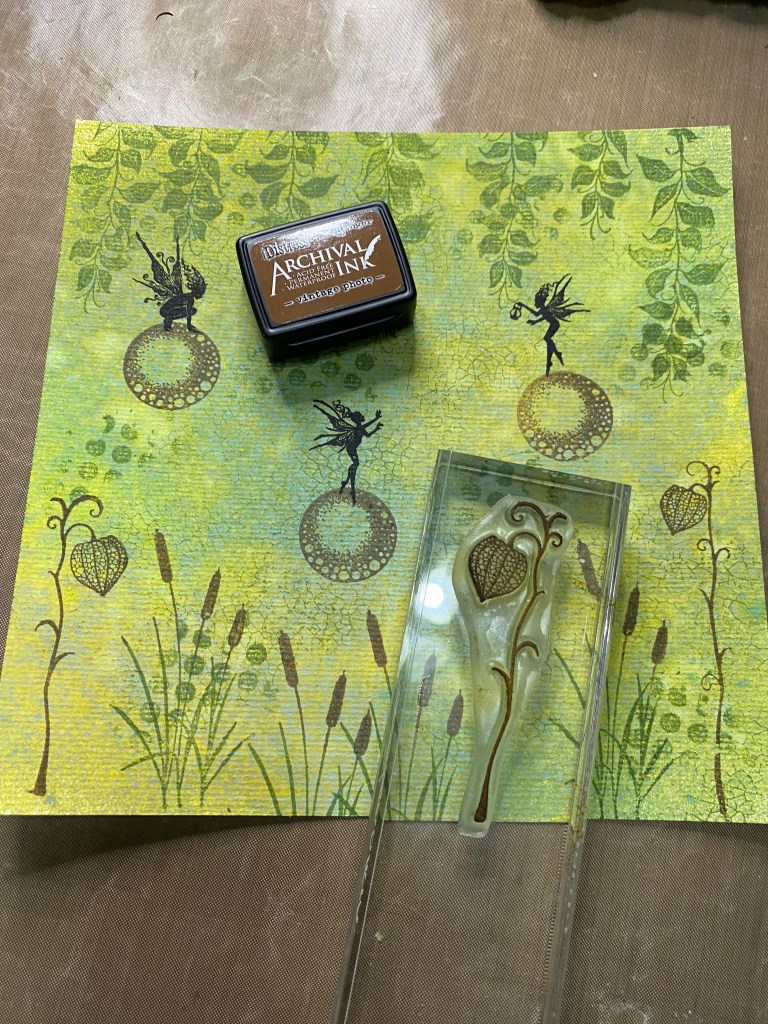
Next step, after you are pleased with your backgrounds, the main attraction, The Fairy Orbs (LAV377) and the Fairies of course. The Fairy Orbs come in a set of three different sizes, but I only used one today and the Fairy set that I used is called The Fairy Foragers (LAV498). This set comes with four fairies, but I only used three. They’re so cute! I am really loving the silhouette stamping. Ok back to details, sometimes us crafters tend to wander. The next step was the fairy orbs. I stamped the orb image with another Distress Archival Ink Vintage Photo. I used the Tim Holtz Stamping Platform for the fairies. The thing about the stamping platform is you can use the magnets to hold your paper in place and stamp the image as many times as you need to to get a clear, sharp image. With silhouette stamping, a clear and dark image is important.
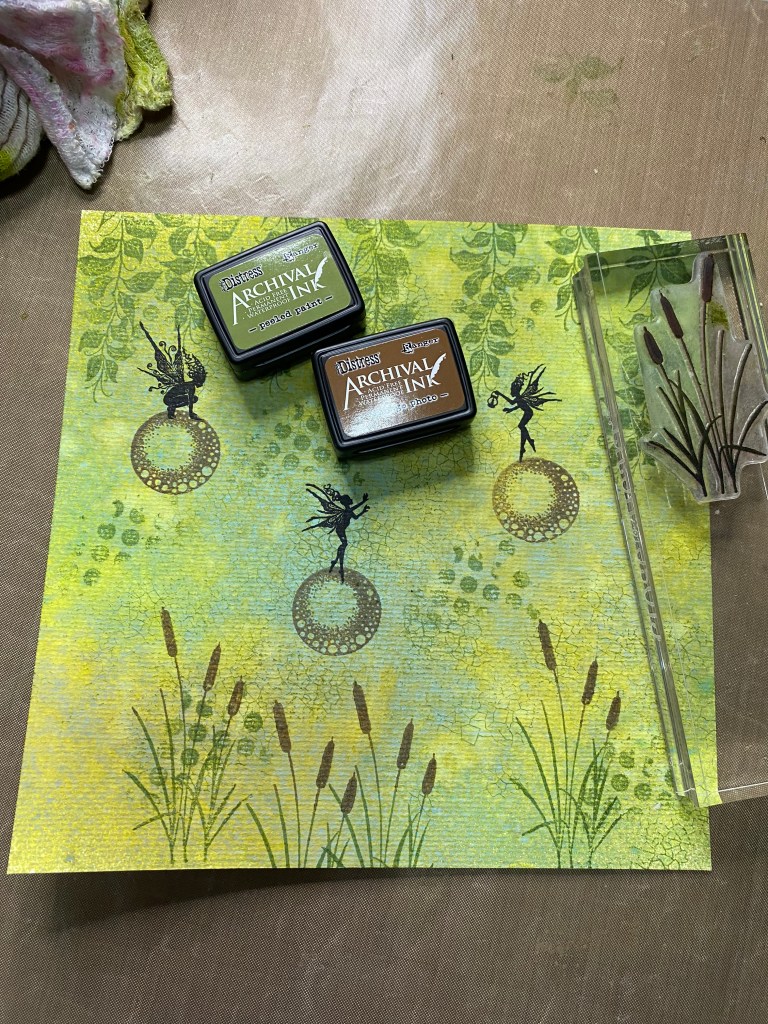
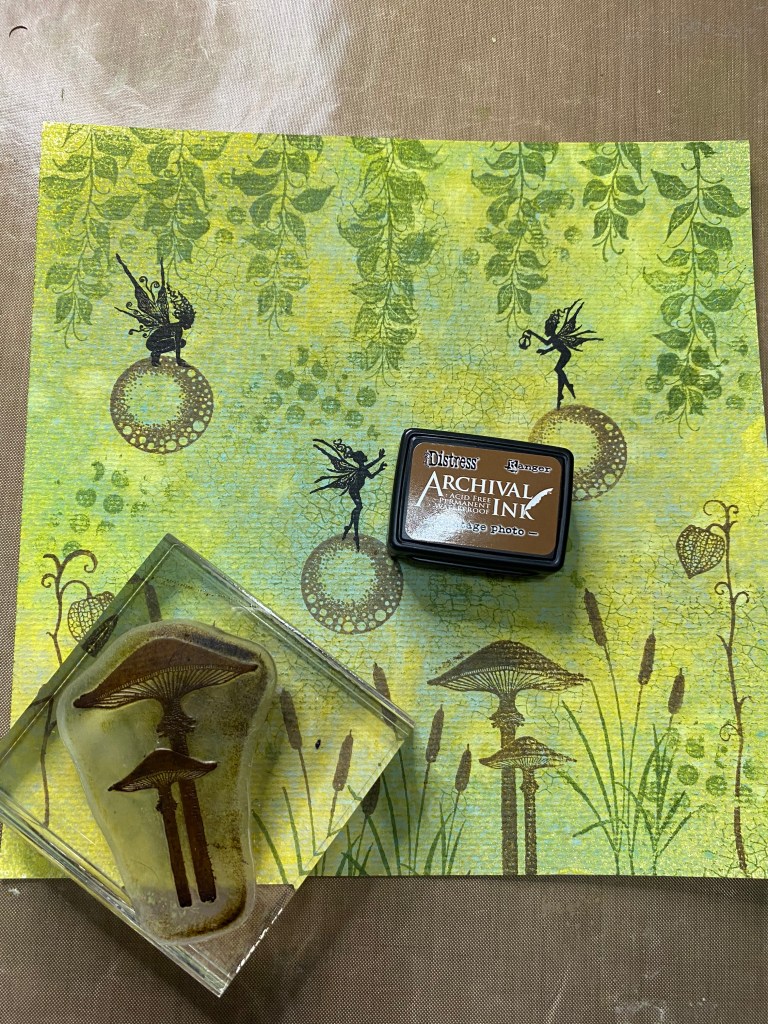
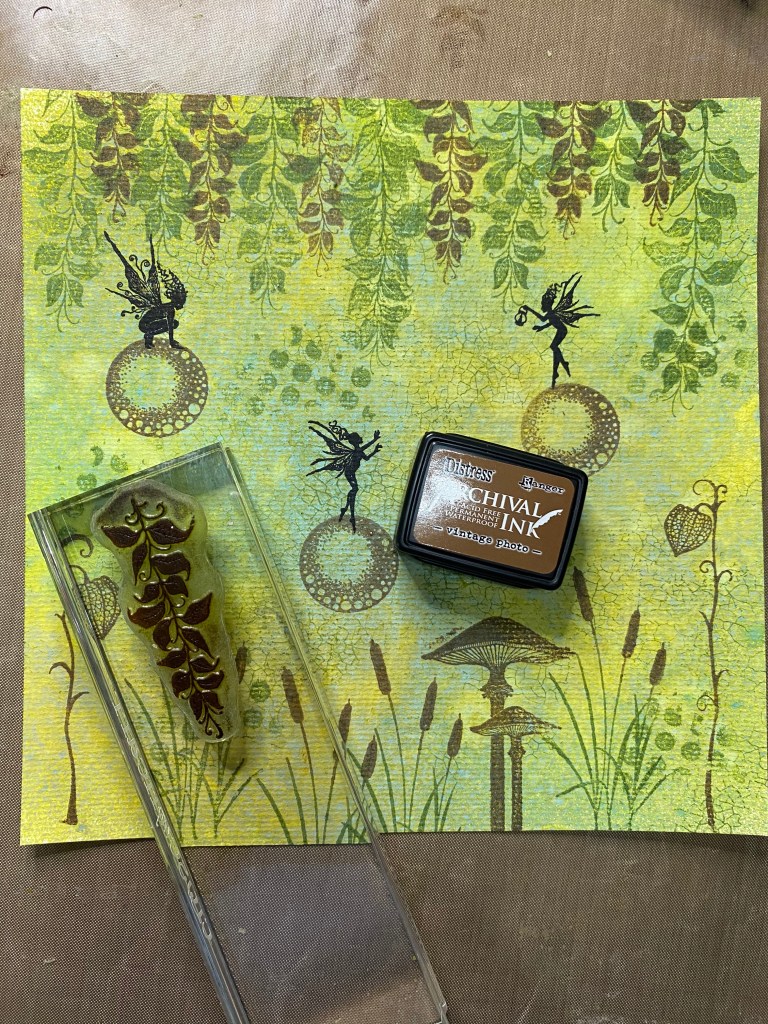
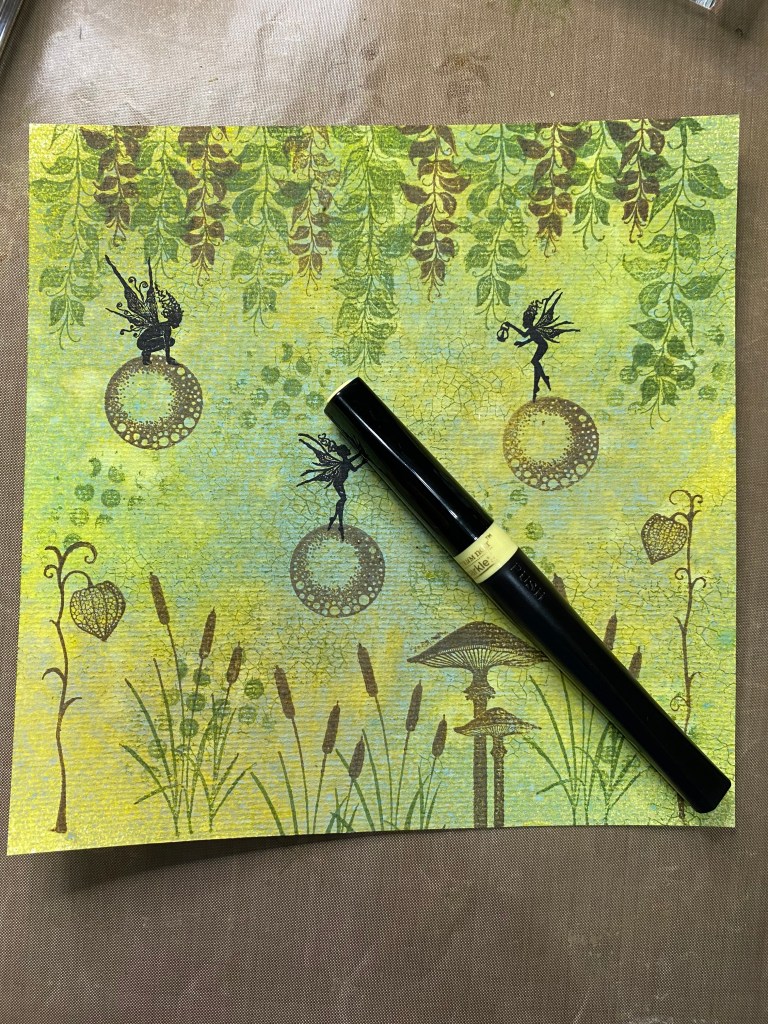
Once I was done with the focal point, aka fairies and orbs, I could finish up the scenery. Lavinia Stamps has a wide range of plants, trees and leaves to choose from. I’m from Louisiana and we have bullrushes in ditches everywhere, so Bullrushes (LAV003) was one of the first ones I chose. I decided to get fancy with those, haha, so i used two colors. I used Distress Archival Ink Peeled Paint and Vintage Photo. I through in a few fairy lanterns from the Fairy Lanterns Set (LAV586) and the Meadow Mushroom (LAV563) for good measure. I added some of the Berry Leaves (LAV577) to the top of the page. I used alternating Peeled Paint and Vintage Photo to stamp them. I also used the dragonfly from the Fairy Bugs Set (LAV471). No outdoor scene in Louisiana would be complete without a dragonfly. Plus, they were my Mom’s favorite. I used the Distress Archival Ink Black Soot to stamp him on the meadow mushroom. I tried to lighten up the lanterns with a Spectrum Noir Sparkle pen called Moonlight. It wasn’t really as noticeable as I would have liked for it to be, but it gave it a nice shimmer.
And last but certainly not least, I added a little distressing with Distress Oxide Ground Espresso and my blending tool. Distressing is really simple. It’s just a technique for blending ink around the edges of your project to kind of frame it in. I really felt like it needed a little something else so I took my Distress Collage Medium and spread a few droplets of glue around the fairies and added Distress Glitter Clear Rock Candy with my Glitter Duster from Stampers Anonymous. It added just a little bit of fairy dust to make it complete. I did mat it on a piece of black cardstock to really make those fairies pop. I really enjoyed making this project. I hope you enjoyed it as well. Be sure to watch for the video that will be showing up on my youtube channel in a few days.
See you next time!
Jennifer
Here is a list of the supplies used in today’s make:
Arteza Watercolor Paper 140lb
Products used :
Distress Oxide Ink Ground Espresso
Distress Oxide Spray Crushed Olive
Distress Oxide Spray Mowed Lawn
Distress Oxide Spray Peeled Paint
Distress Archival Ink Peeled Paint
Distress Archival Ink Vintage Photo
Distress Archival Ink Black Soot
Distress Glitter Clear Rock Candy
Distress Collage Medium
Spectrum Noir Sparkle Pen Moonlight
Tools:
Stampers Anonymous Ultimate Grunge CMS075
Stampers Anonymous Craze & Planks CMS344
Stampers Anonymous Glitter Duster
Ranger Blending Tool & Foams
Ranger Nonstick Craft Sheet
Ranger Heat it Craft Tool
Tim Holtz Distress Sprayer
Tim Holtz travel size Media Mat by Tonic
Tim Holtz Stamping Platform
Splat Box
Lavinia Stamps:
The Fairy Foragers LAV498
Fairy Orbs LAV377
Berry Leaves LAV577
Bullrushes LAV003
Fairy Lanterns Set LAV586
Meadow Mushroom LAV563
Fairy Bugs Set LAV471

Awesome!!
LikeLiked by 1 person
Thank you! 💖
LikeLike