
Y’all! I’ve loaded my booth at the Grove Shreveport with lots of new Fall items. I’ve had fun making chipboard scrapbooks, handmade greeting cards, Pumpkin Spice Tins, and several bookmarks. As much as I am ready for Fall to get here, it’s time to move on to some Christmas makes. This weeks Tim Holtz Addicts challenge was to use one of the previous Stamptember sets. Stamptember is a birthday celebration at Simon Says Stamp. If you don’t know about Simon Says Stamp, then you should check them out. All the good things!! September is the month that they do what is called Stamptember. For the whole month of September, they collaborate with tons of designers to make one of a kind, limited edition stamp sets. Tim Holtz being one of them. I’ve only know about Stamptember for a few years now, so I only have two sets. Soon to be three. LOL.
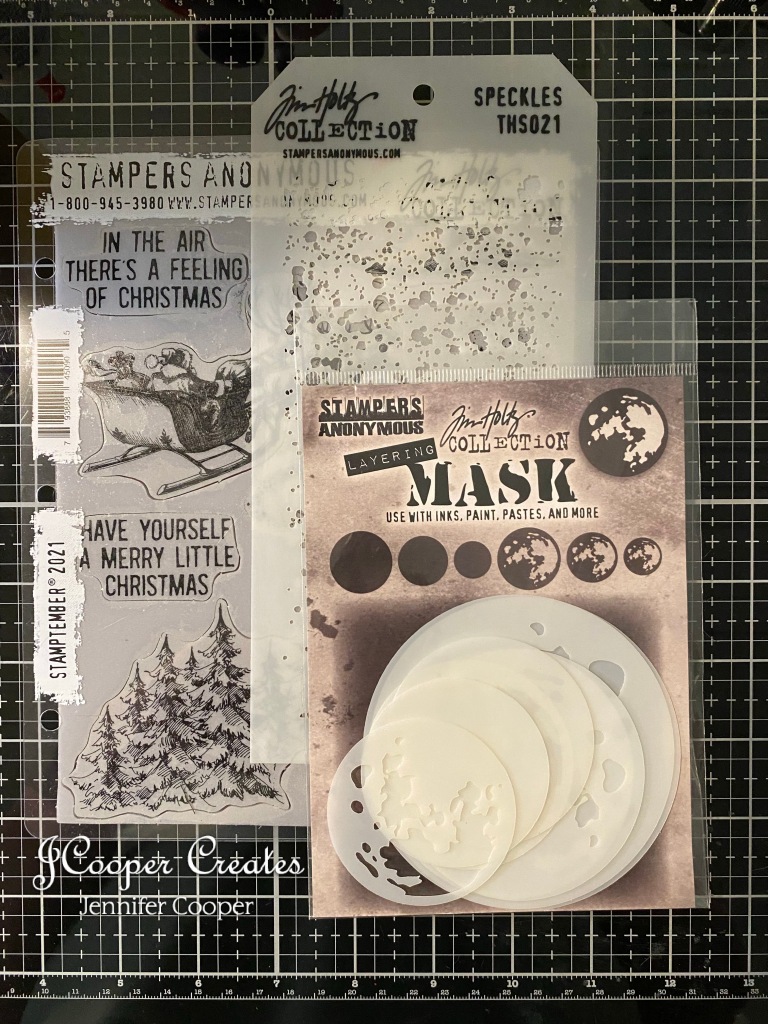
So, for this weeks challenge I went with making a large tag. The stamp set that I used today is Stamptember 2021. This set came with an additional moon mask to add to the Stampers Anonymous moon mask collection. It was a great addition to my stamp collection. I am a sucker for Christmas supplies!! I think Christmas is my favorite! Let’s get into the process.


First things first, the moon. For this part of the make, I used my large spray box and put down a few paper towels. I placed the tag in the box and then put down the moon mask. I sprayed the tag with Distress Spray Stain in Prize Ribbon. I then carefully removed the mask and misted the tag with my spray bottle to make the ink wick. I am relatively new to this process, but I think it’s getting better. LOL . I dried the tag really well before taking my Distress Oxide Ink in Antique Linen and coloring in the surface of the moon. Next I took Distress Oxide Ink in Old Paper and used a finger dabber to color in the details of the moon. I think that these two colors made for a perfect moon.


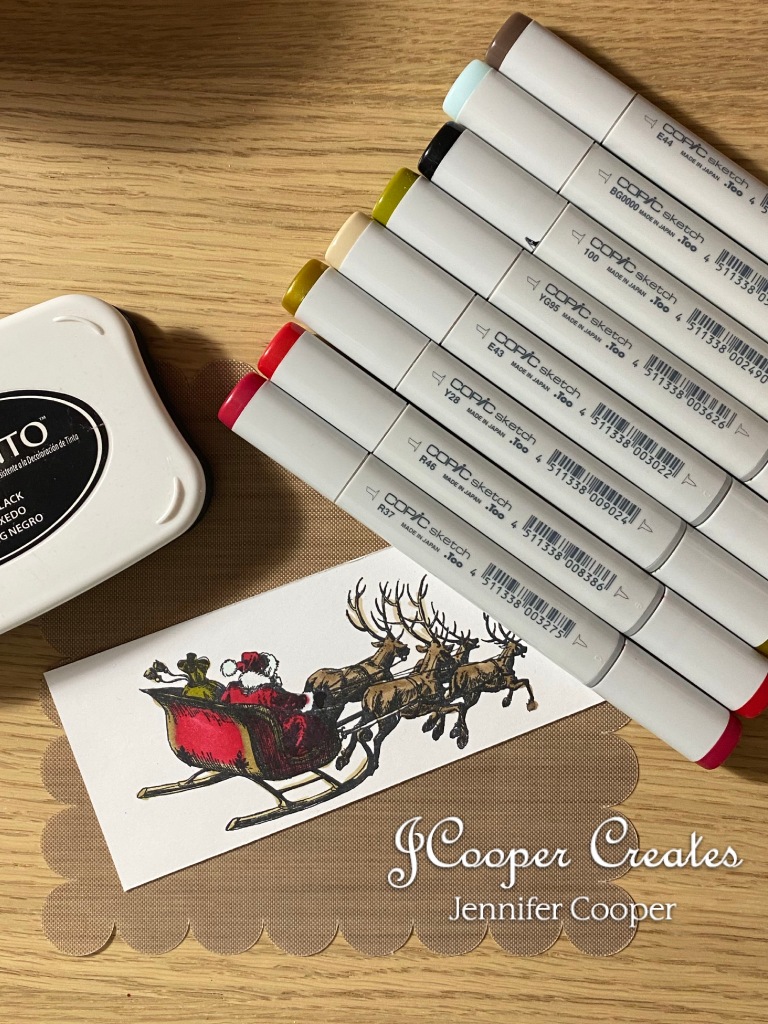
Next comes the stamped details of the tag. For these, I decided to color with my Copic markers. I’m trying to get in as much practice with these as I can. It’s definitely a work in progress. Ha. I’m getting better believe it or not. For stamping the images, I used Memento in Tuxedo Black. This is a good ink to use when you are coloring with alcohol markers. For the cloud, I used B93, N2, and N4. For the trees, I used BG0000, YG97, and YG99. For Santa and his sleigh, I used E43, E44, R37, R46, Y28, YG95, BG0000, and 100. I did have to fussy cut the items before I glued them down.
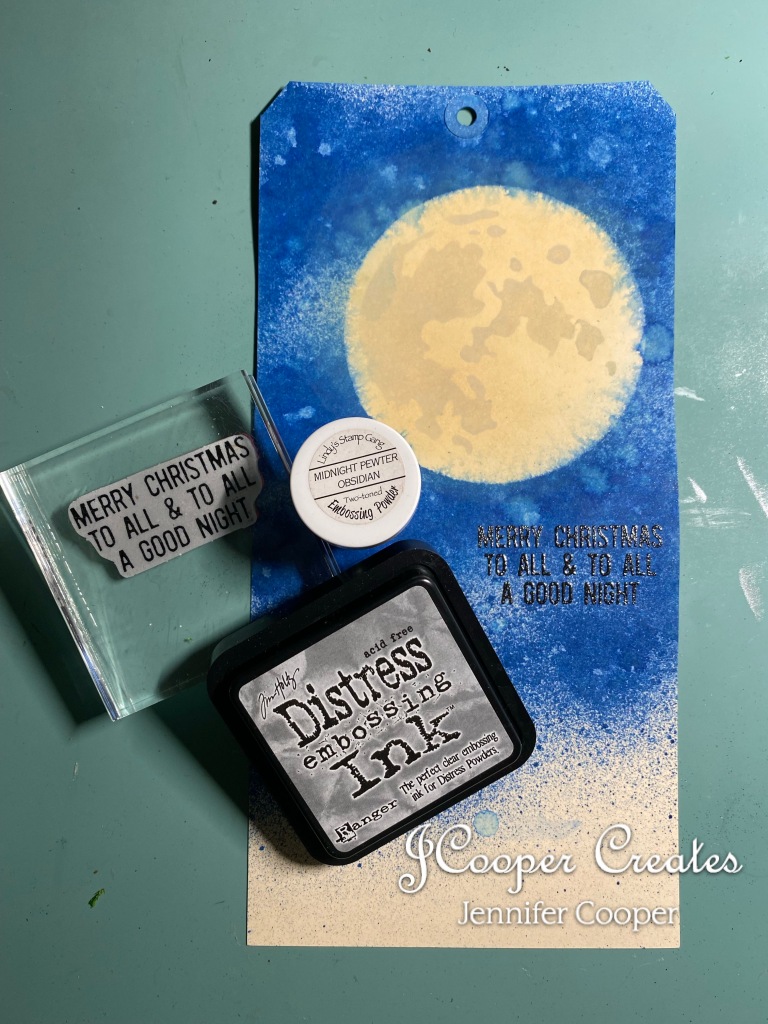
For the sentiment on this tag, I decided to emboss it so that it would stand out more. I used Tim Holtz Distress Embossing Ink and for the powder, I used Lindy’s Stamp Gang “Midnight Pewter Obsidian”. For those that have never embossed before, it’s a relatively easy process. You stamp your image with the embossing ink. Then you place your item to be embossed over a piece of paper. This will help in saving the excess powder. Generously poor the powder over the stamped image and pour excess onto the piece of paper. Set the item aside and use the paper as a makeshift funnel to pour the excess back into the jar of powder. After you have gotten the excess out of the way, use your heat embossing tool to heat the powder. With this powder, I knew it was done when it was shiny. Not all powders end up shiny. Once I was done with the sentiment, I had to fussy cut the stamped details out. Once I was done with the cutting, I glued the images to my tag. For my glue, I used Distress Collage Medium and a sponge brush.

Last step in this make was to make it snow! For that, I used the Distress Snowfall Grit Paste. This was a limited edition, seasonal product by Ranger Ink from last year. The stencil I used is a layering stencil from Stampers Anonymous called Speckles (THS0210). I ran the grit paste over the stencil with a plastic spatula and then spread more of it at the bottom of the tag to give the look of a blanket of snow. You can’t tell from the pic, but the grit paste has a hint of shimmer in it. Very pretty.

The tag is drying as we speak. I think when it is dry, I’ll add some ribbon to dress it up a little bit, but other than that, I think it’s pretty cute. Let me know what you think.
I hope this little tutorial was helpful in some way. If it was, please feel free to like and follow me for more crafty makes in the not so distant future.
Until next time,
Jennifer