
Today’s make was a Simon Says Stamp Monday Challenge. The prompt for today was “add a photo”. Well, this little picture has been on my brain a lot lately. As most of you know, I live in Louisiana. Contrary to what you might think, not all of Louisiana looks like this. I live in the Northern part of the state and you don’t see this as much as you’d think. In looking at properties around town, my husband and I found this little, peaceful spot. It’s right in the middle of town. My mom was all about her state. She loved all things Louisiana. And she LOVED dragonflies. When we were looking at this particular property, the dragonflies were out in full force. So this is what inspired todays make. I just love makes that have special meanings and sentimental value. Don’t you? They seem to go so much better than what you had planned. Let me tell you how I did this.
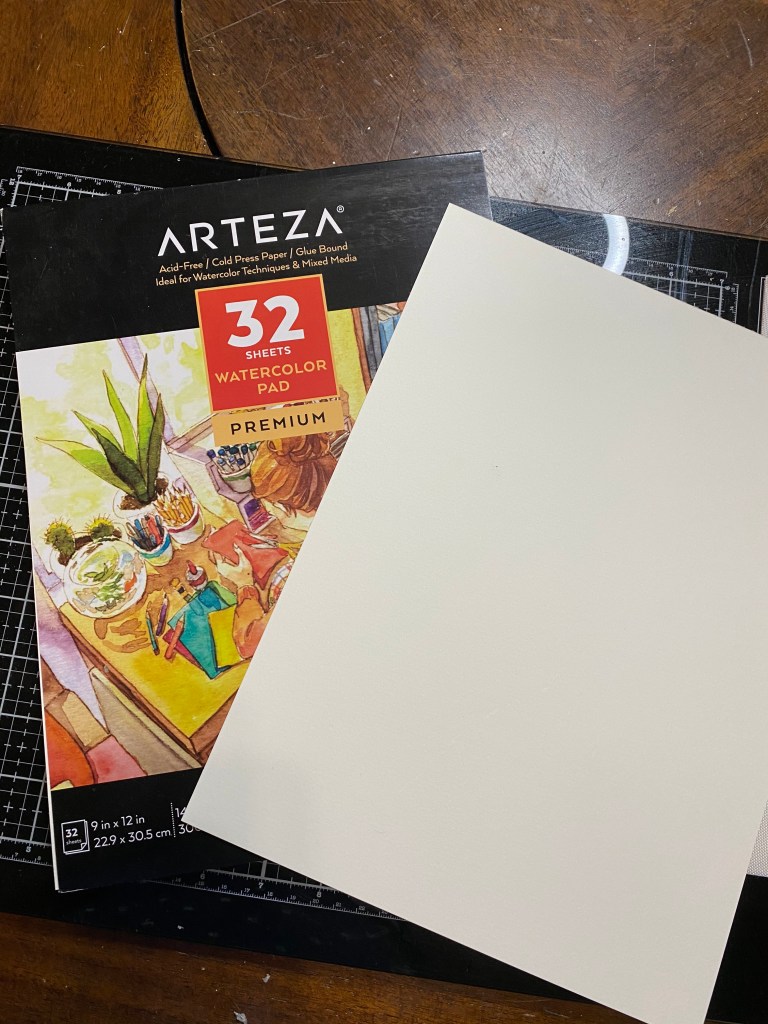
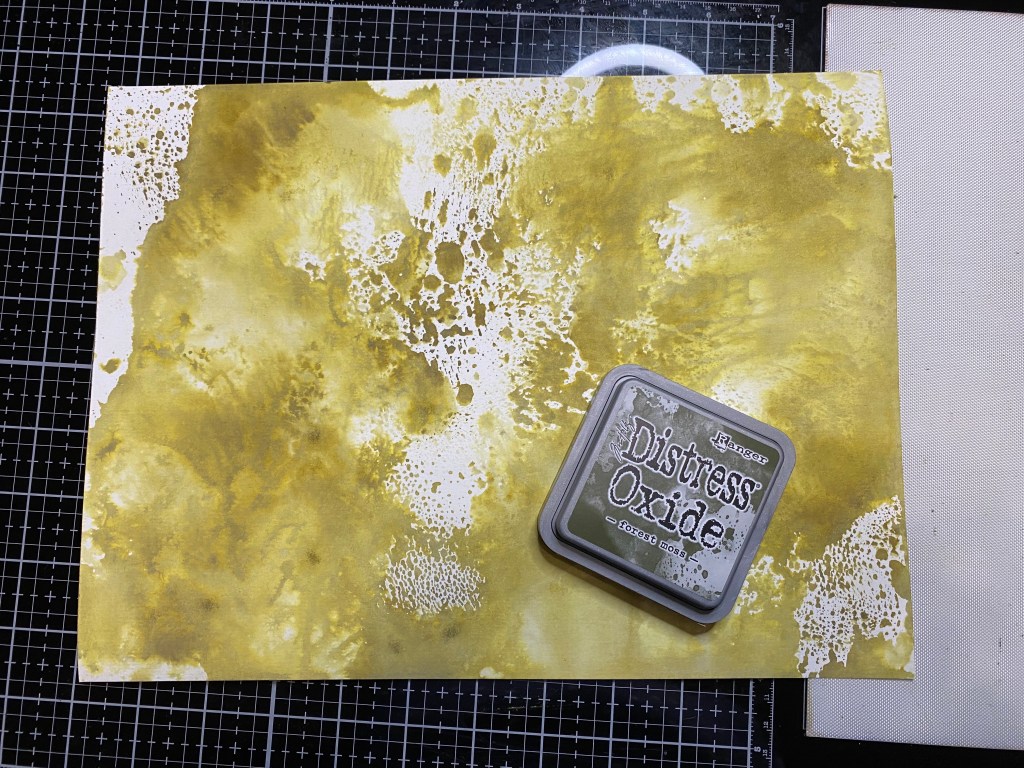
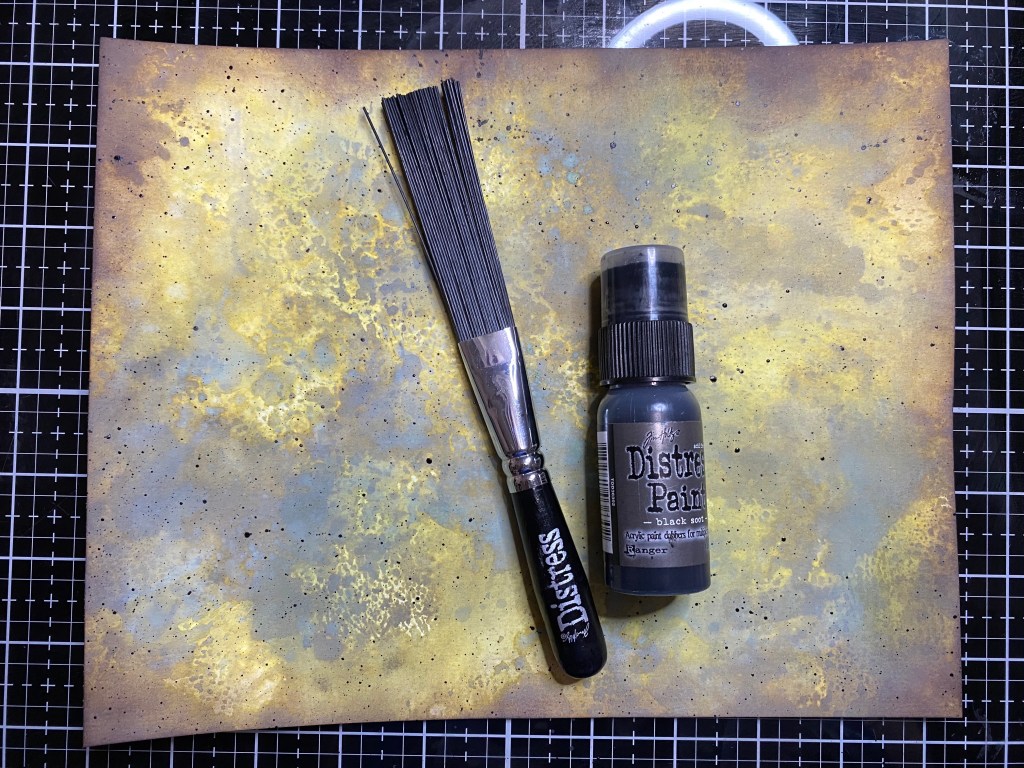
Todays substrate was watercolor paper from Arteza. I used the smooth side of the paper because I knew I was going to be doing alot of stamping. For my background I used my Distress Oxide Ink pads. The colors were Forest Moss and Peeled Paint. Perfect selecetion for a swampy bayou. LOL. I smudged a little of the Forest Moss onto my nonstick mat and spritzed it with some water. I dabbed my paper into the mix until I was happy with the coverage. I dried the paper really well with my Ranger Heat It tool and then did the same procedure with the Peeled Paint. I think I had to do this about two times for each color until I was happy. Once it was good and dry, I used my Peeled Paint and a blending tool to fill any spaces I wasn’t completely happy with. Once I was completely happy, LOL, I cut my paper down to 8″x10″ because I think I want to possibly frame it.


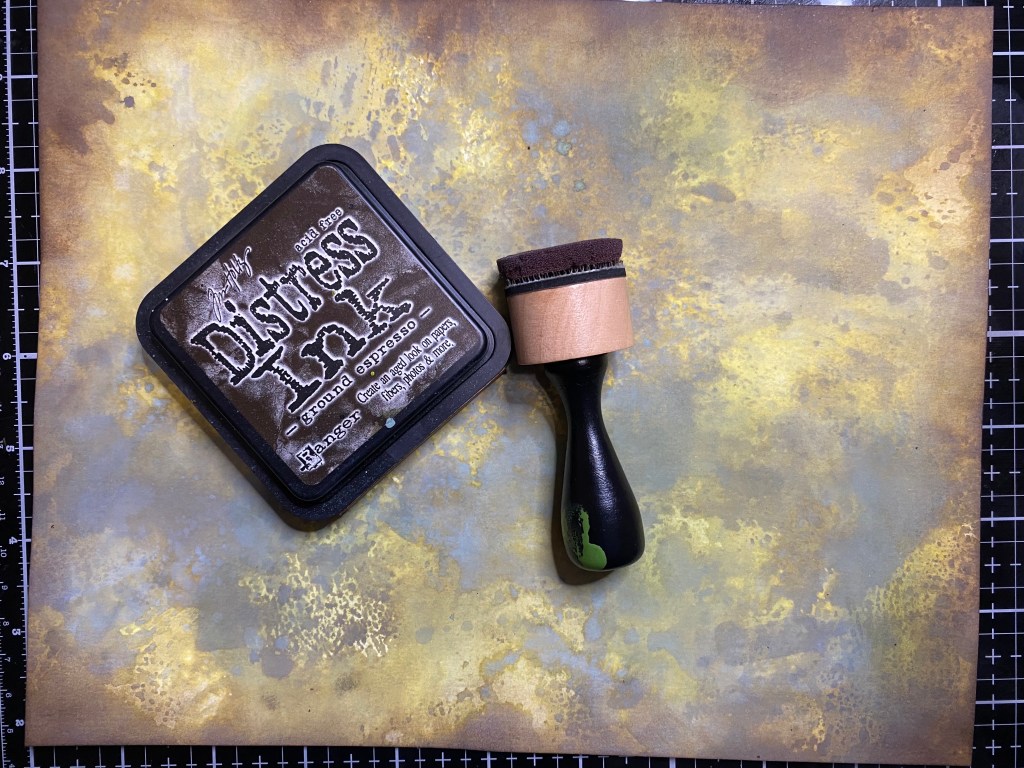
Next, to finish out my background, I distressed the edges with some Ground Espresso Distress Ink. Then, I used my Distress Splatter Brush and my Black Soot Distress Paint and splattered a little black paint.
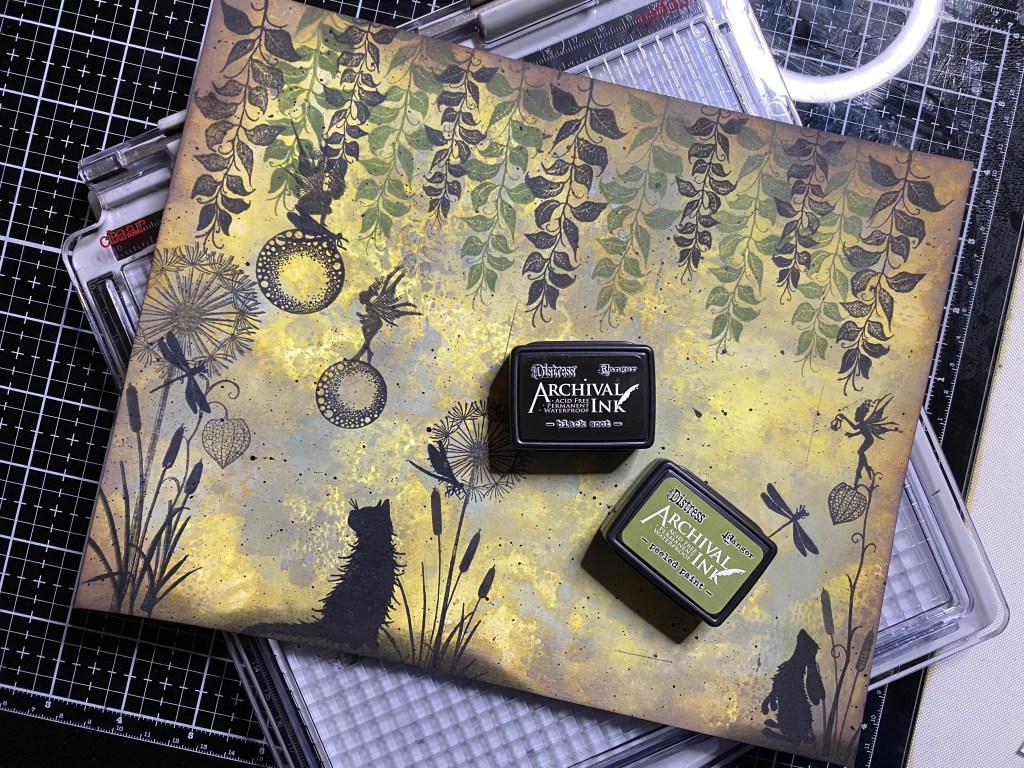
Once I was happy with my background, I got out my Lavinia Stamps stamp binder. This is just a binder I purchased at Office Depot and it has acrylic stamp sheets in it. It’s strictly dedicated to Lavinia Stamps. That makes it sound like I have a ton of them. I don’t. But I’m working on it. LOL. For stamping, I used my Distress Archival inks. The colors were Black Soot and Peeled Paint. Most of the stamping was done with the Black Soot. Also, somewhat necessary when you are silhouette stamping, is a stamping tool of some sort. I have the Tim Holtz Stamping Platform, and I have a small Misti. It just depends on what I’m working on as to which one I use. I used several of the stamp sets from Lavinia Stamps. Here is a list of the ones I used: Mooch (LAV404), that’s the cat, Whimsical Hares (LAV482), The Fairy Foragers (LAV498), Fairy Dandelions (LAV373), Fairy Lanterns (LAV586), Bullrushes (LAV003), Fairy Bugs (LAV471), Berry Leaves (LAV577) and Fairy Orbs (LAV377). As for stamping, I traced where my frame was going to go and I just added things until I ran out of space. LOL. Using the stamping press helped me to stamp over and over if I needed to get a good, dark coverage. You have to make sure your paper doesn’t move or you could end up with a shadow. I was quite pleased that the only thing that I got a shadow on was the bigger dandelion.
And, last but definitely not least, the Bayou. I used a Tim Holtz Idea-ology baseboard frame, and glued my picture to the back of it. I then, of course glued it to my page. I just love these Lavinia Stamps sets. They’re so whimsical and they were the perfect touch for my bayou scene. I hope you enjoyed this as much as I enjoyed making it.
Until next time,
Jennifer
