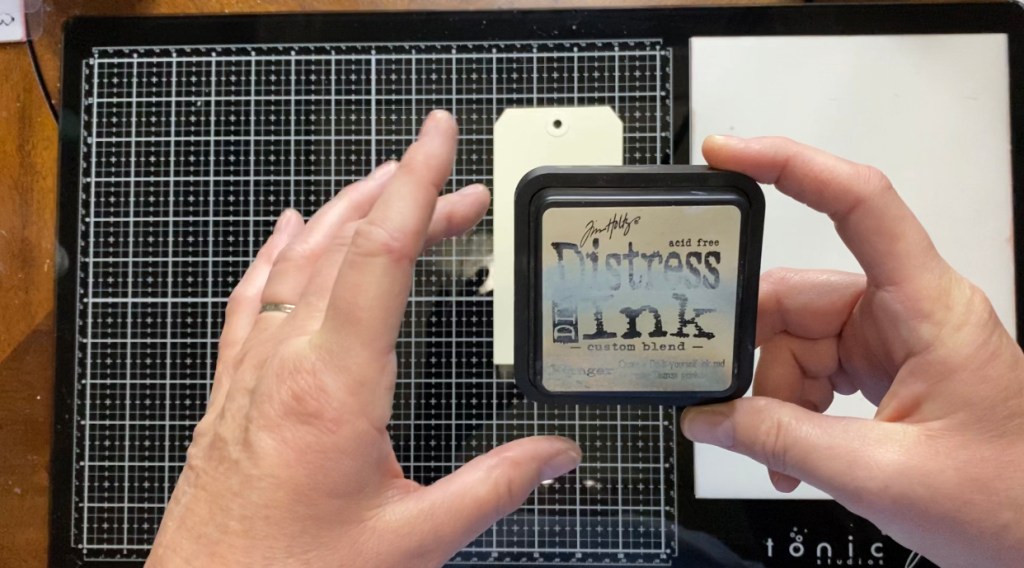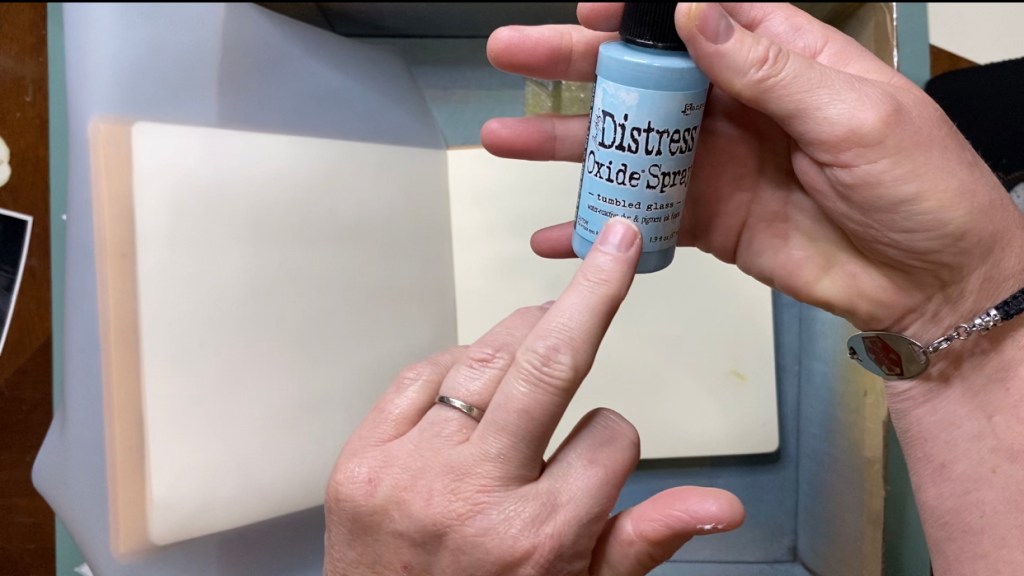

Hey Y’all!! I have been dying to get my hands on the new, Distress color, Salvaged Patina, by Tim Holtz. You may say, “How many colors of blue ink does one girl need?” Well the answer is, “All of them!” You may think I have an issue, but believe me, I am not alone. There’s a whole FB group called “Tim Holtz Addicts” LOL. I swear! Well, I finally got my shipment in from Simon Says Stamps Monday, so I decided to partake in the Simon Says Monday Challenge this week. But, I also challenge myself and tried to use as many of the new products a I could. I think I came pretty close. LOL
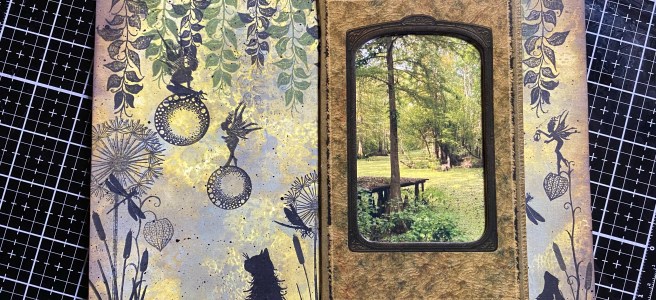
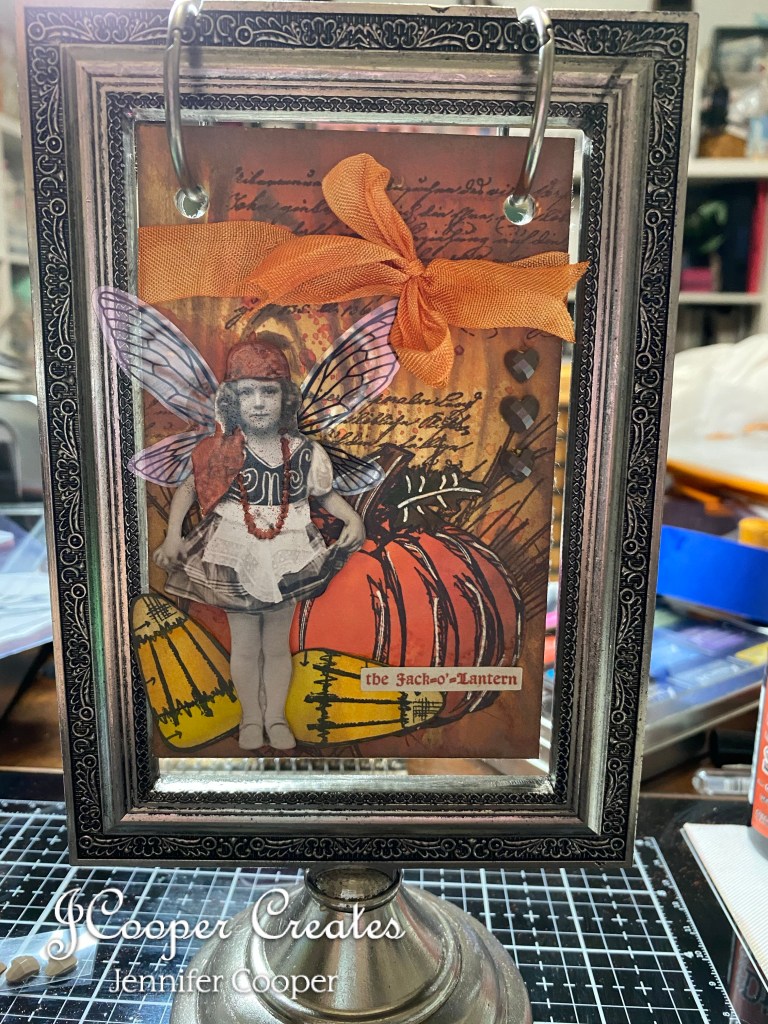
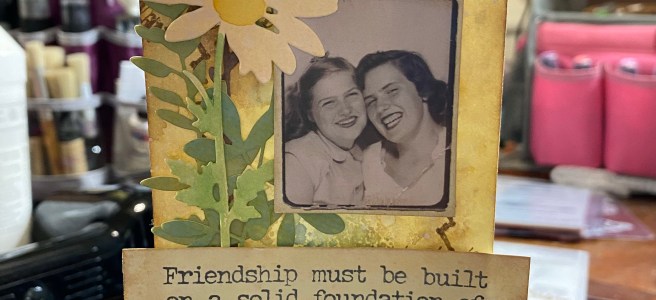
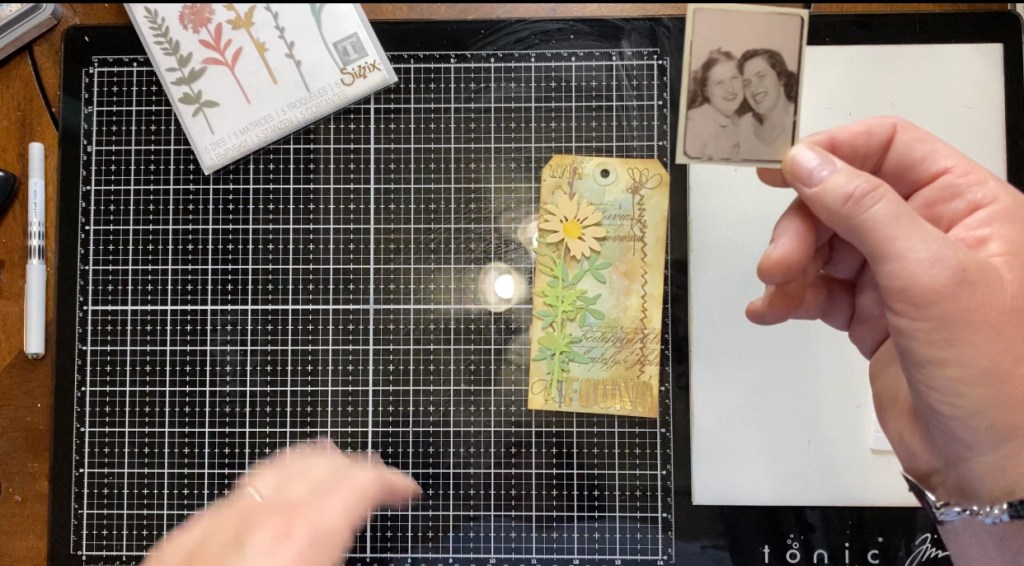
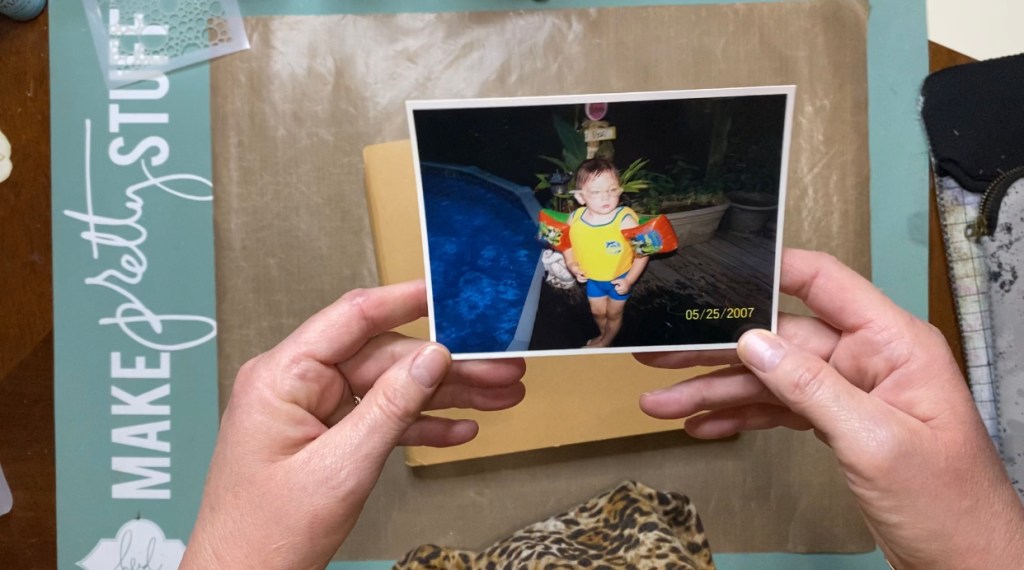
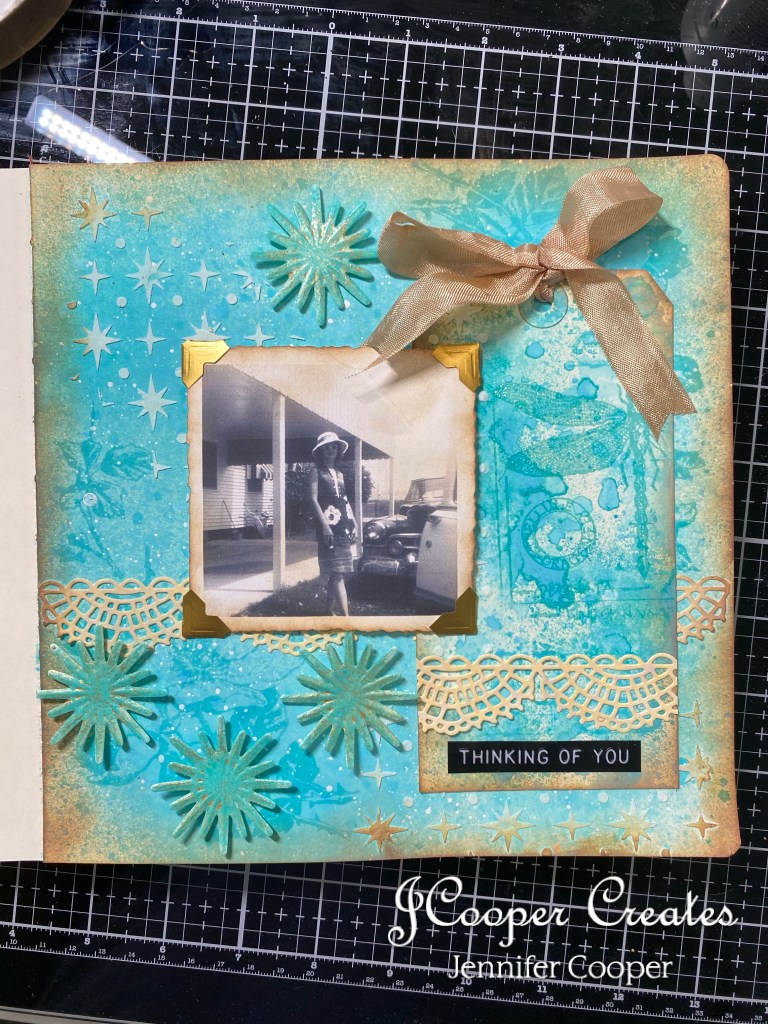
This weeks prompt was “Feminine”. Well, I started thinking about the word feminine and well, you can’t get anymore feminine than Mother’s Day, and that is this coming Sunday (May 9, 2021). I can’t think about Mother’s Day without thinking about my Mom. This Mother’s Day will be her second Mother’s Day in Heaven. So, I decided to do an art journal page and use one of my favorite pictures of her. I think she was just a teenager here, but it shows the sassiness that she definitely had throughout her whole life. LOL. Let’s start the tutorial.
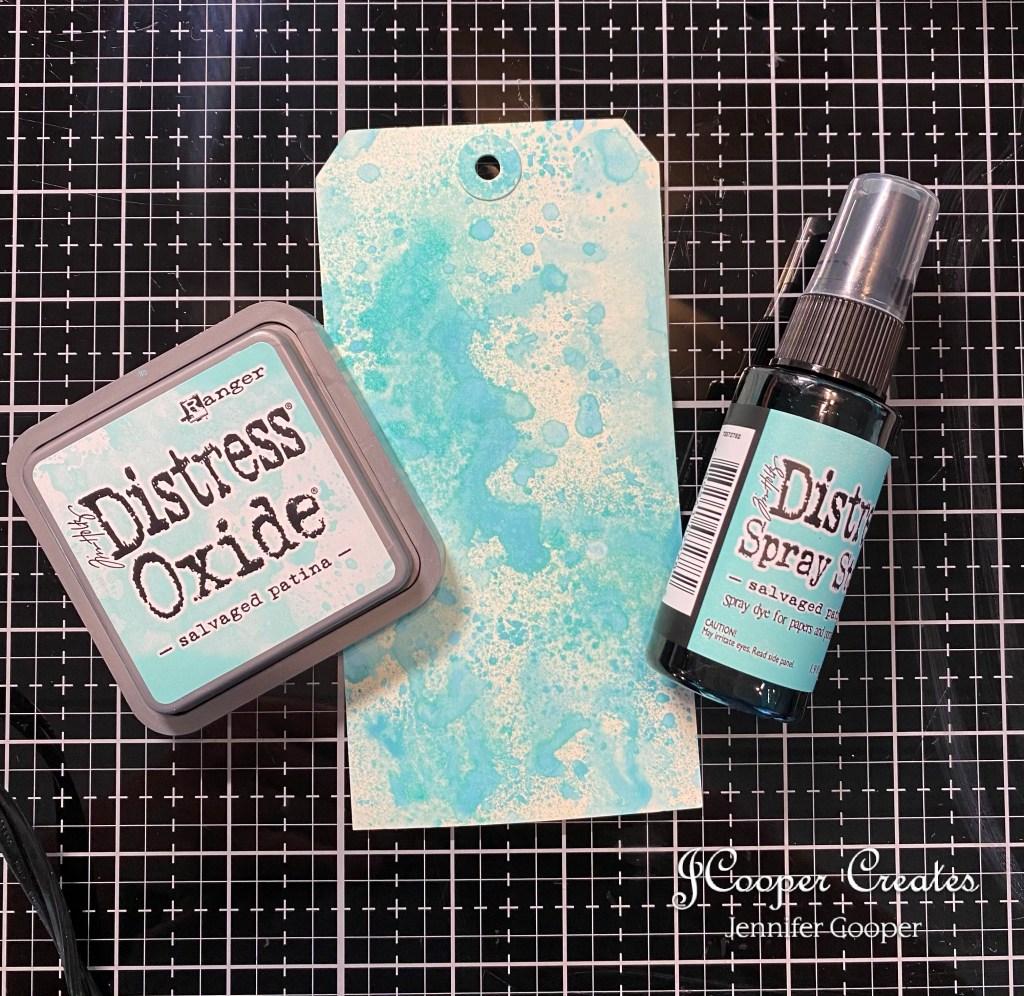
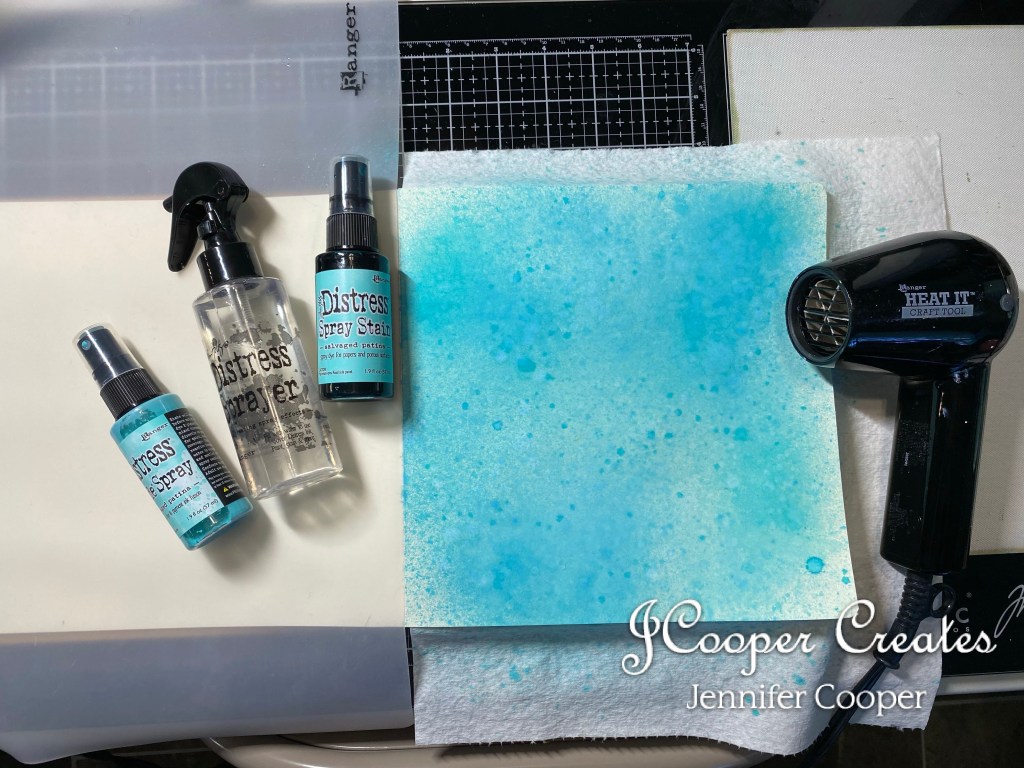
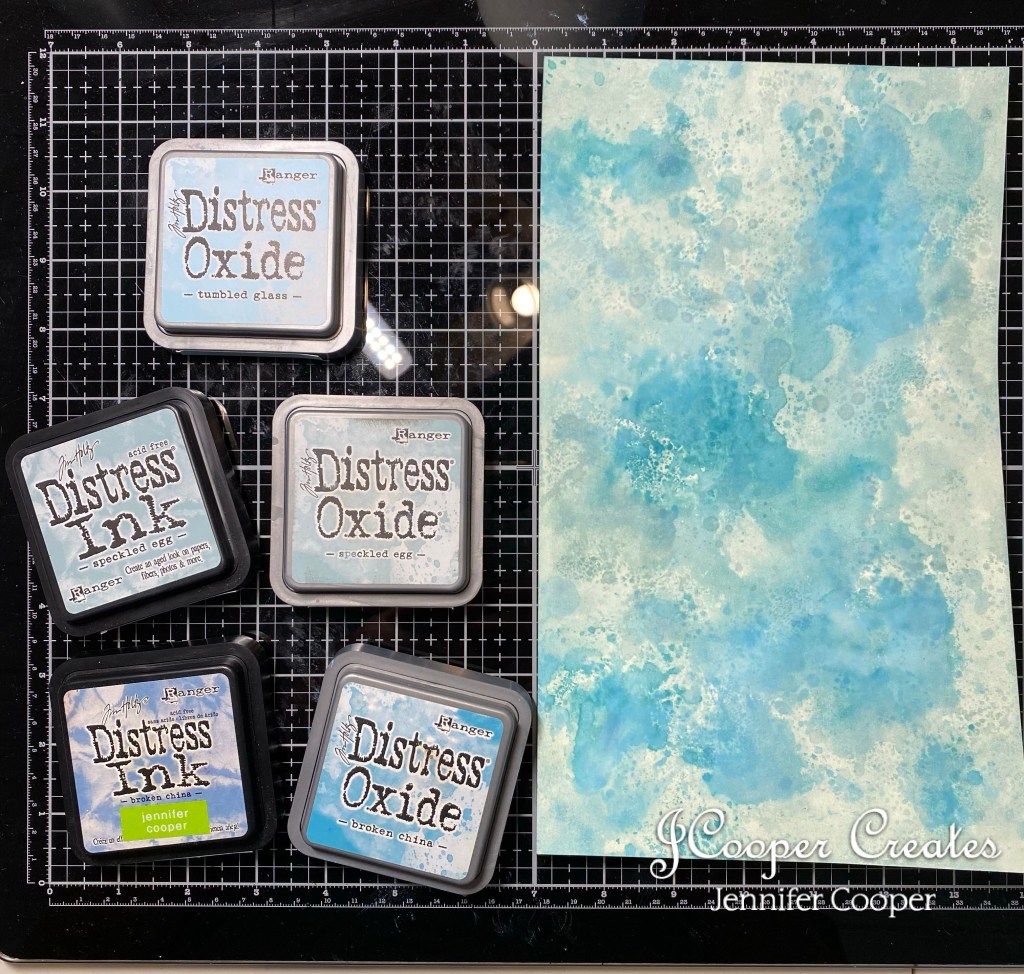
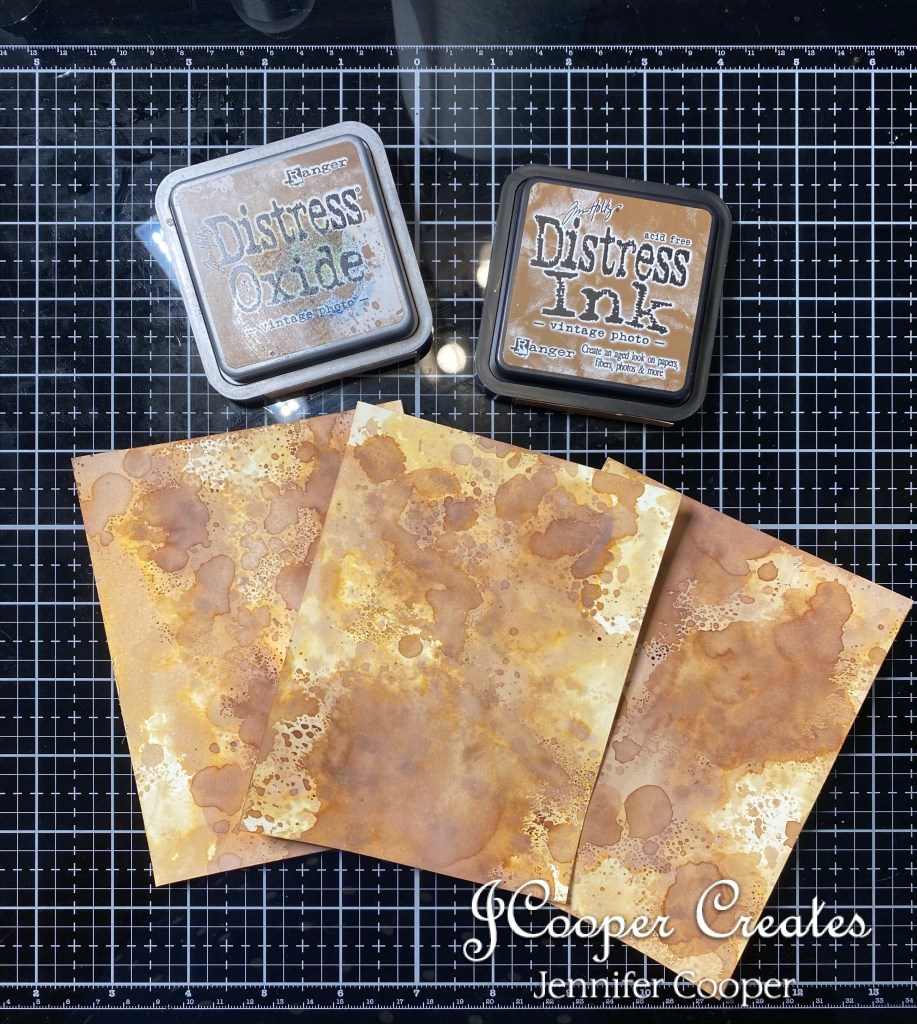
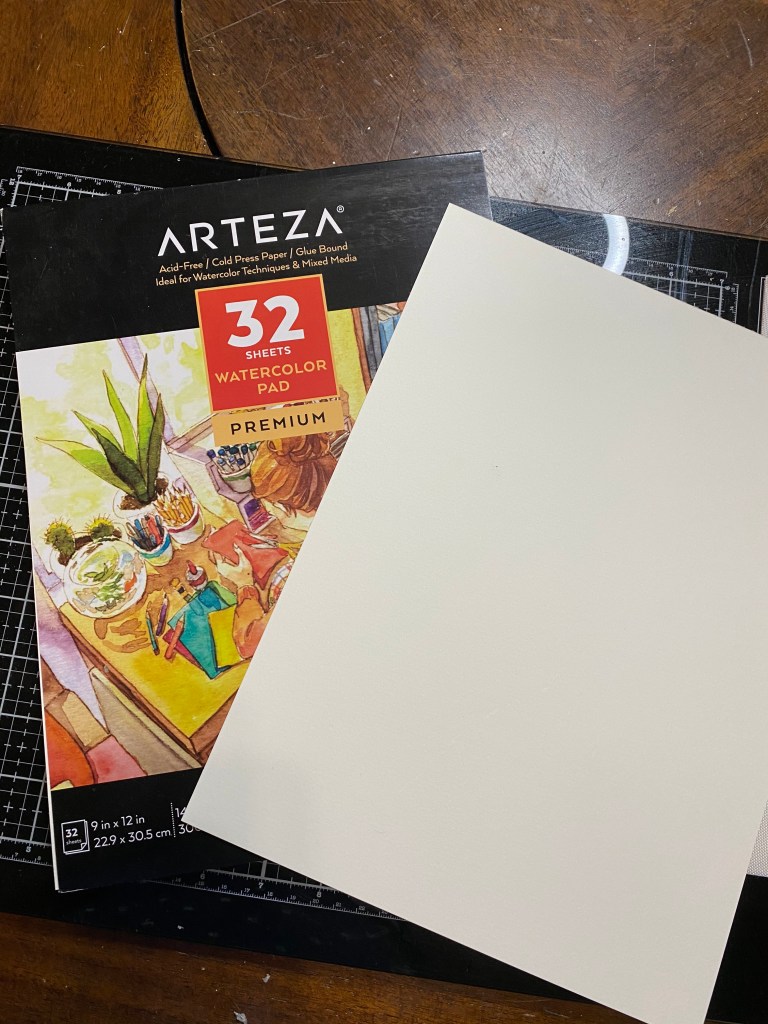
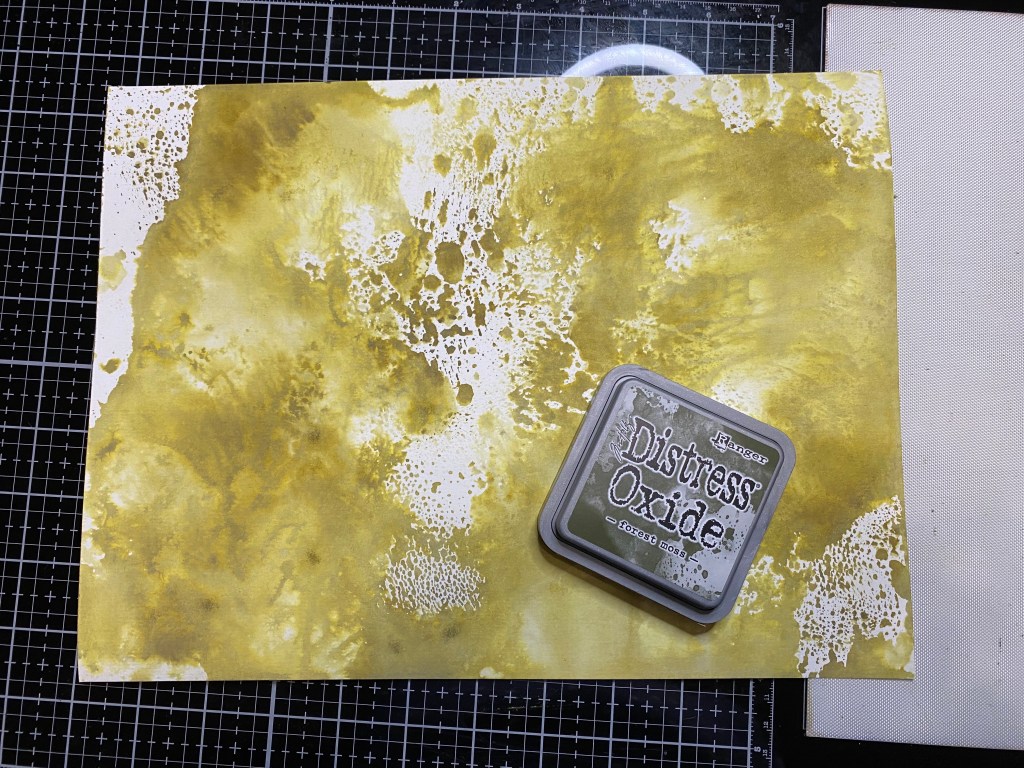
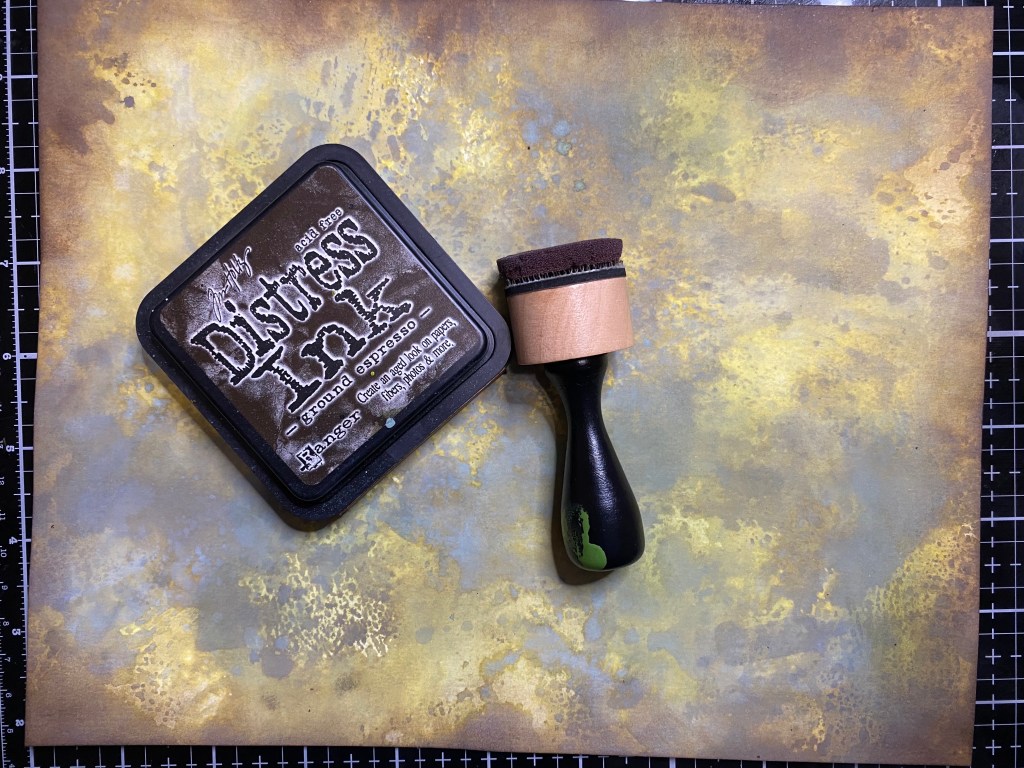
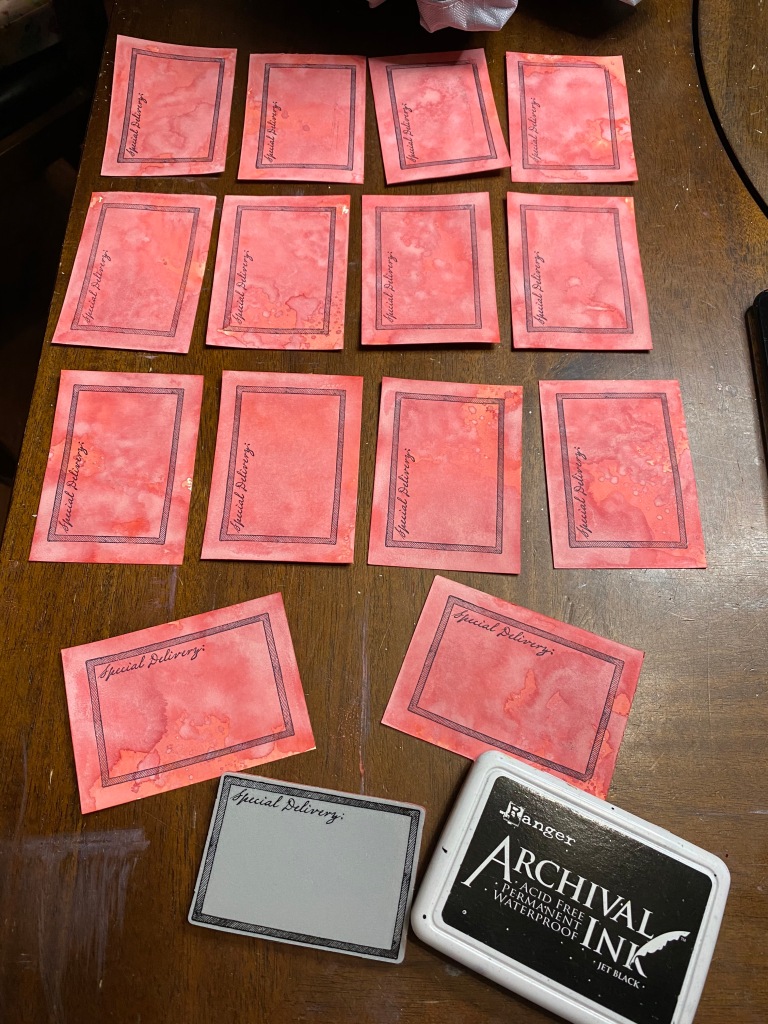
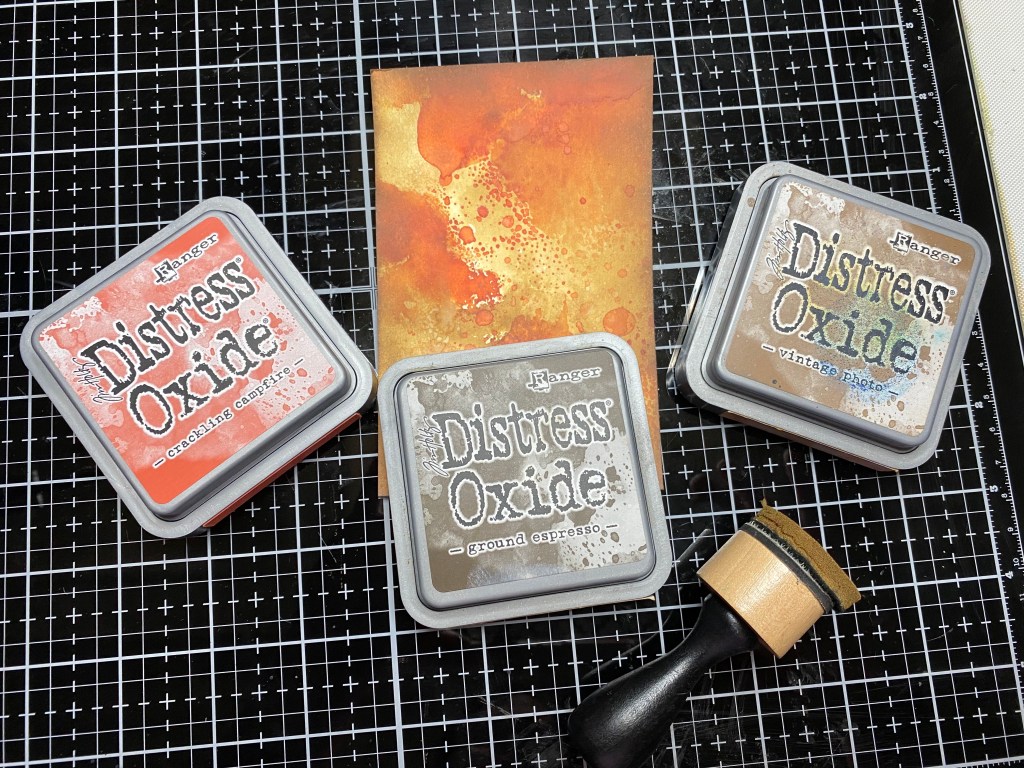
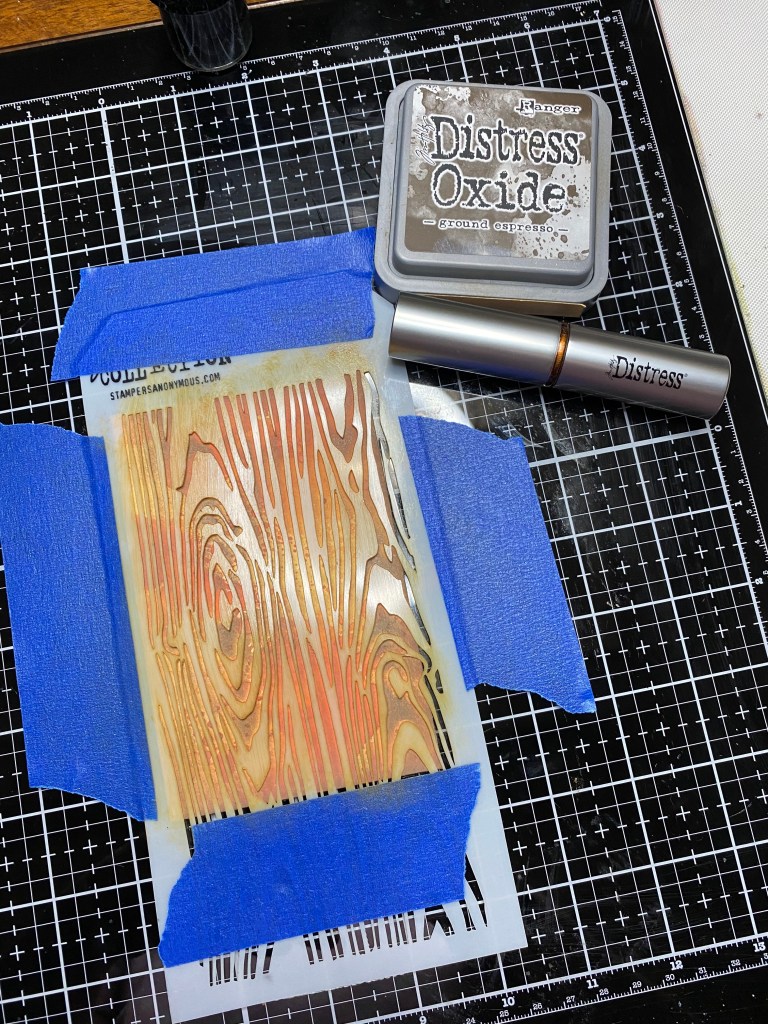
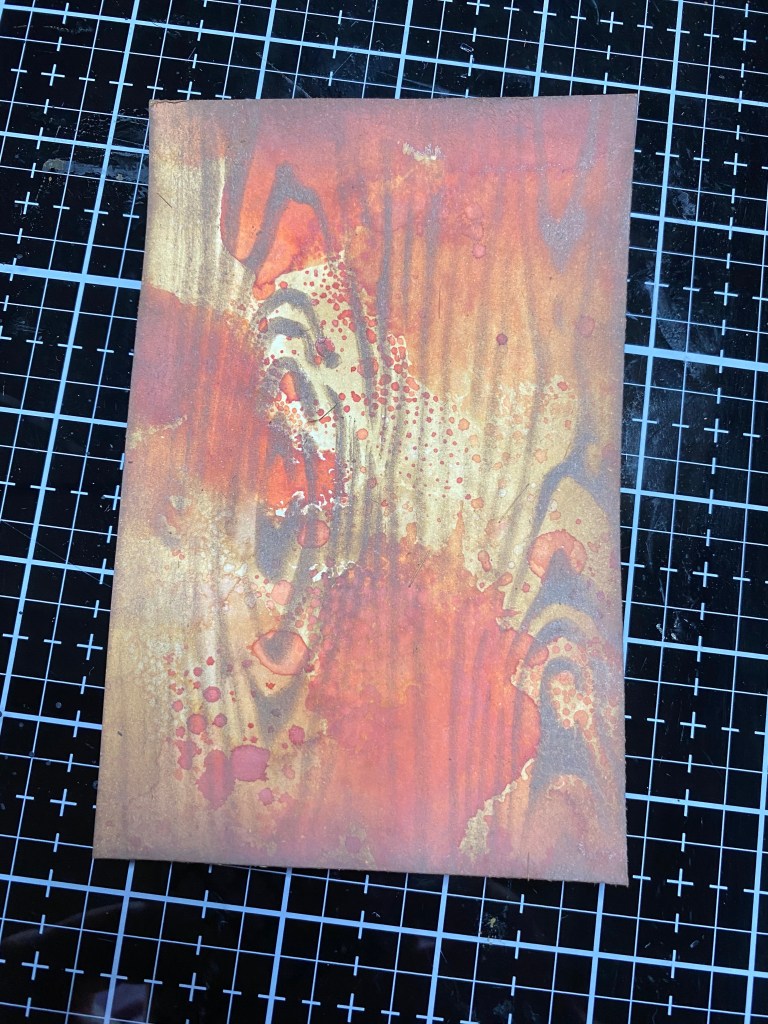
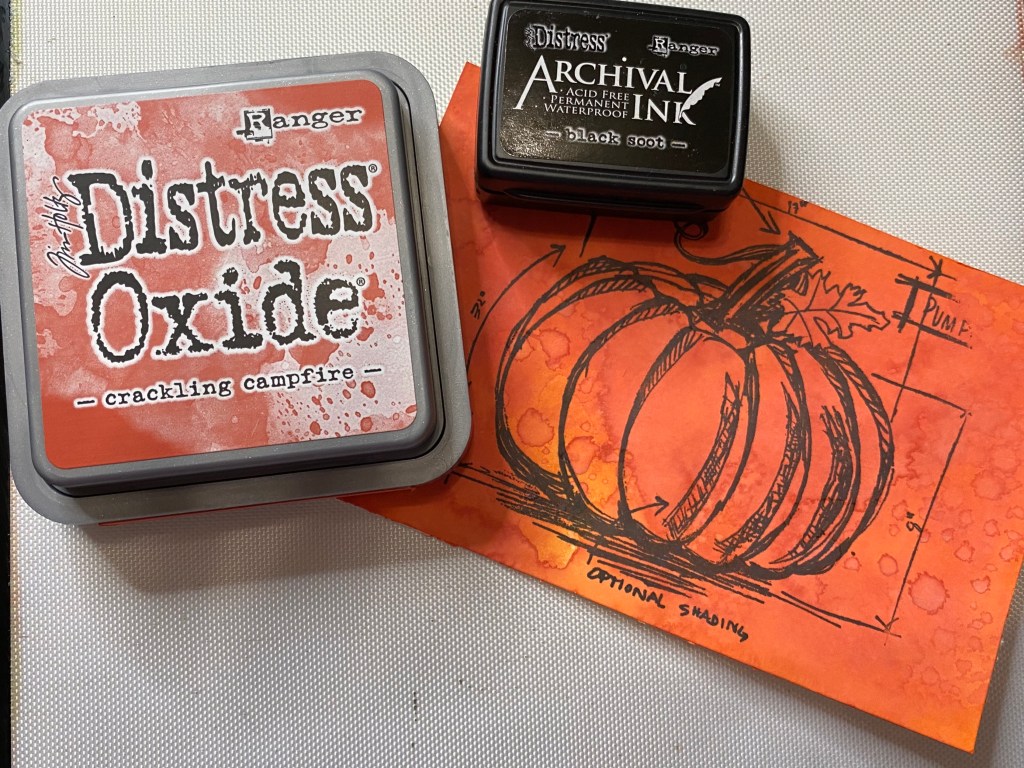
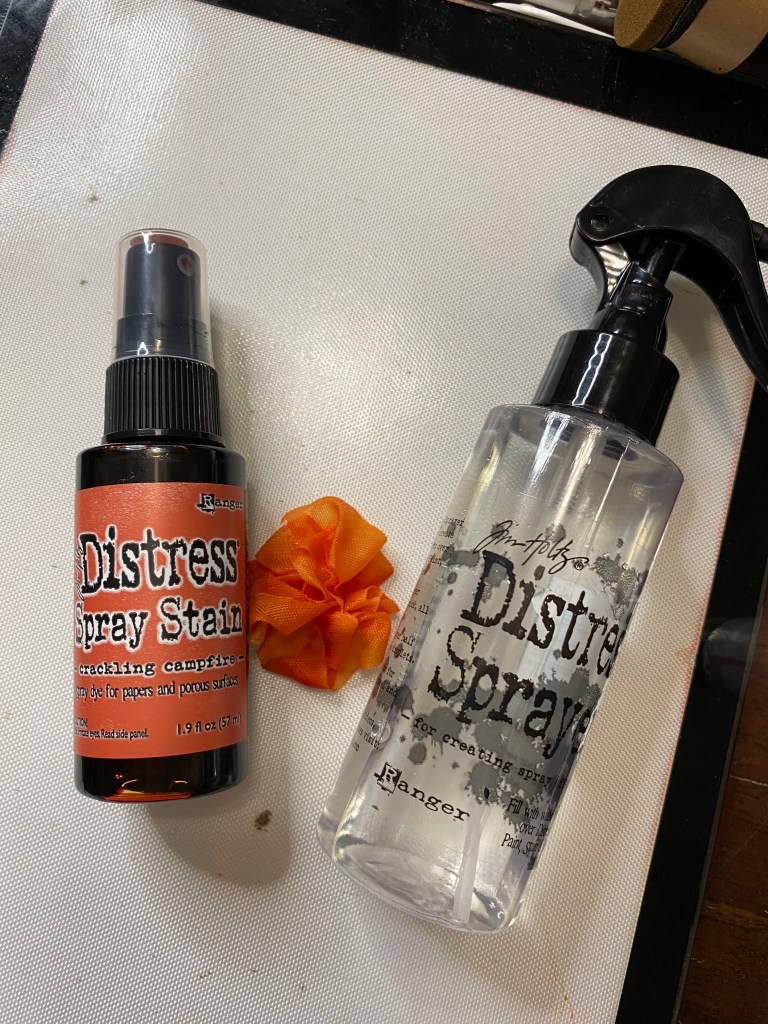
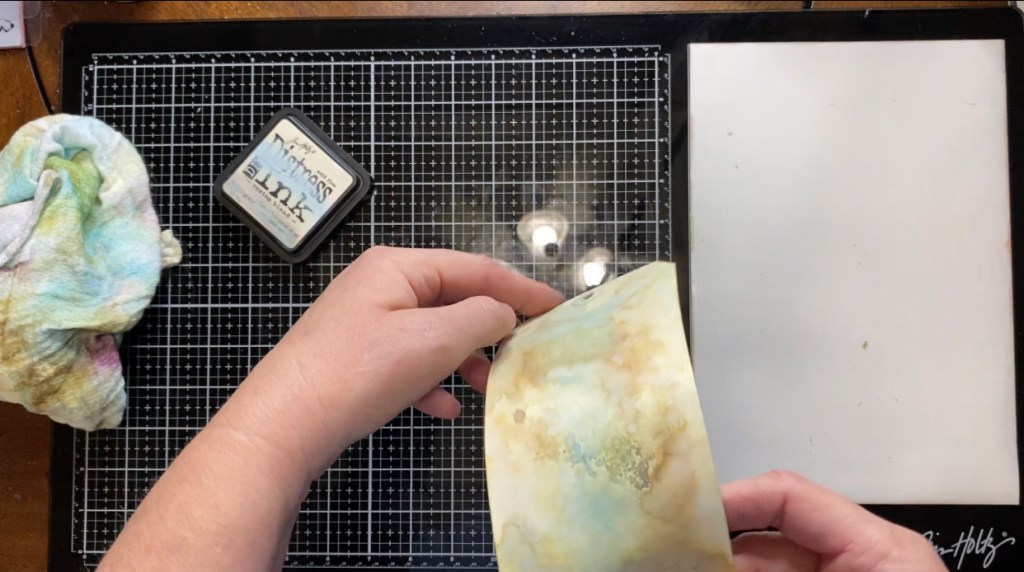
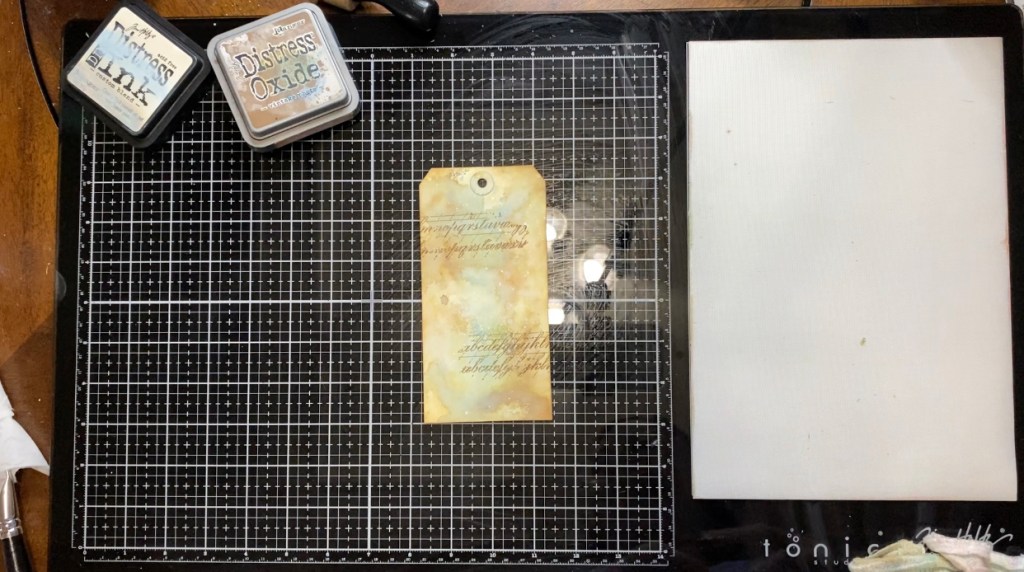
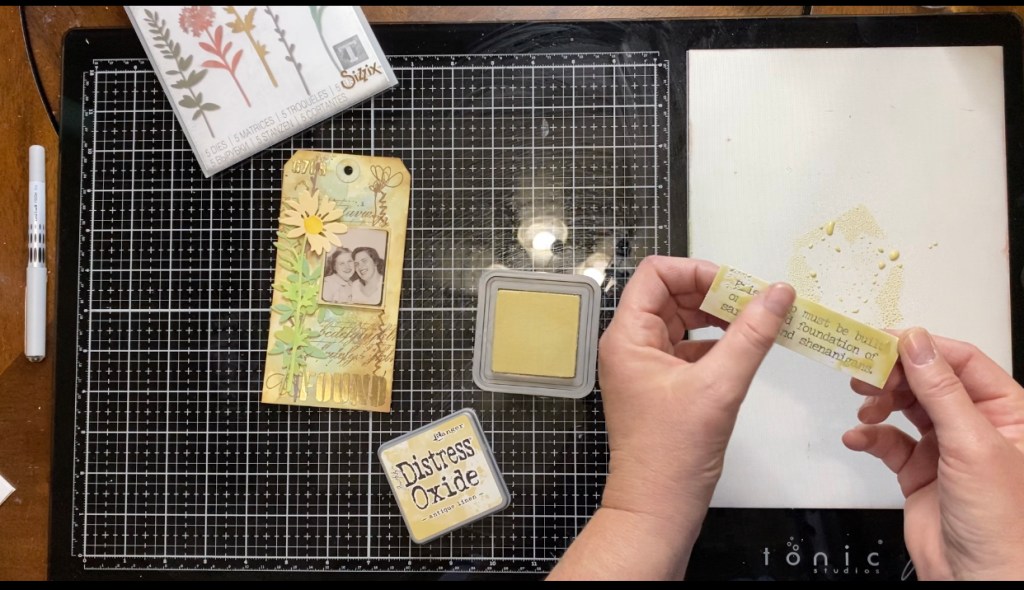
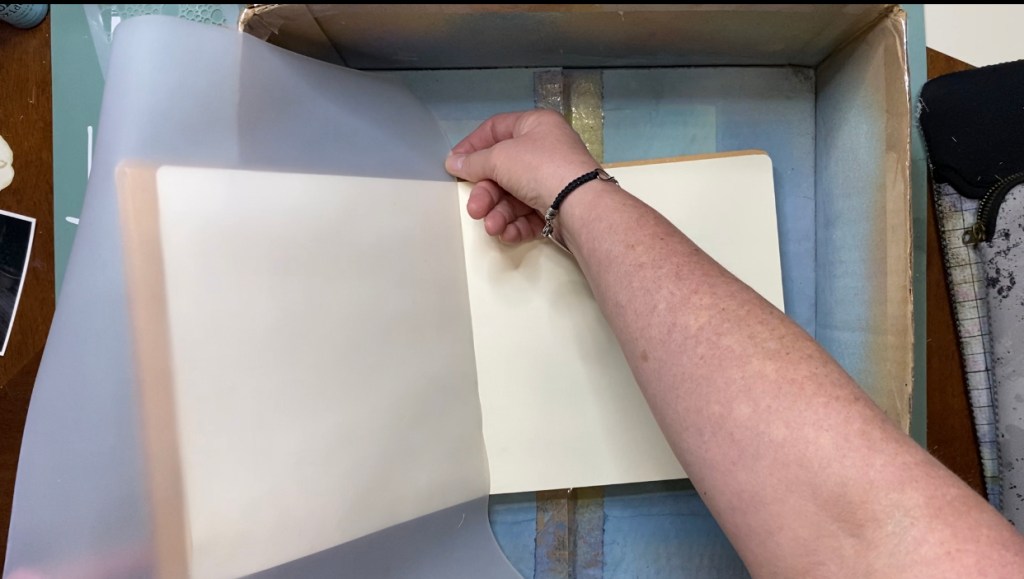
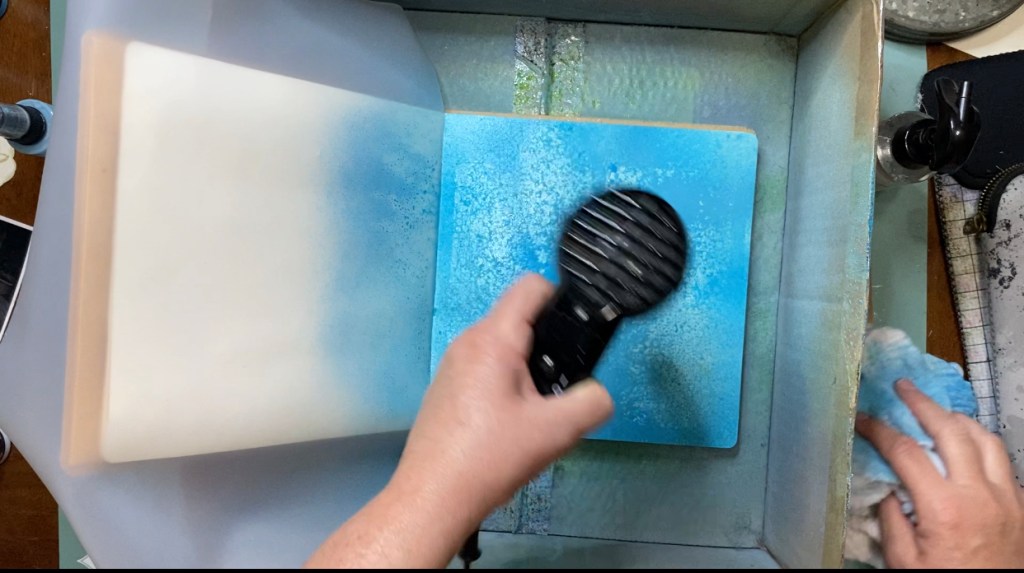
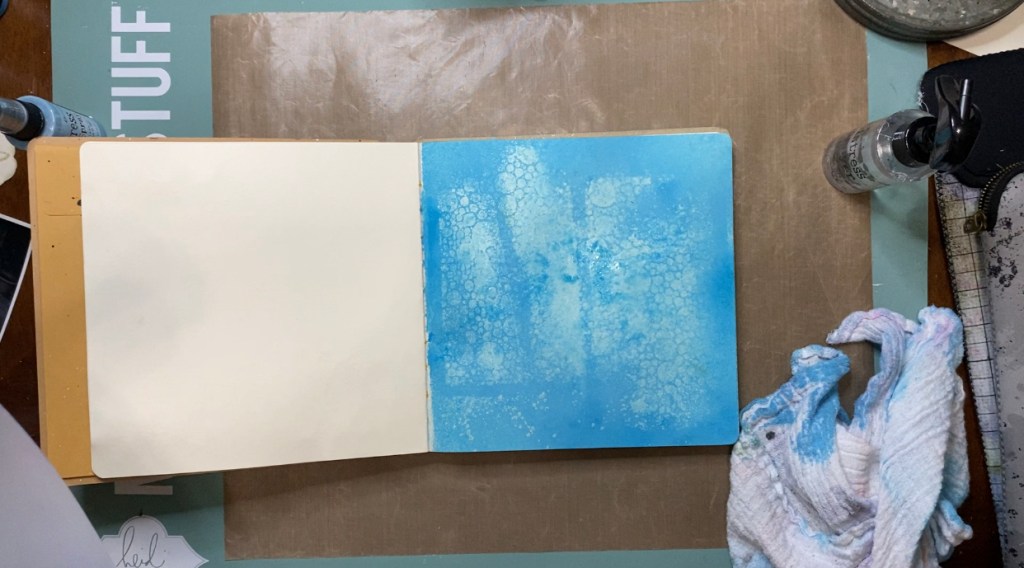
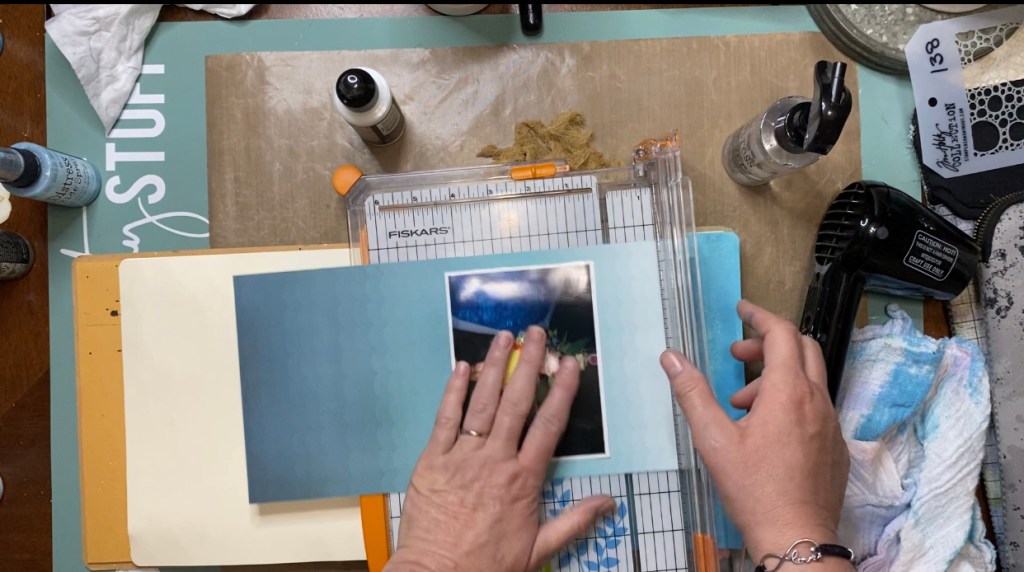
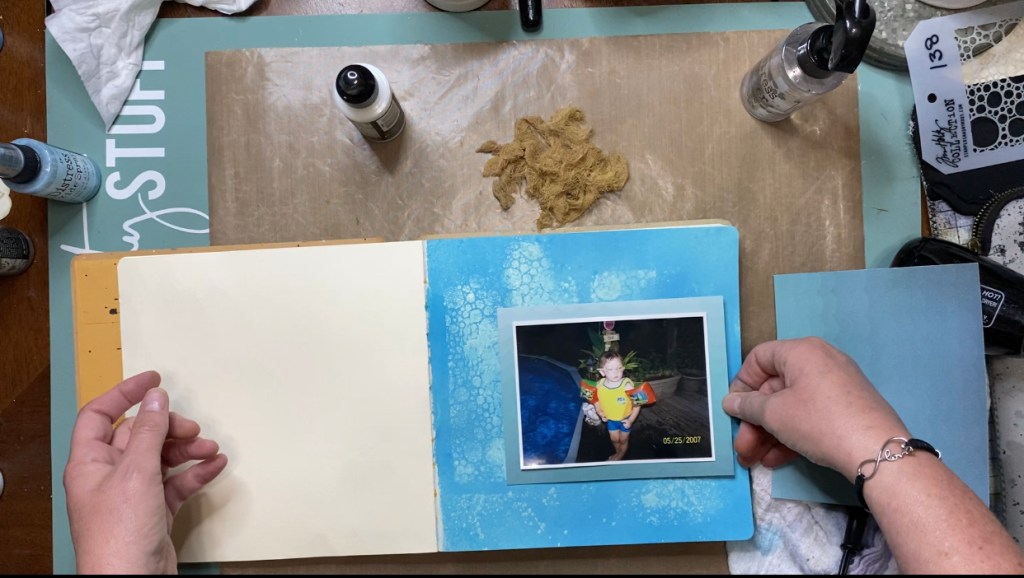
So at first I thought I was just going to do a tag and then I decided to incorporate it in the art journal and use the picture of Momma. I used both the Distress ink and the Distress Oxide sprays for the art journal page and I used the Distress Spray stain and the Distress Oxide pad for the tag. Just in case you were wondering, my art journal is a Dylusions art journal. It’s from the Dylusions line and it has some great mixed media paper in it.
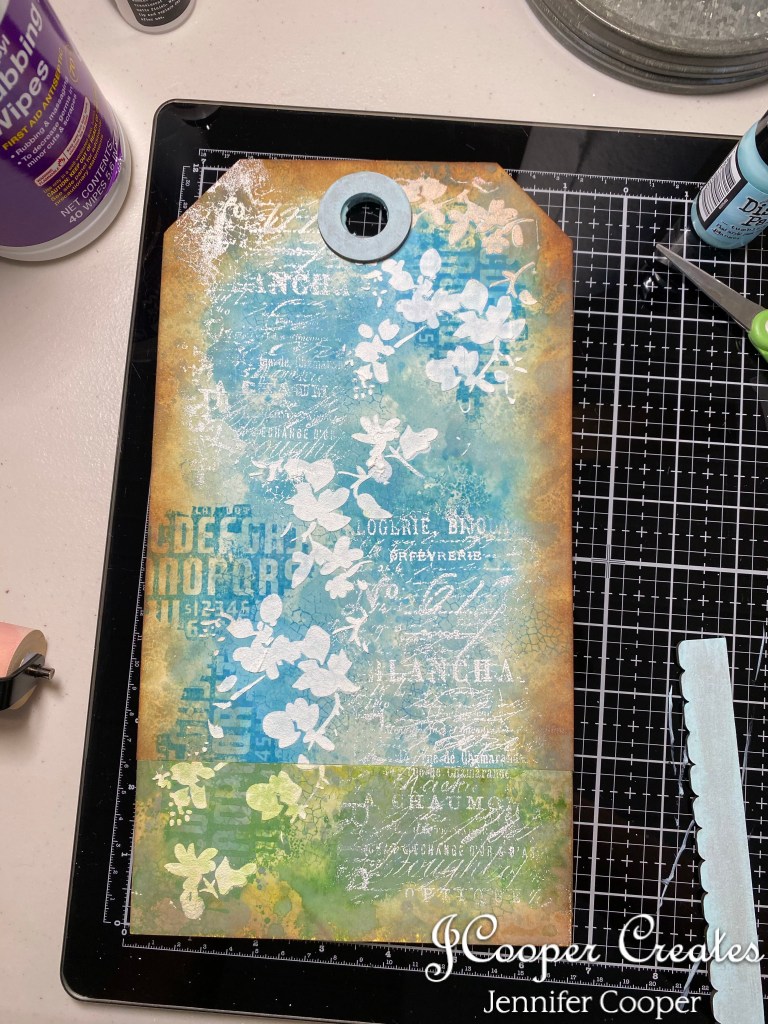
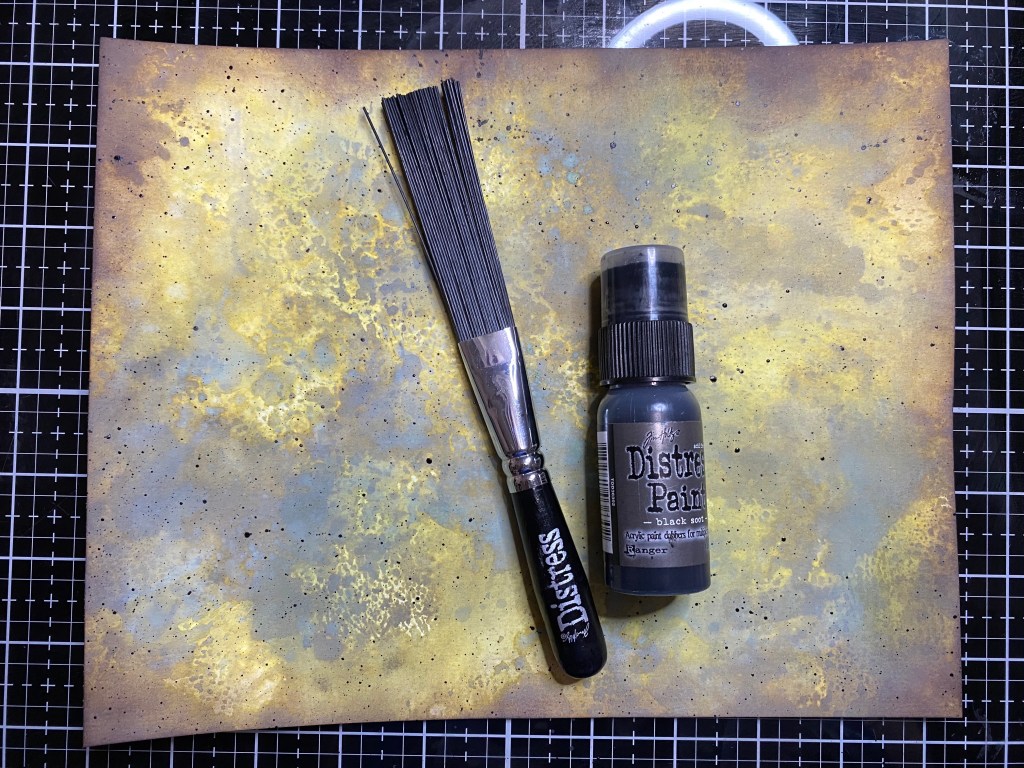
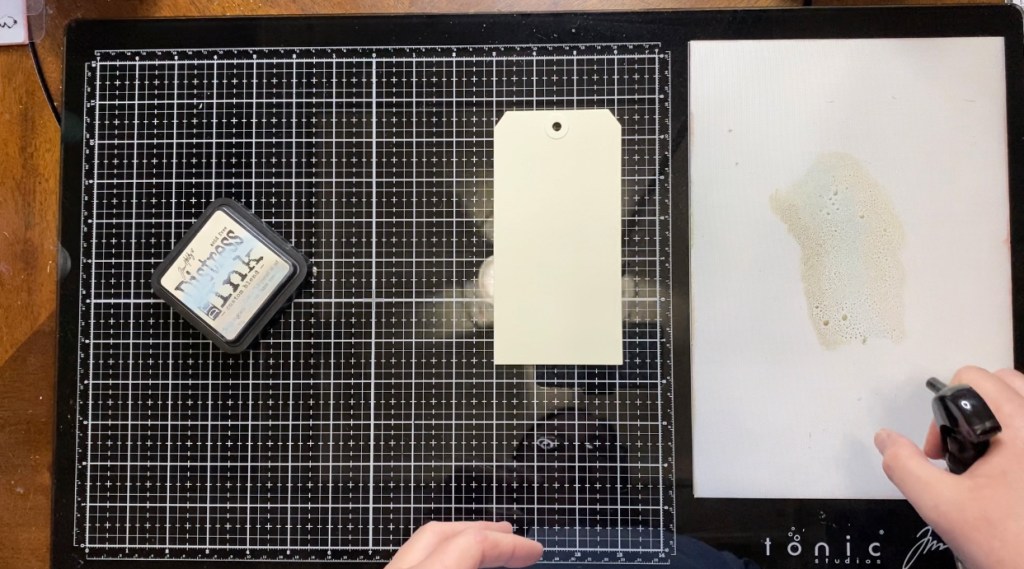
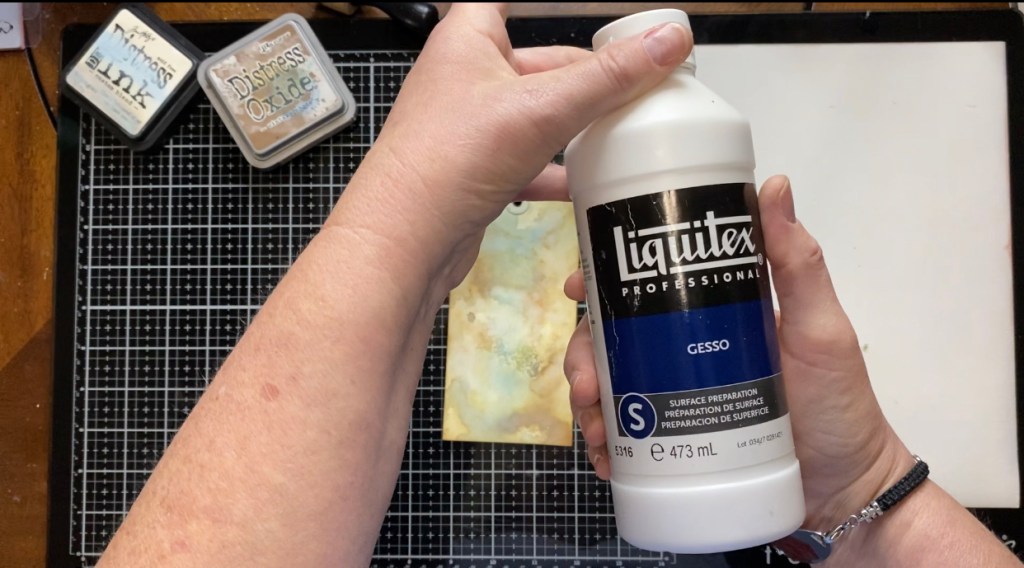
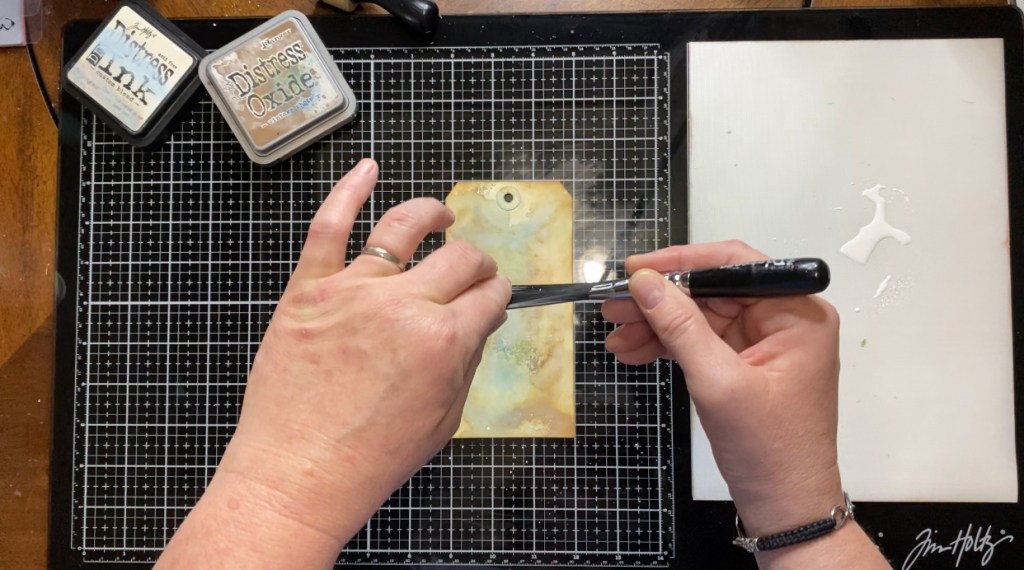
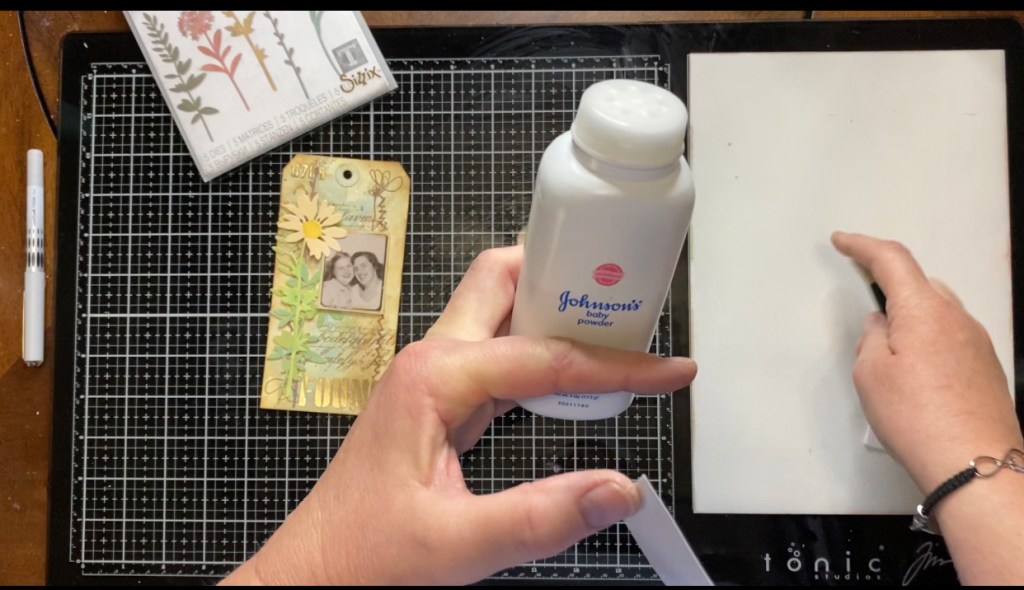
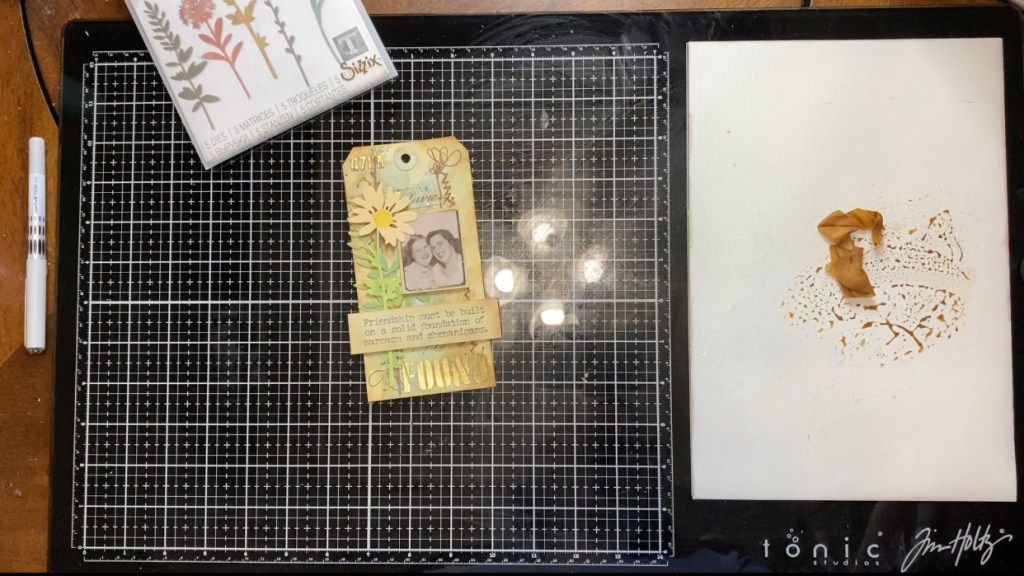
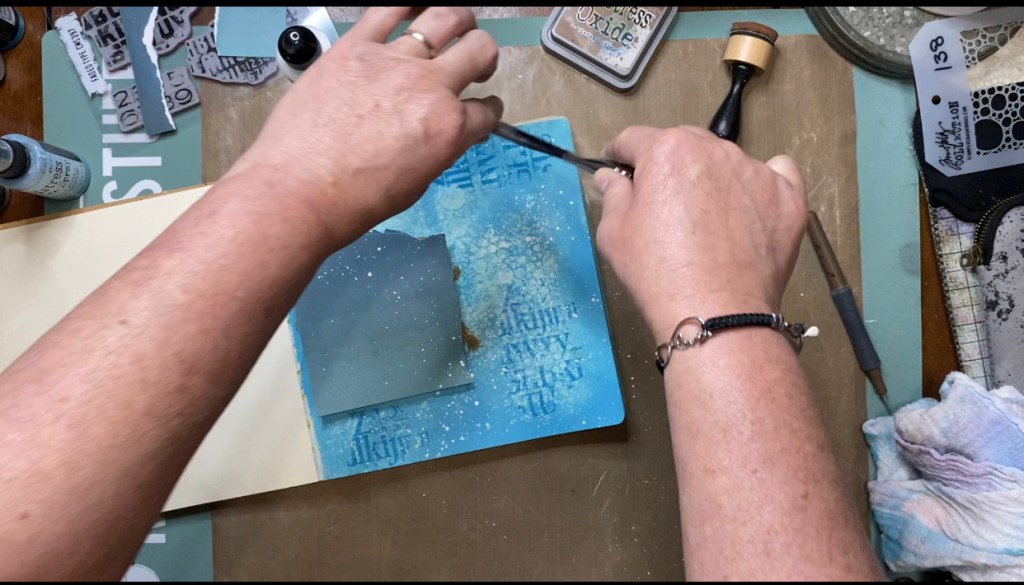
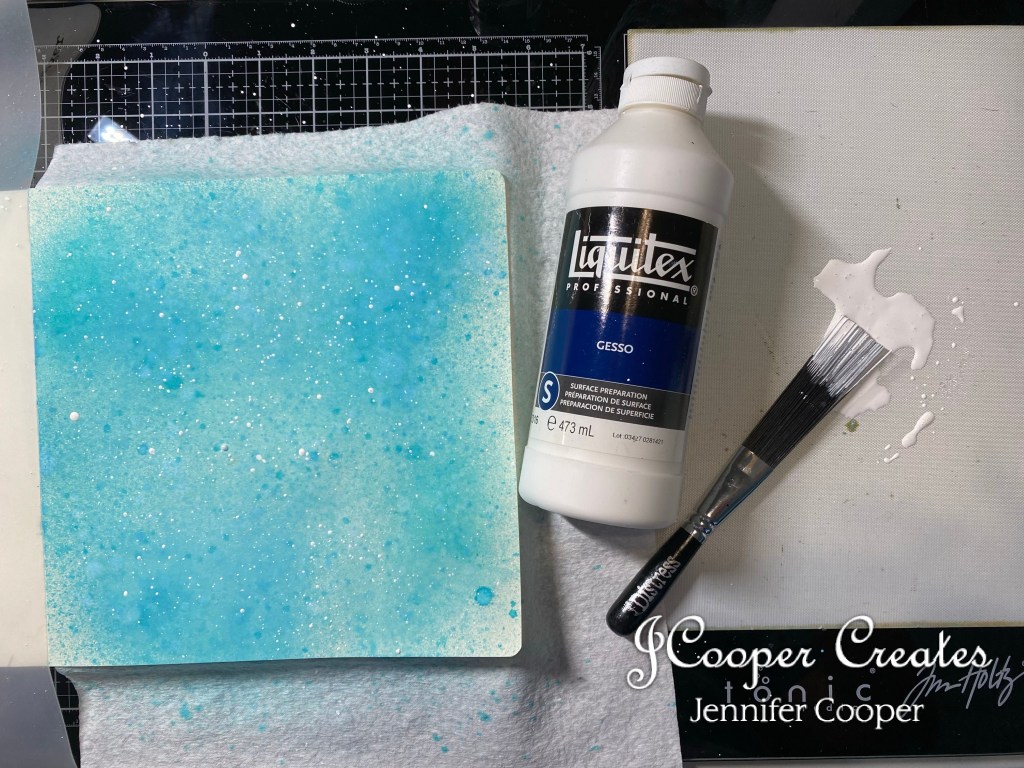
After I dried the tag and the art journal page, I used my white Gesso and a splatter brush to splatter a little white onto the background of the page. For this, I just poured a small amount of the Gesso onto my nonstick mat and spritzed it with a little water. I then dabbed my splatter brush into the mix and very gently pulled the bristles of the brush to make the splatter marks on the page. I just love this effect and how it looks on the page.
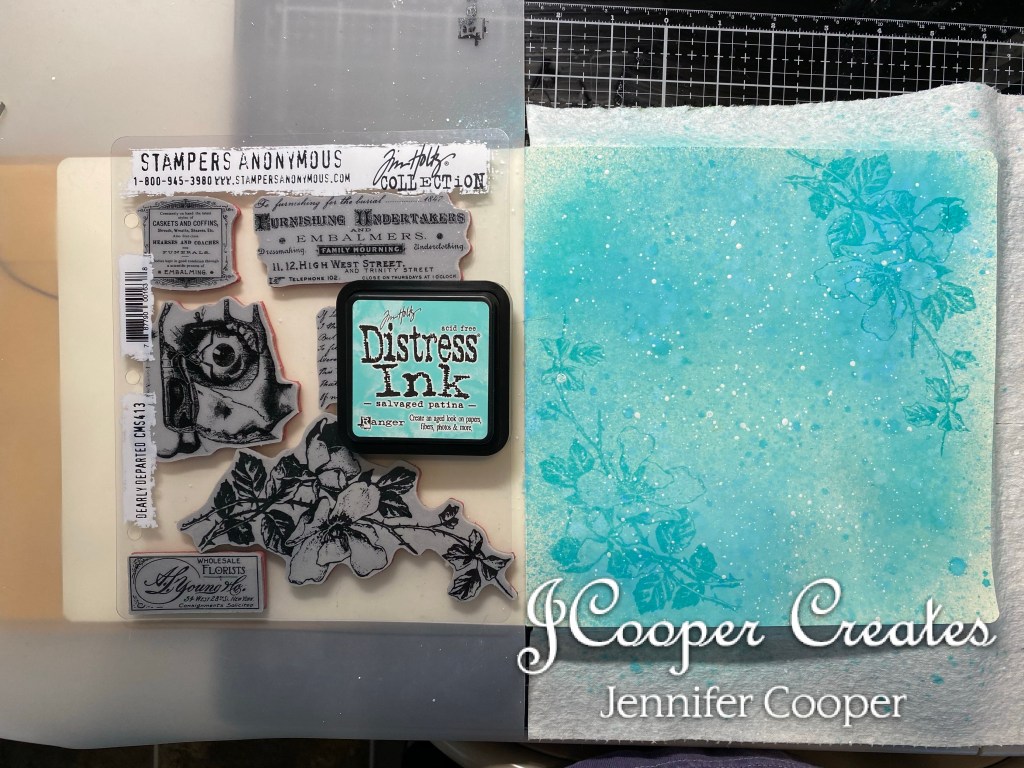
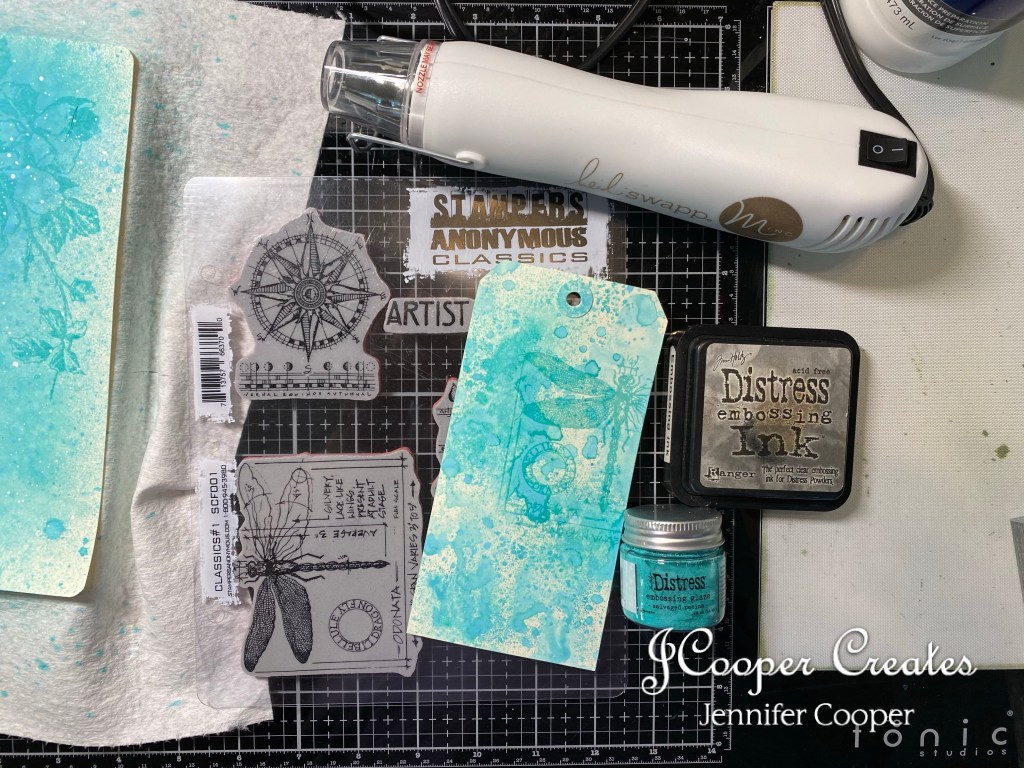
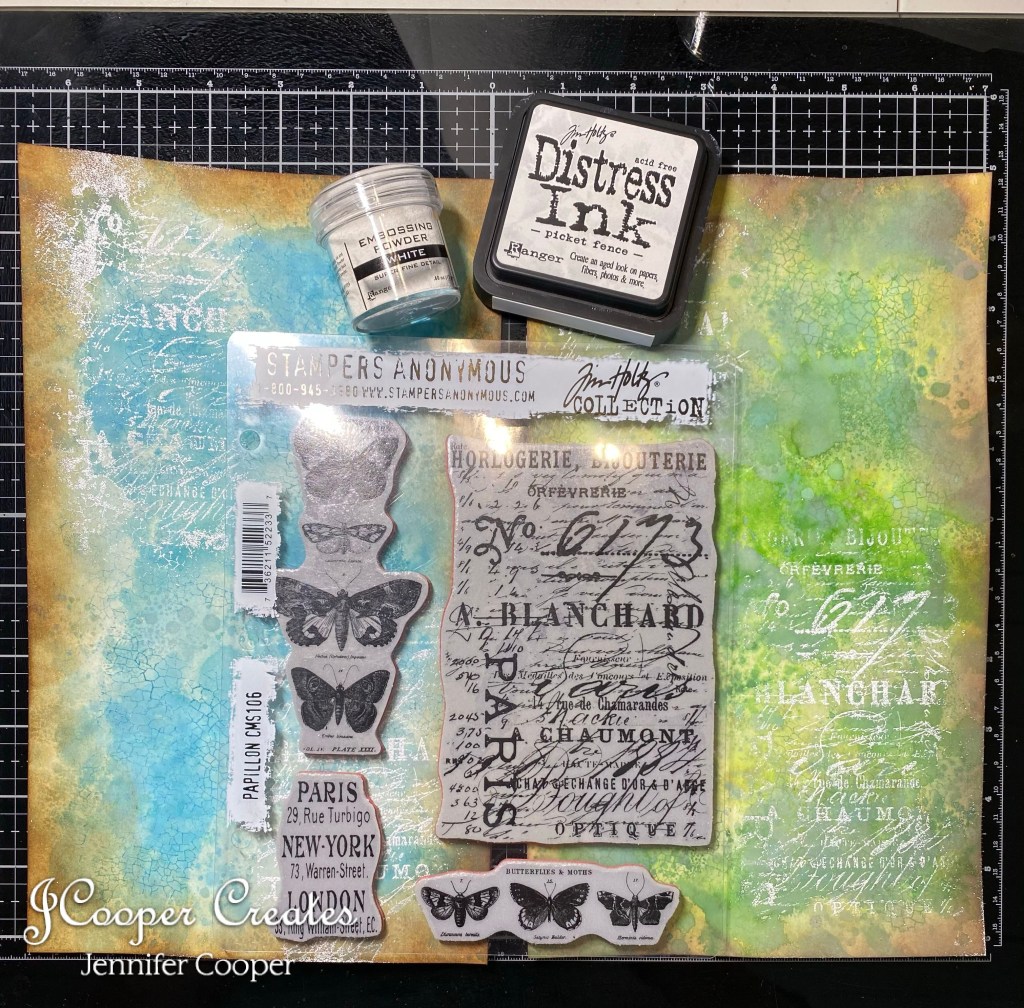
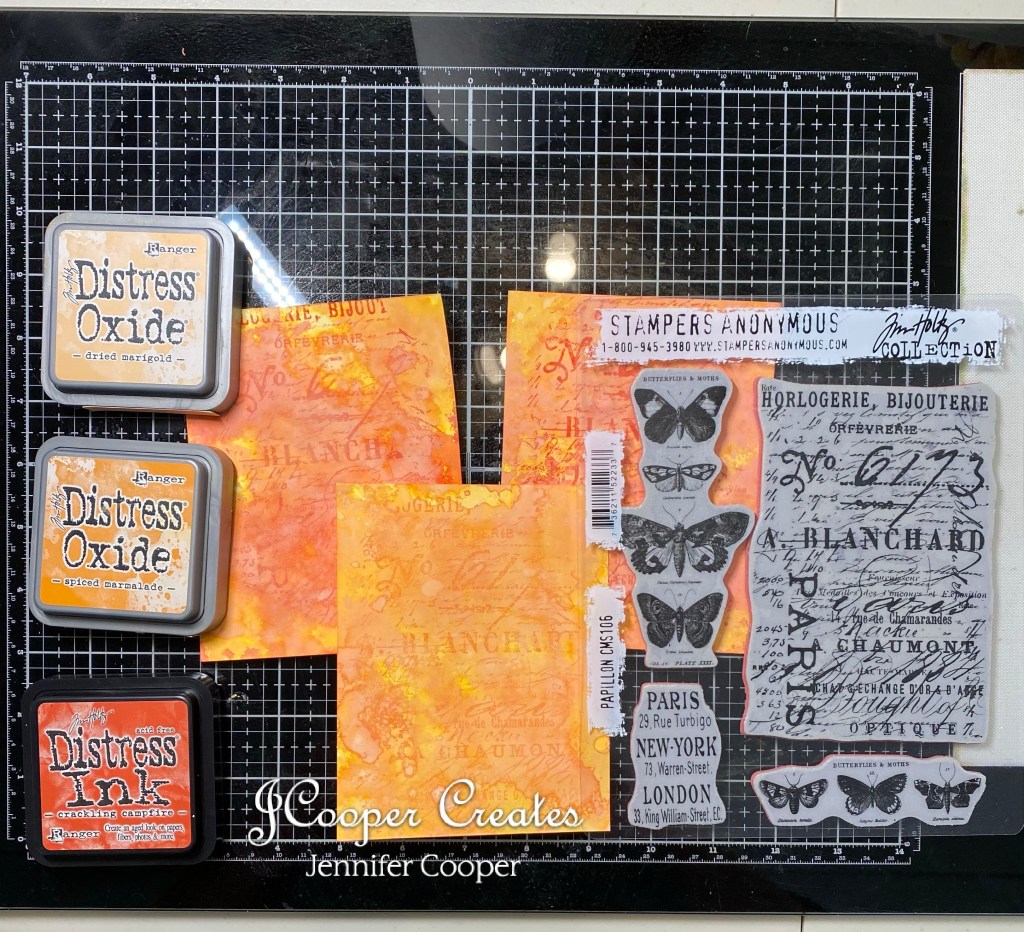
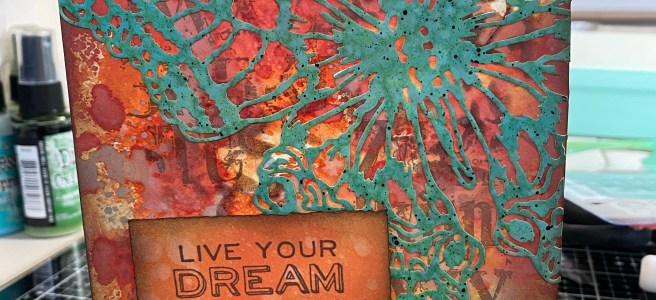
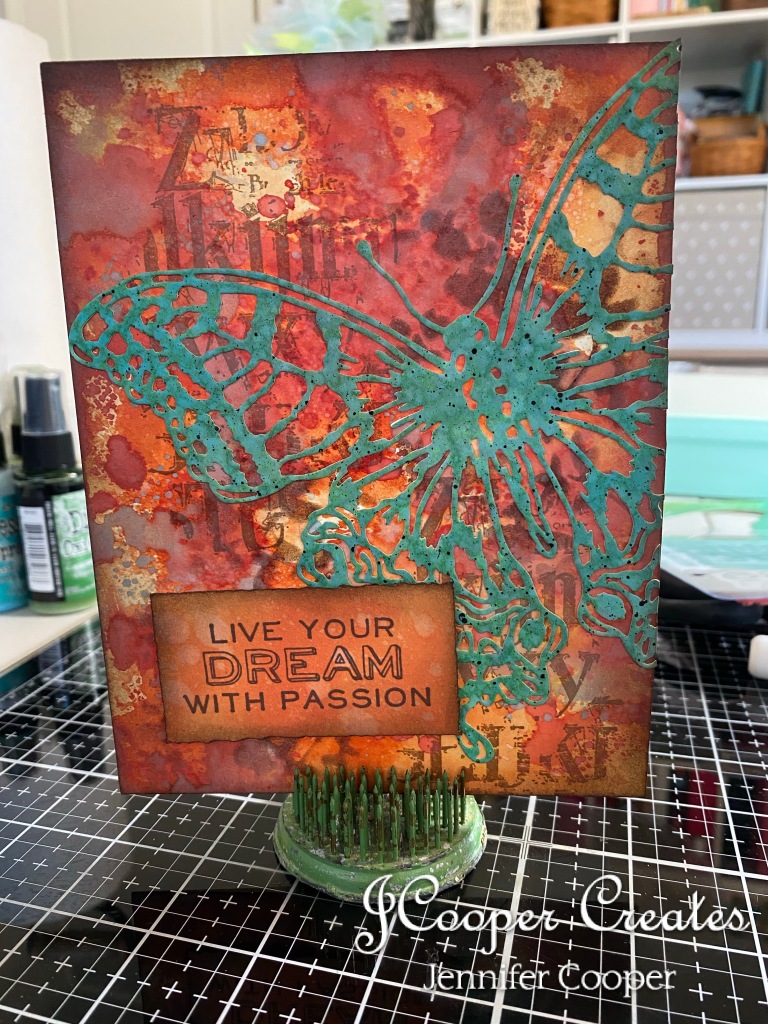
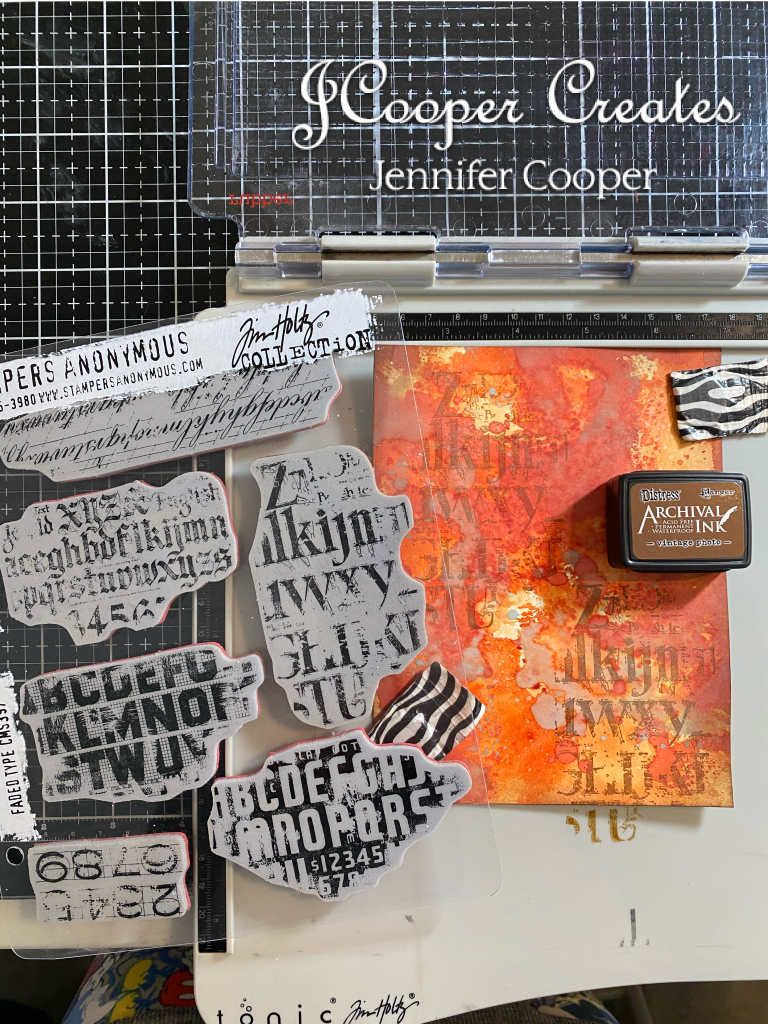
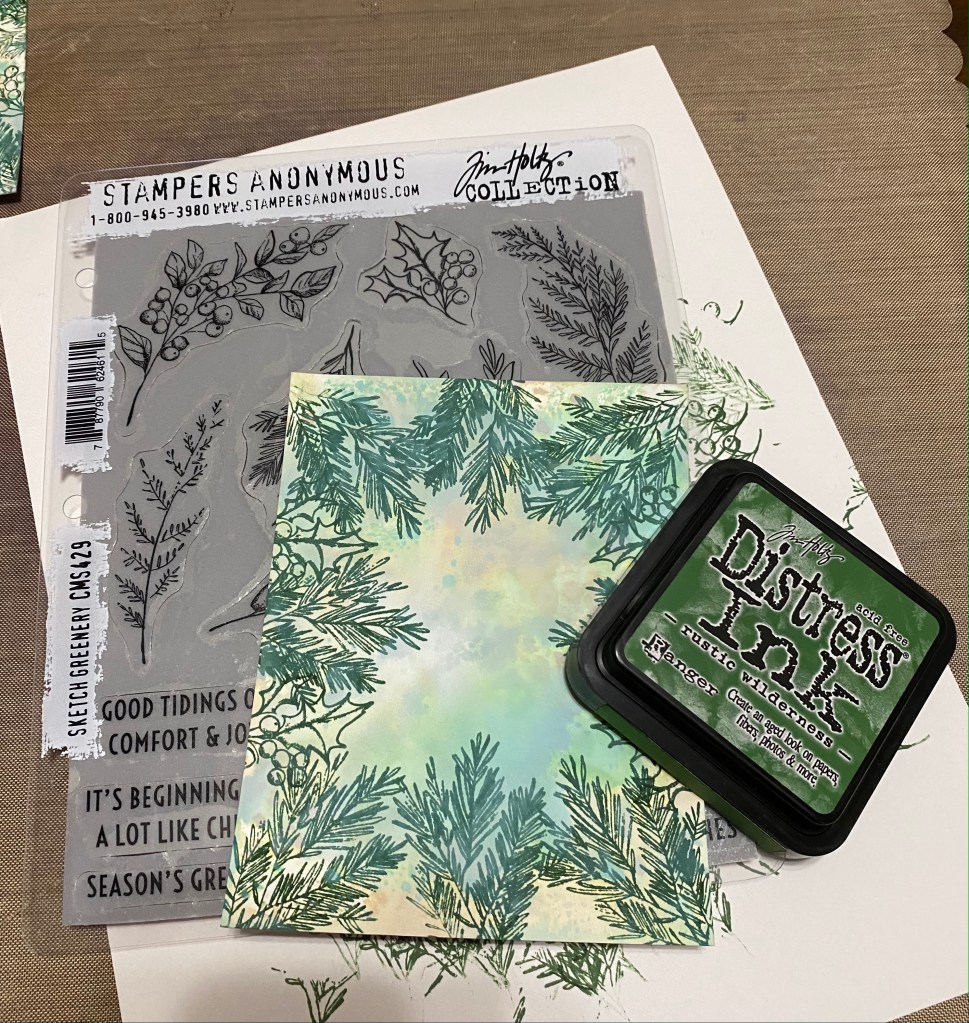
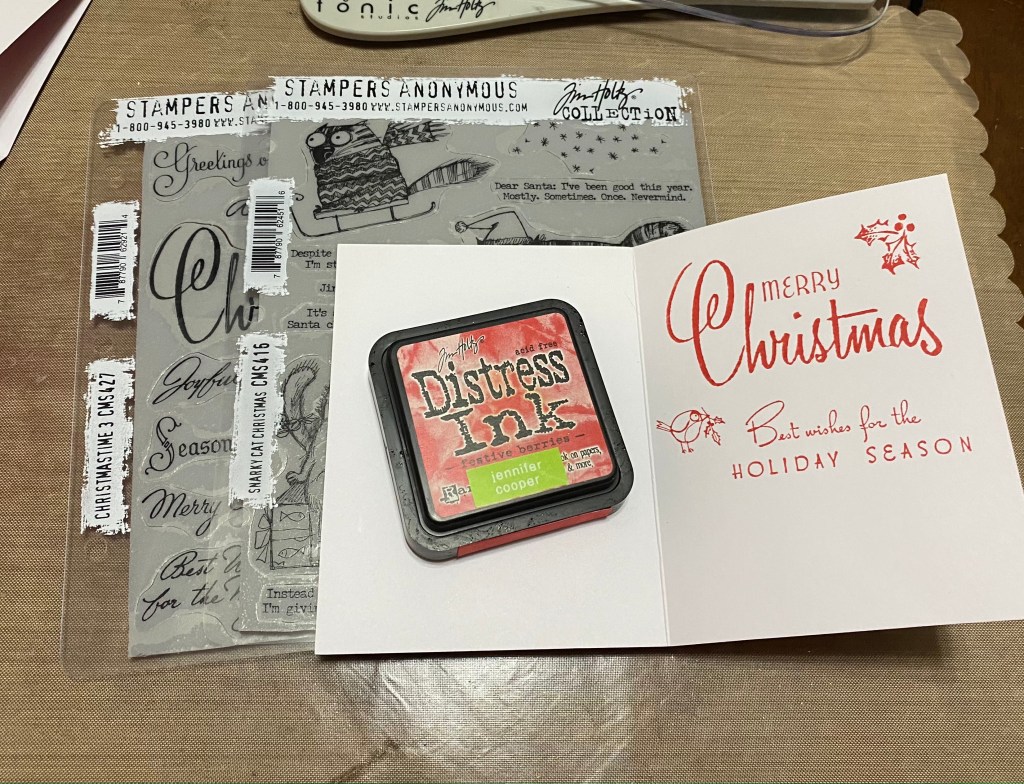
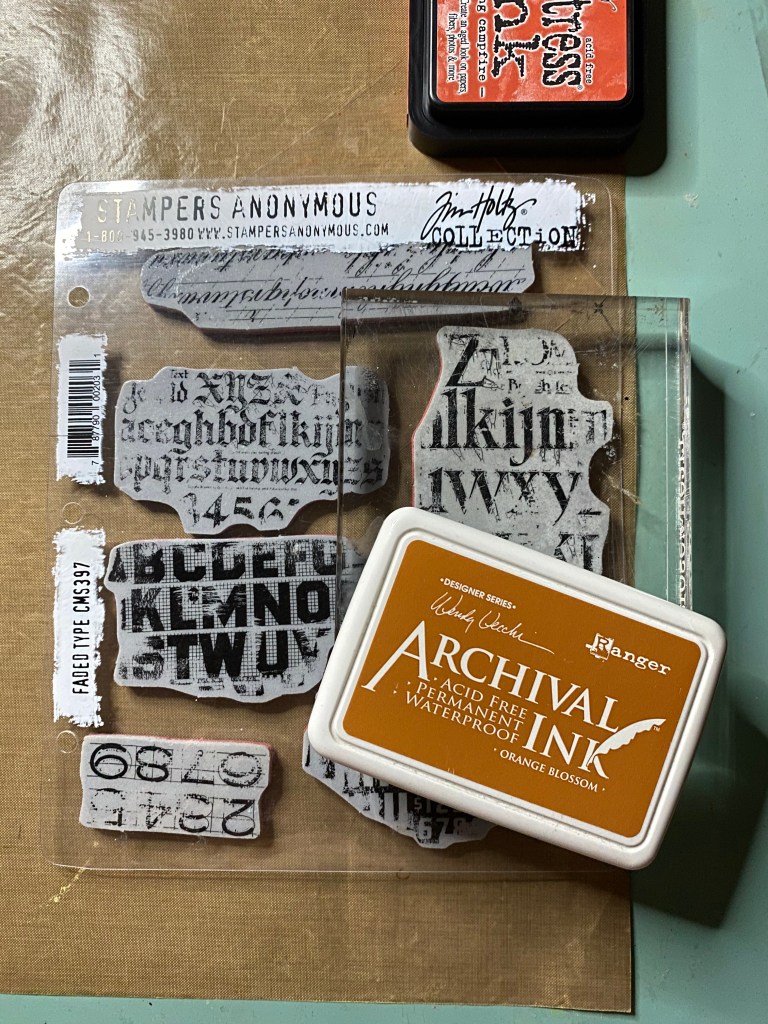
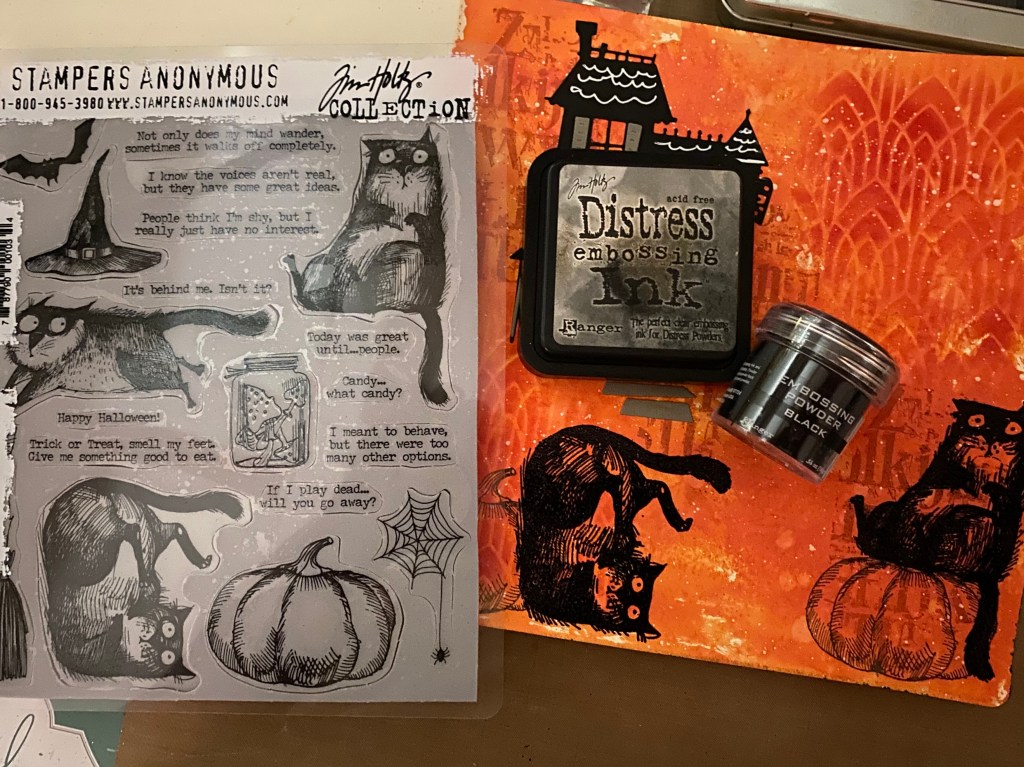
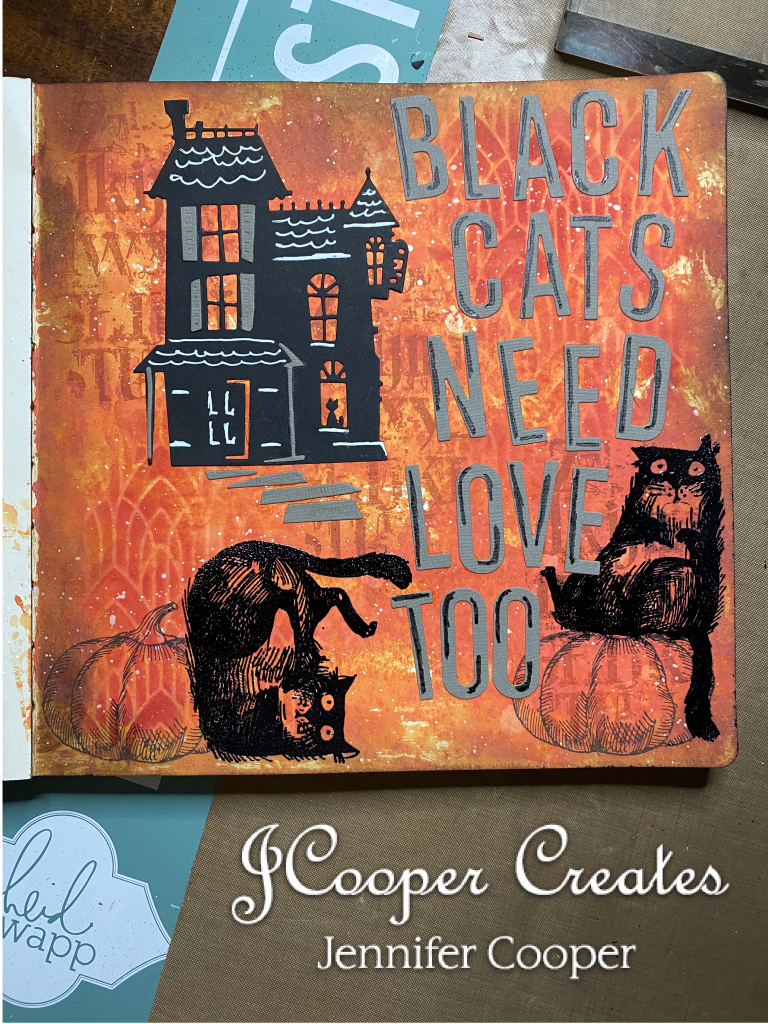
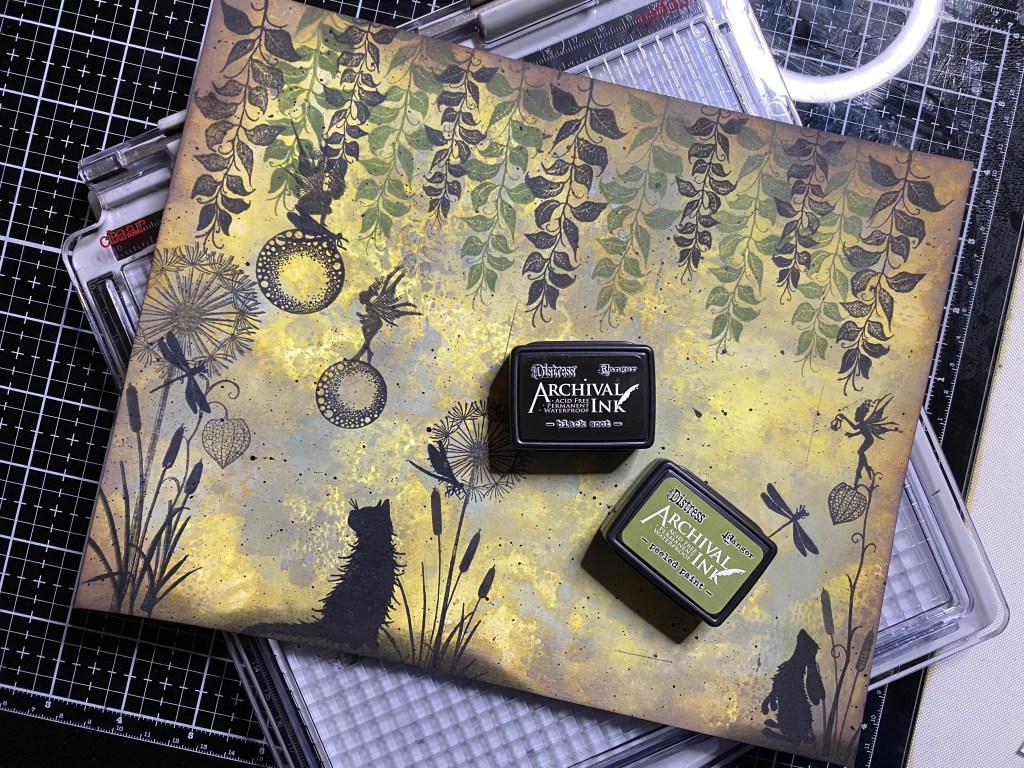
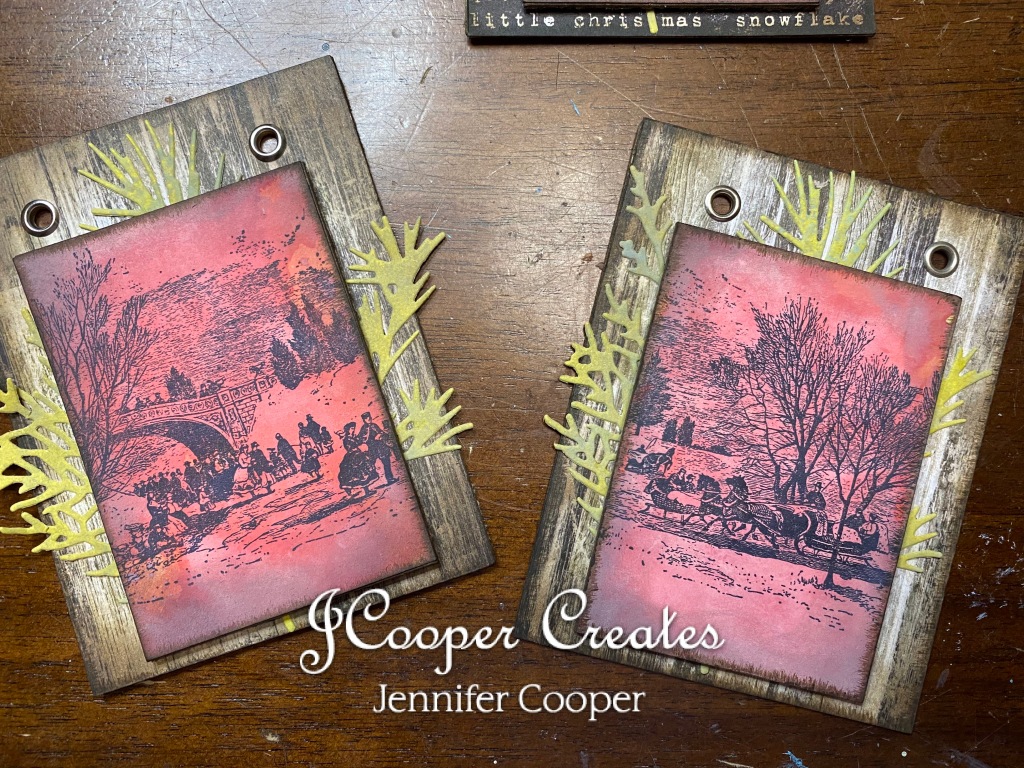
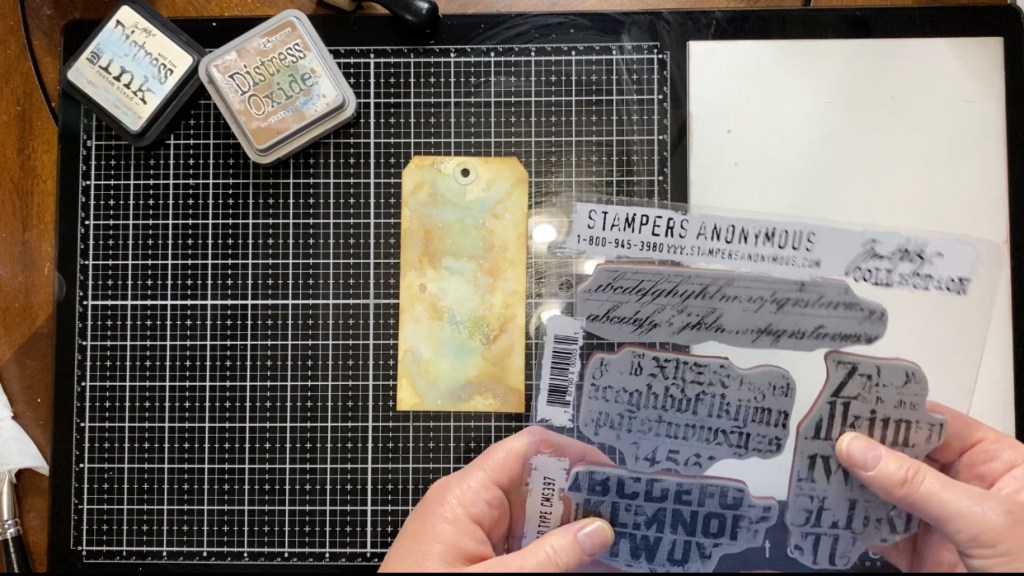
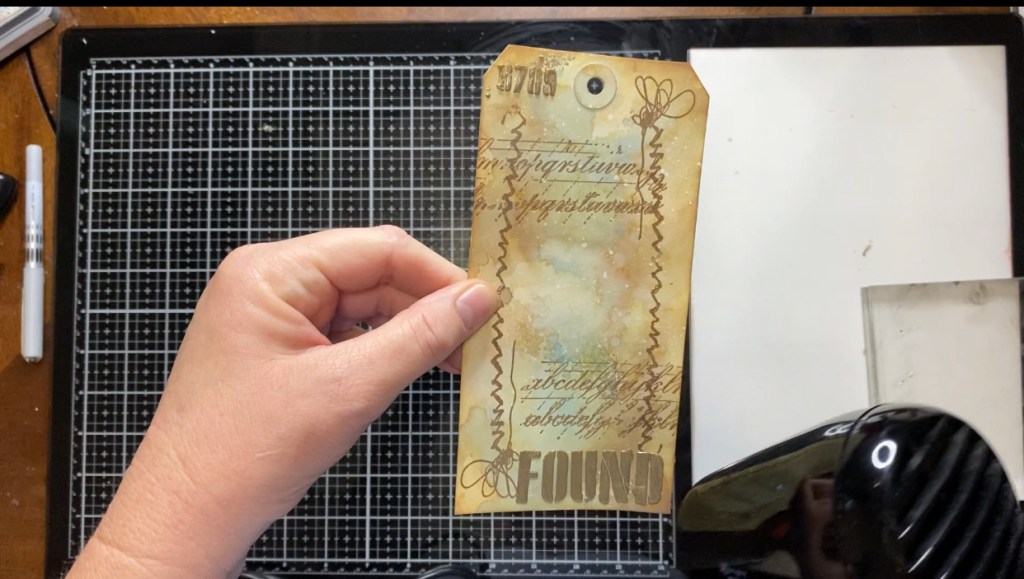
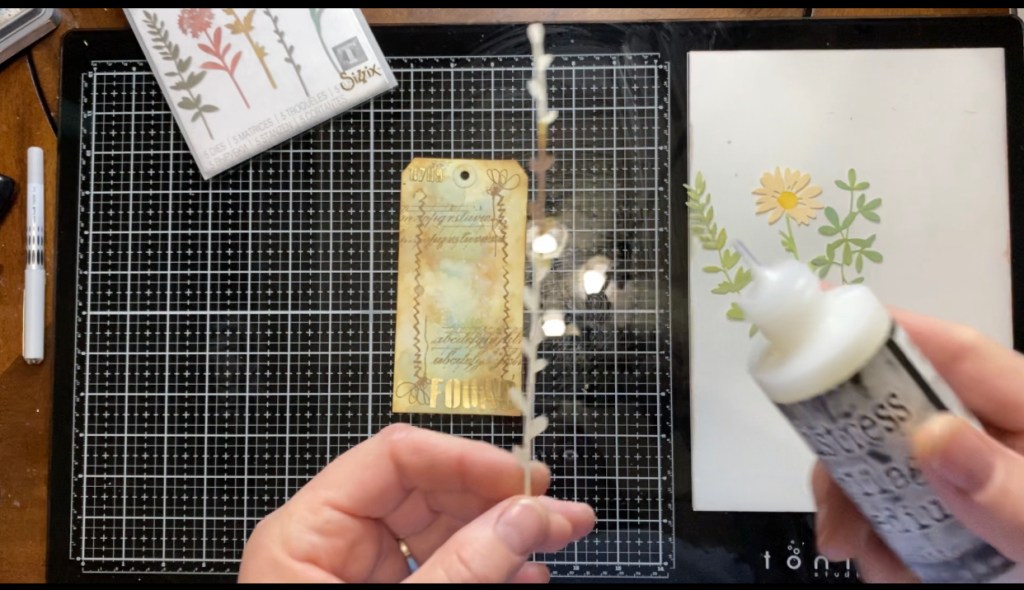
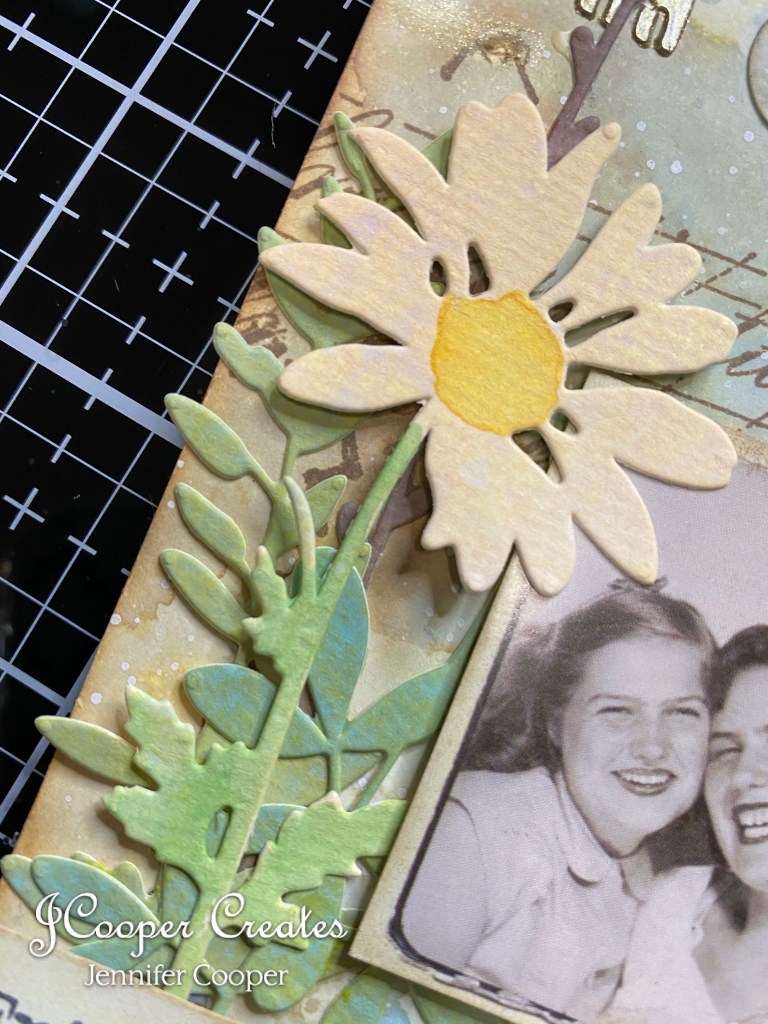
The next steps for the background were stamping and embossing. The first stamp set I used was Dearly Departed (CMS413) by Tim Holtz from Stampers Anonymous. It was part of the Halloween release. I don’t do Halloween, but I LOVE this flower stamp and Momma loved her flowers in her yard. She didn’t do Halloween either. LOL. The next stamp set used was Classics#1 (SCF001) also from Stampers Anonymous. I think I bought this set just for the dragonfly. When my son was small he called them “flying dragons”. Momma loved dragonflies as well. Our new house in on the bayou and we are surrounded by dragonflies. They may have had a hand in helping me fall in love with this property. LOL.
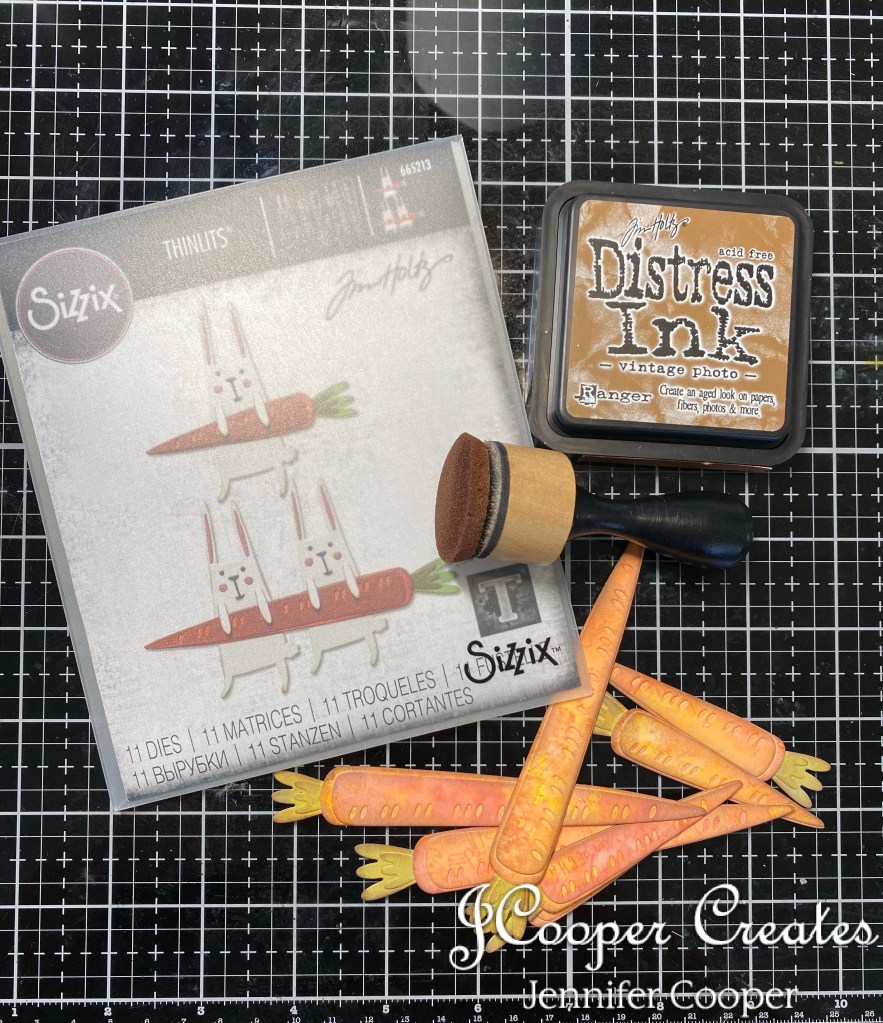
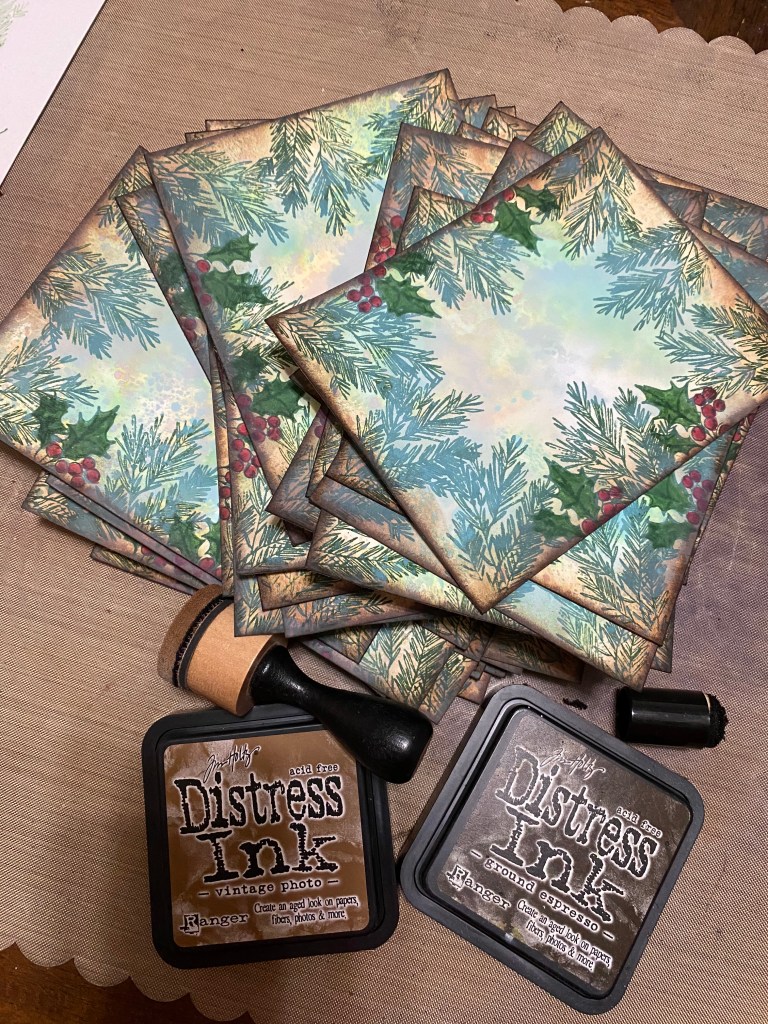
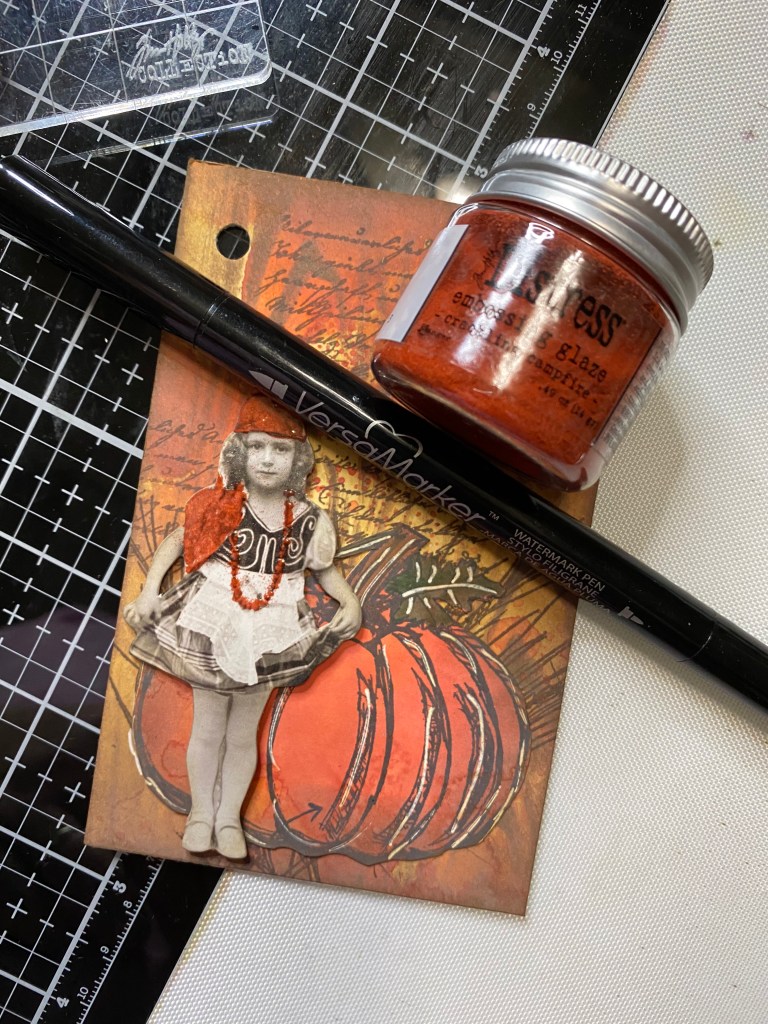
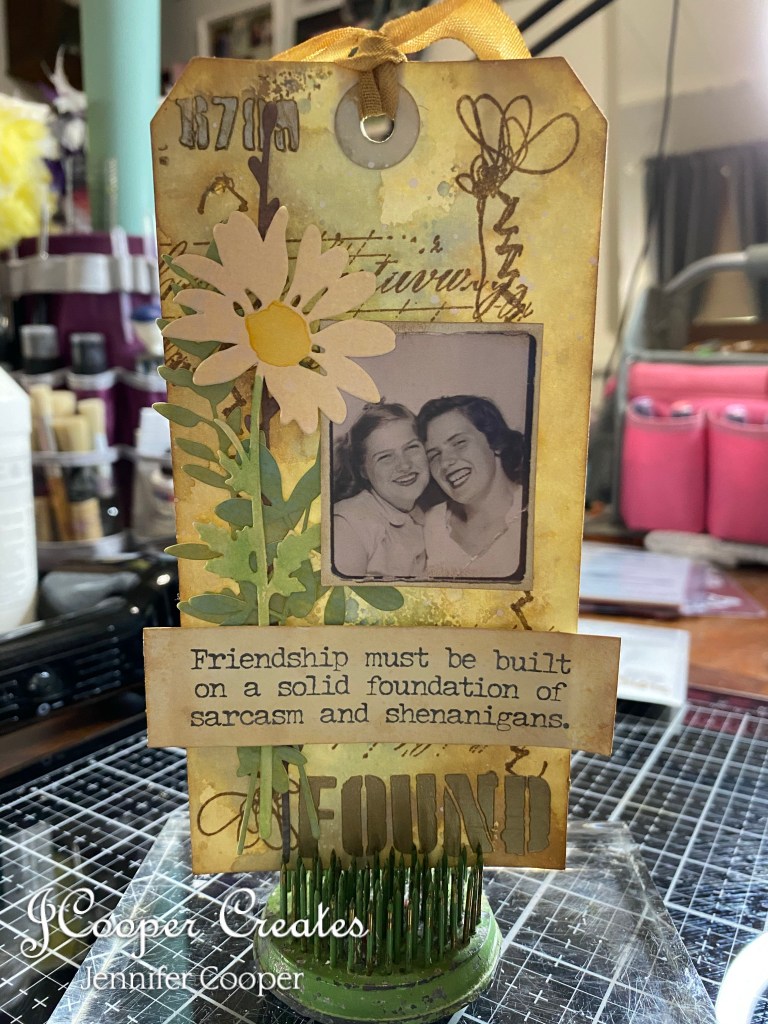
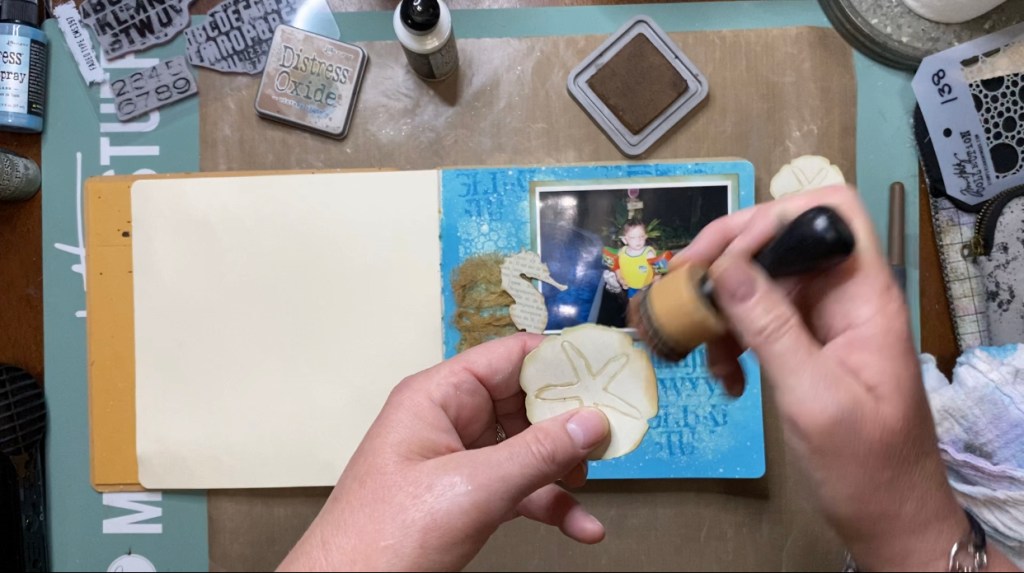
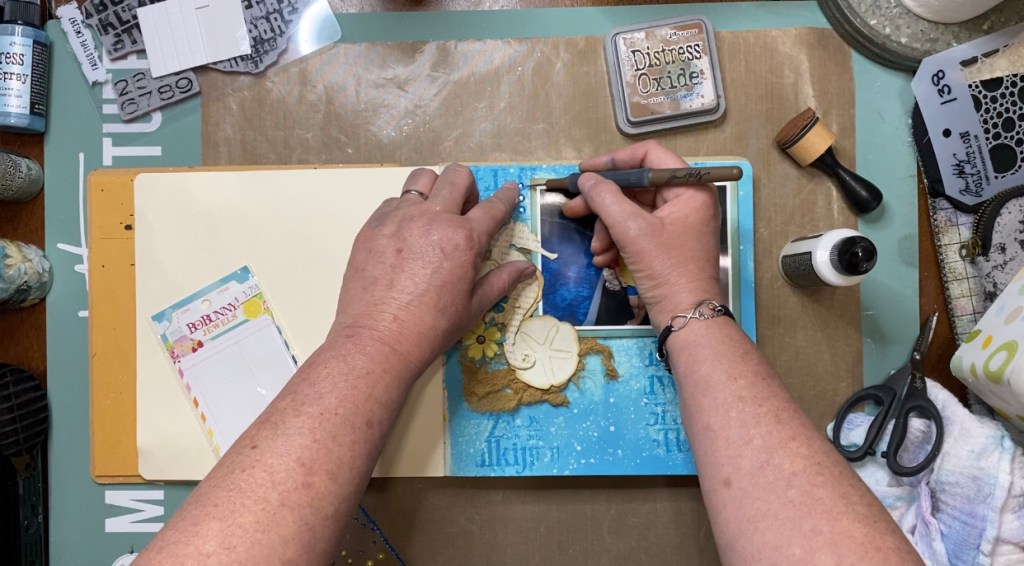
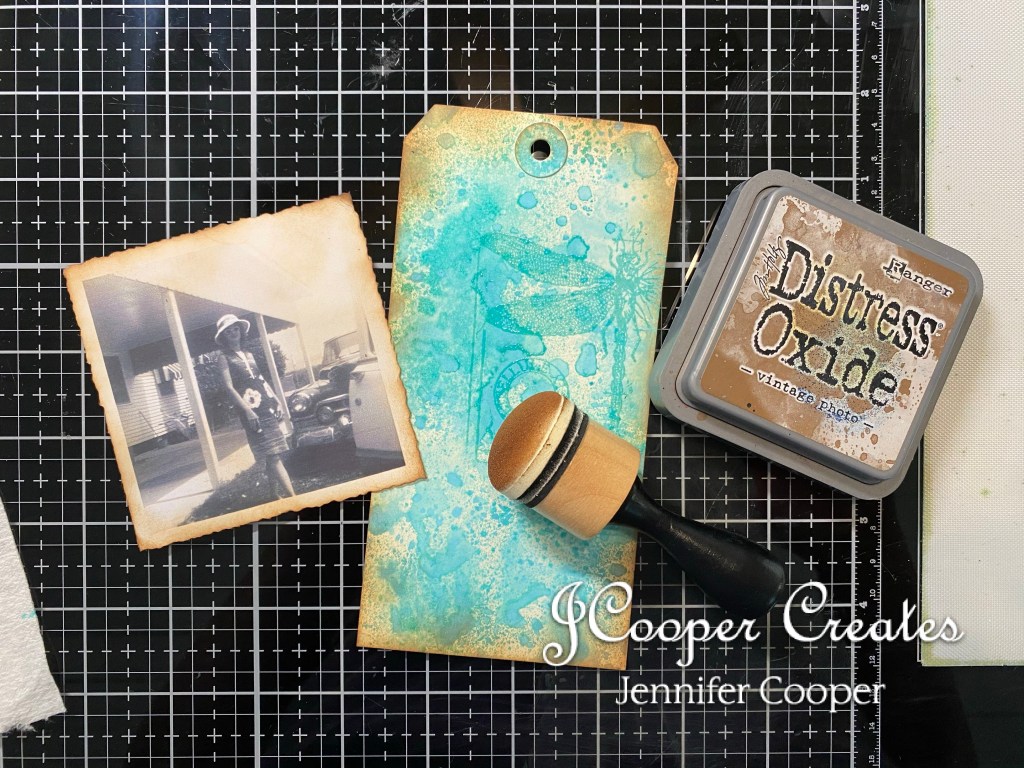
The flowers were stamped with Salvaged Patina in the Distress Ink. The dragonfly was stamped with Distress Embossing Ink and I used the Salvaged Patina Embossing Glaze to emboss him. I then used my Vintage Phote Distress Ink to distress the edges of the tag and the photocopy of the photo. I did use my new Tonic Deckle paper cutter on the photocopy to give it the vintage photo look. Love it!!
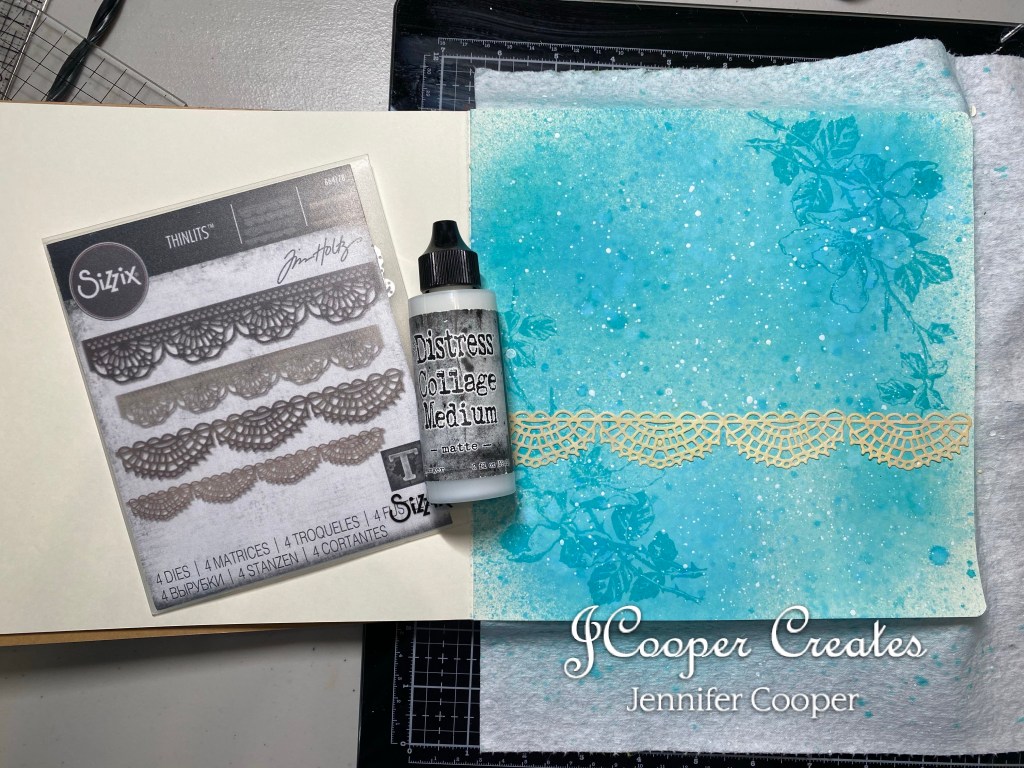

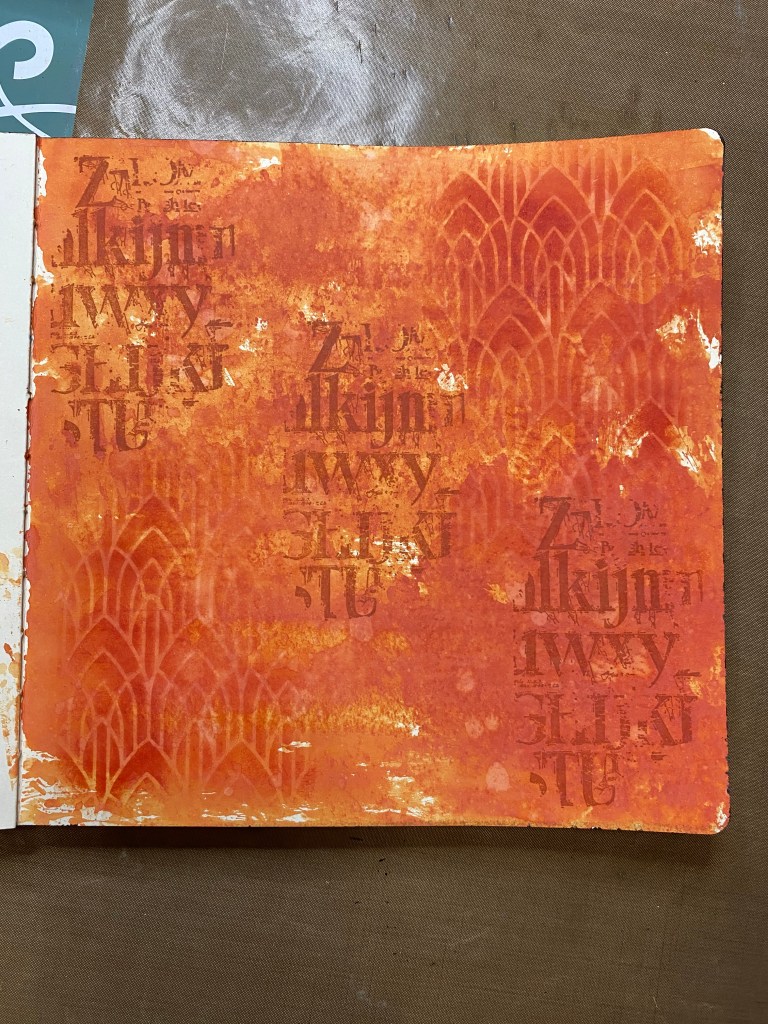
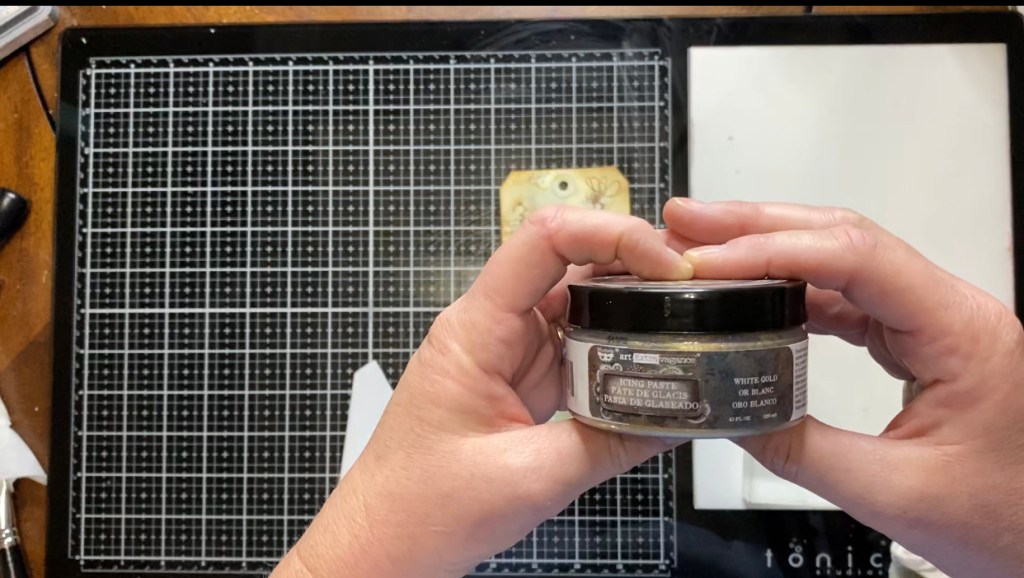
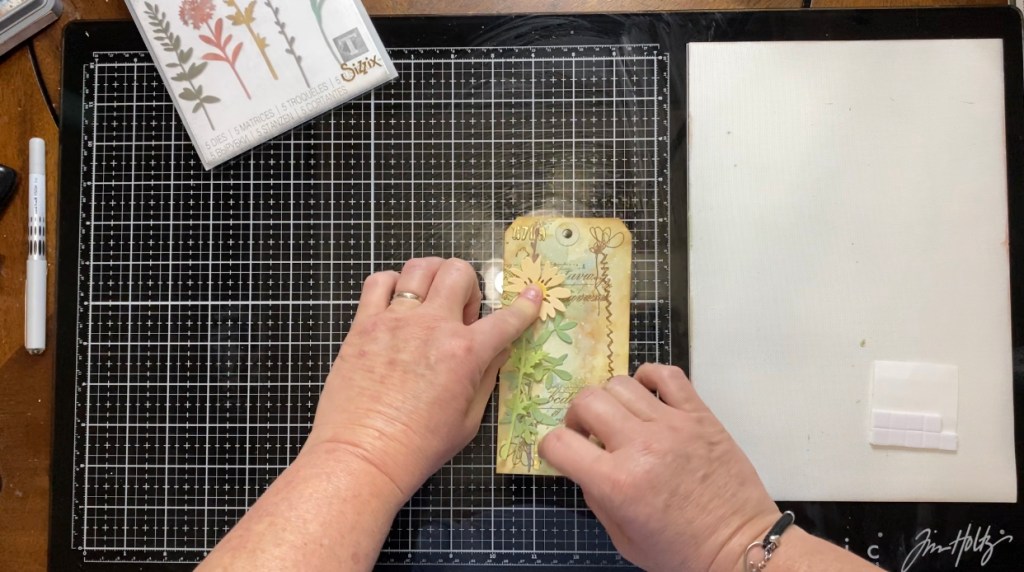
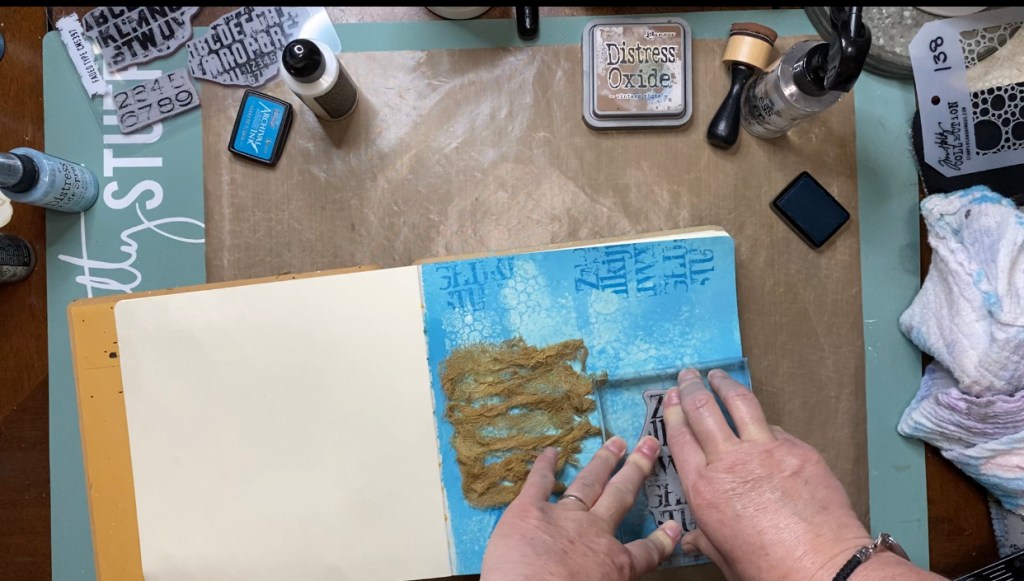
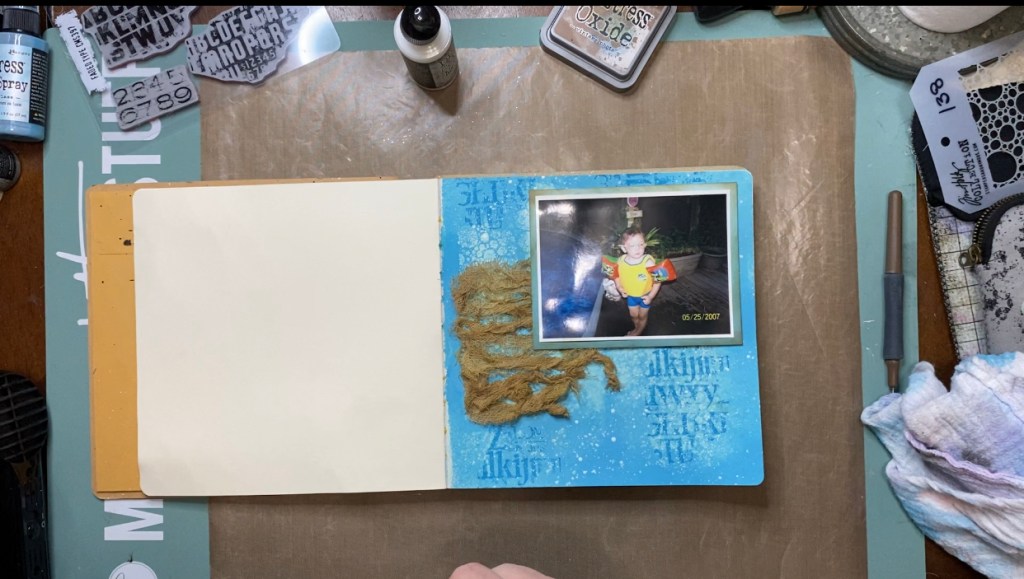
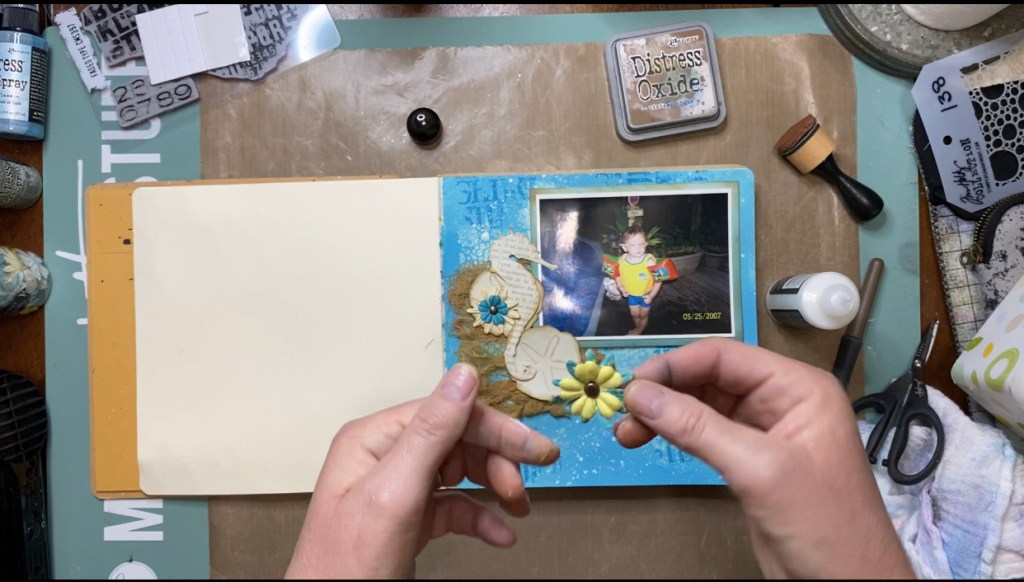
Once the background was finished, I started layering. First layer was from what I lovingly refer to as my Vagabond party. This is something I highly recommend. One weekend with some friends, scrapbooking, I took my paper, inks and Vagabond and some favorite dies and just went to cutting. I inked the paper whatever color I wanted to use and then cut out several diecuts of some favorite die sets. This lace one is definitely a favorite because I cut out a bunch of them. The die set is from Sizzix and the name of it is Crochet (664178). I then used one of my favorite layering stencils from the Tim Holtz line at Stampers Anonymous (THS093). I think it has a great retro vibe and goes well with the picture. I used texture paste with the stencil on the art journal page and a small swipe on the tag as well.
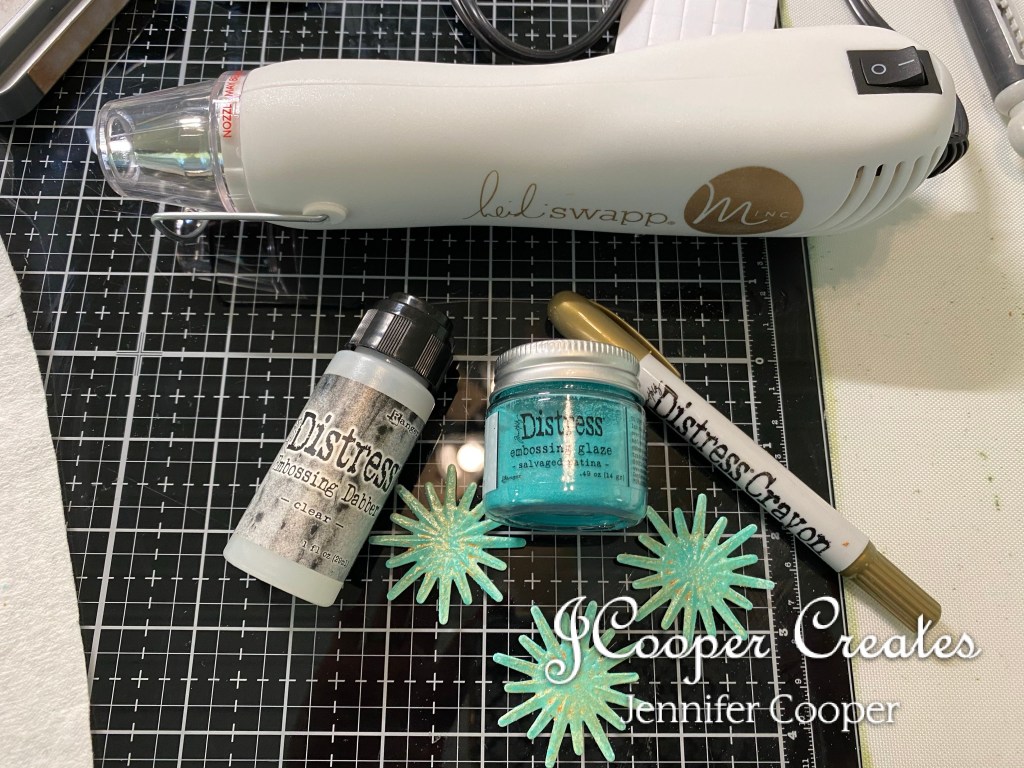
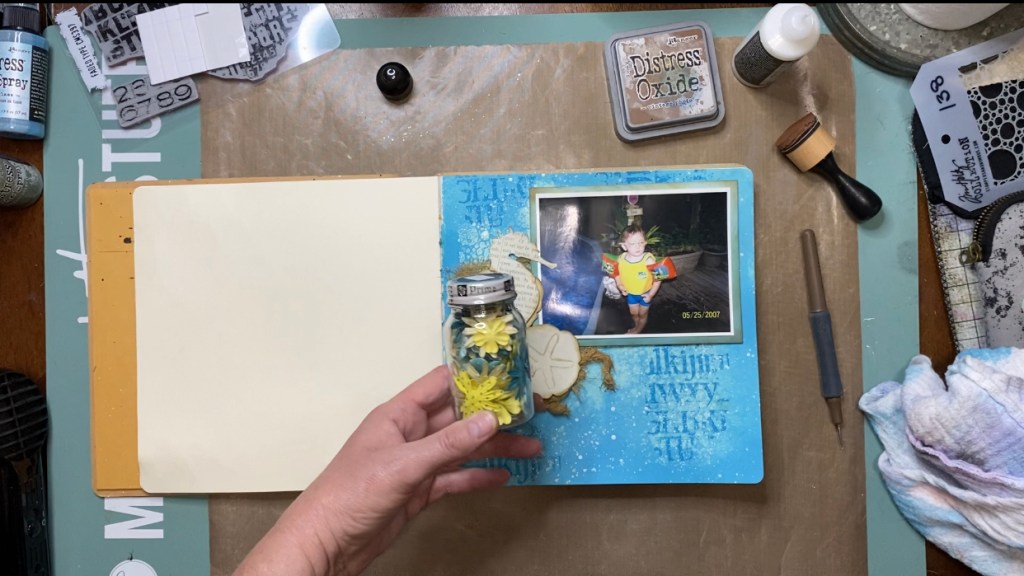
The last layer was to add these starbursts ( for lack of a better name). These starbursts were also part of that same Vagabond party. They were cut with a Sizzix 3D Impresslit. There is no name on the folder, but the number is 663298. I spritzed them with a little of the Distress Oxide Salvaged Patina and then dabbed them with the embossing ink dabber. I then used my Distress Embossing Glaze on these. I used the “Tarnished Brass” Distress Crayon to dirty them up a bit and give them that aged look. It’s a wonderful technique I picked up from one of the Tim Holtz lives.

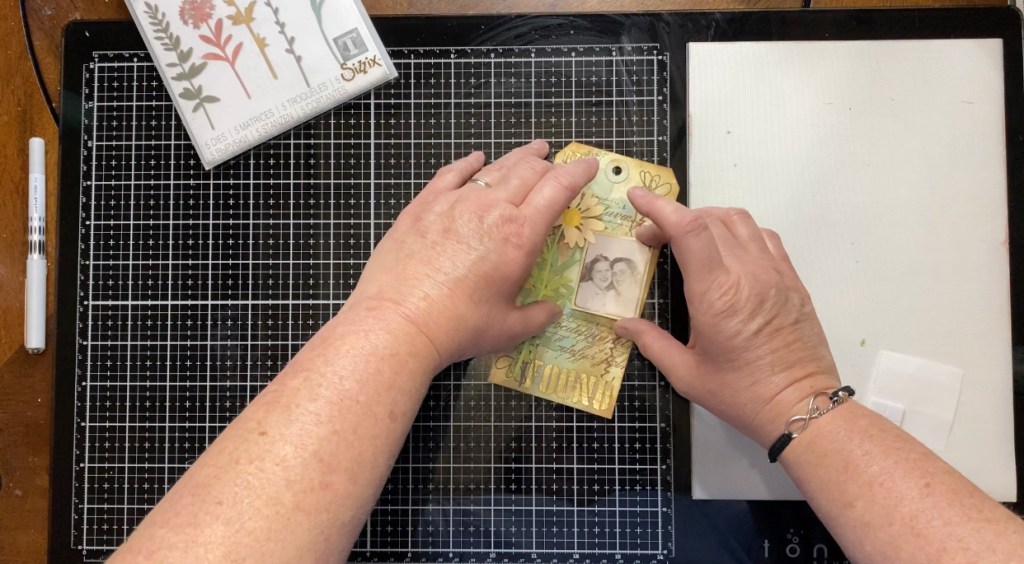
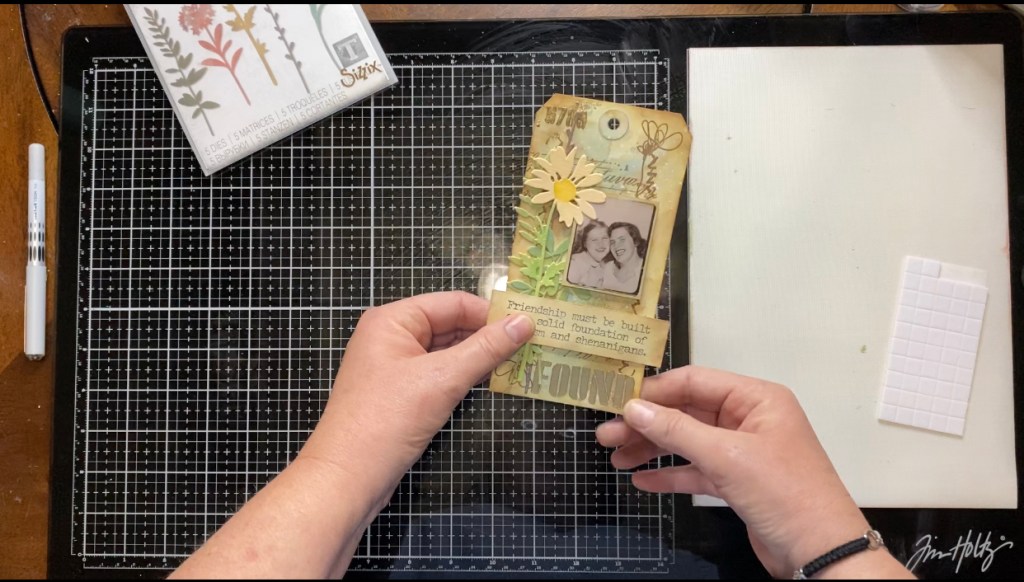
And, last but not least, the ribbon for the tag, the gold photo corners, and the “Thinking of You” sentiment. I probably could have layered more, but I was worried about the journal shutting. LOL.
So how are you spending your Mother’s Day? I’m pretty sure there will be grilling envolved at the Cooper house. I already got my present. LOL. Yesterday, my husband and I made a quick trip over to Garland,TX to pick up a set of lamps that I have been drooling over for months. LOL. They are perfect in the new house. We had lunch at Razoo’s. It was delicious. All in all, a fun little trip.
I hope that you are going to be spoiled as well on your Mother’s Day or maybe you will be doing the spoiling. LOL Cause Mom’s definitely deserve it!
Until next time,
Jennifer