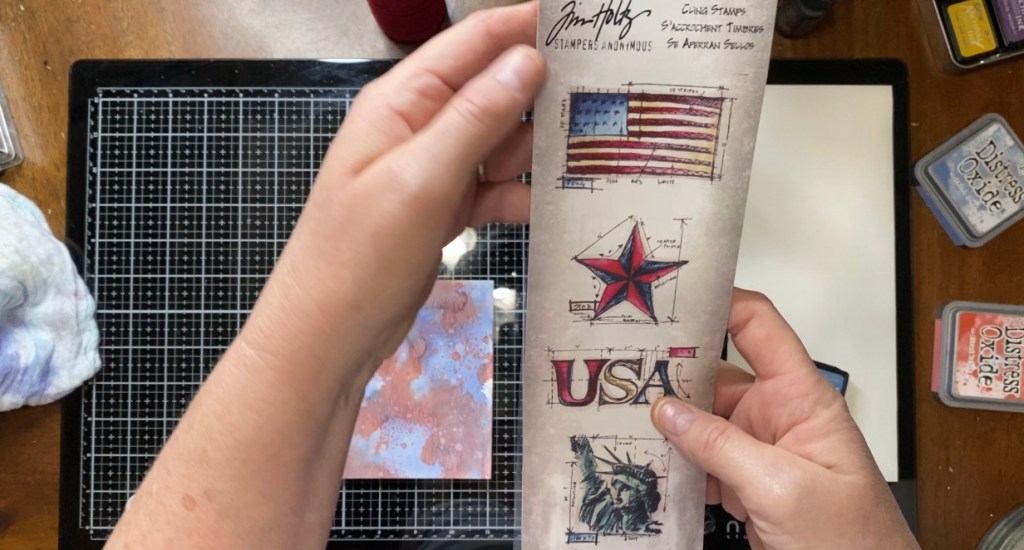
Today’s theme for the Simon Says Stamp Monday challenge was “Shoot for the Stars”. I was going thru my stamps the other day and found a wonderful set from the Tim Holtz line at Stampers Anonymous. The name of the stamp set is “Americana” (THMB006). It is a great addition to the “blueprint” designs in the TH line. Unfortunately, like several sets that I have been collecting, it was still in the wrapper and I had thought, “Hmm, I need to use this for something.” Haha. Well, today was the day. When I saw the theme for the challenge this morning, they were the first thing to jump to mind. And, since the Fourth of July will be here before you know it, I thought, “Why not?”
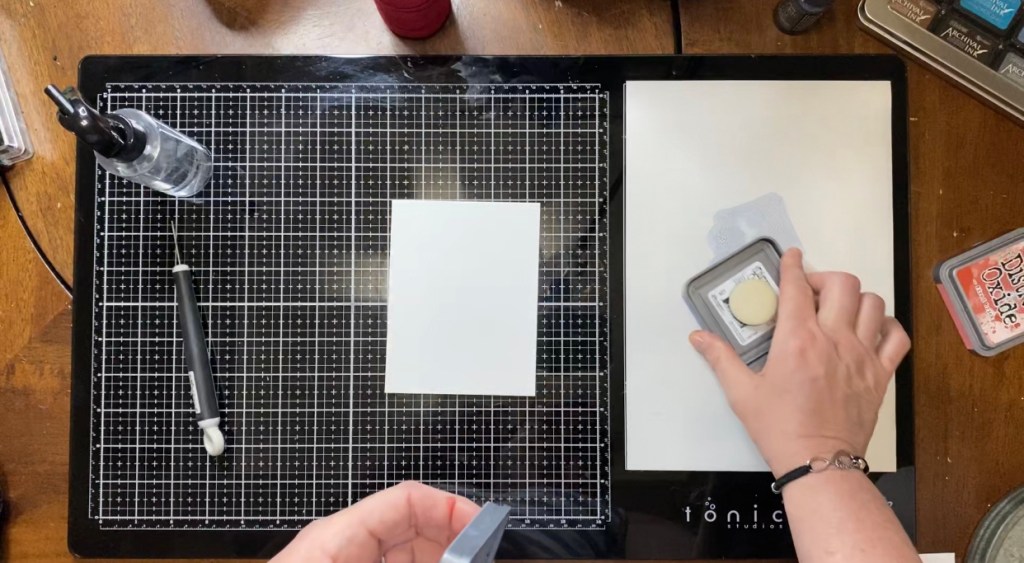
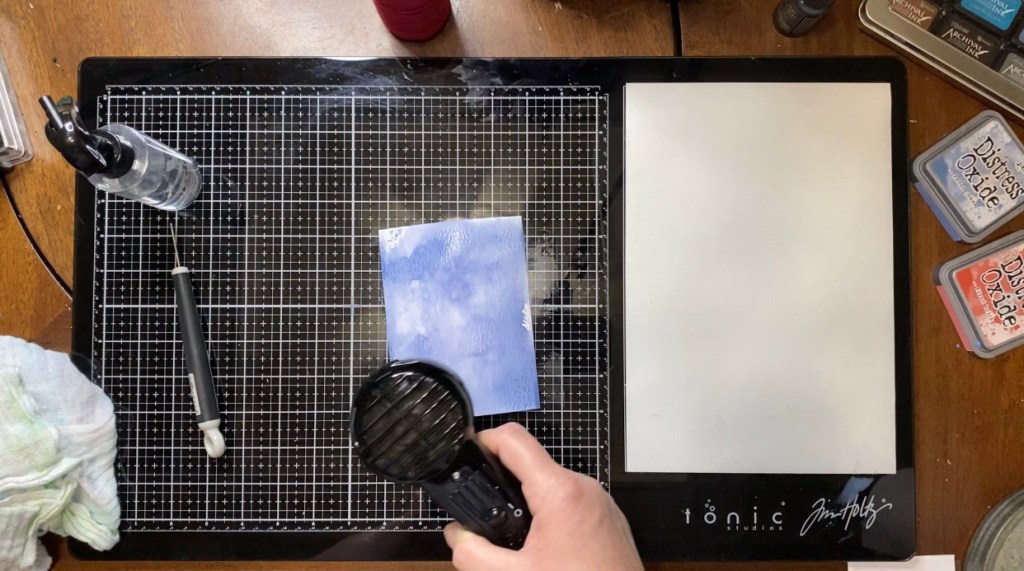
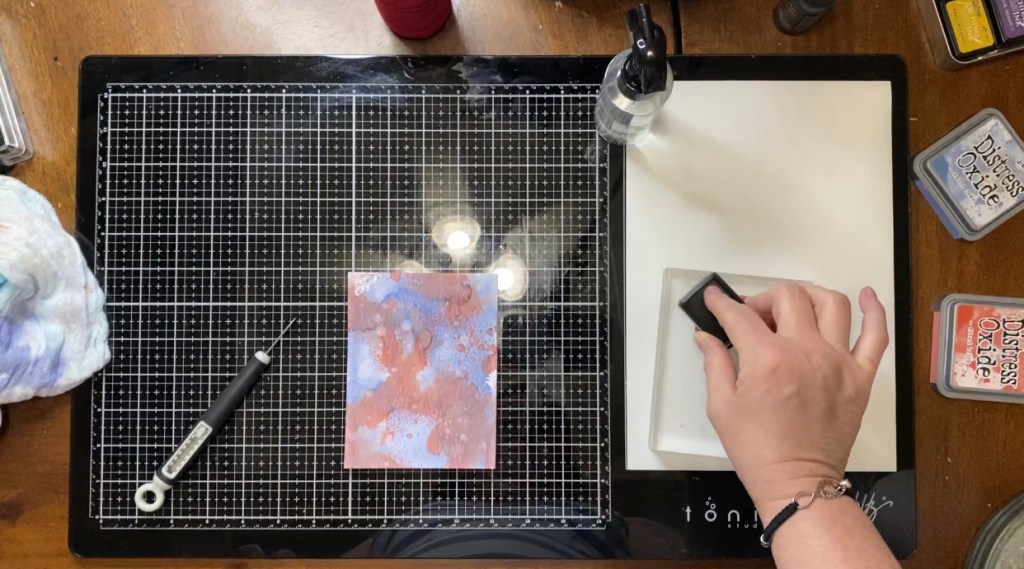
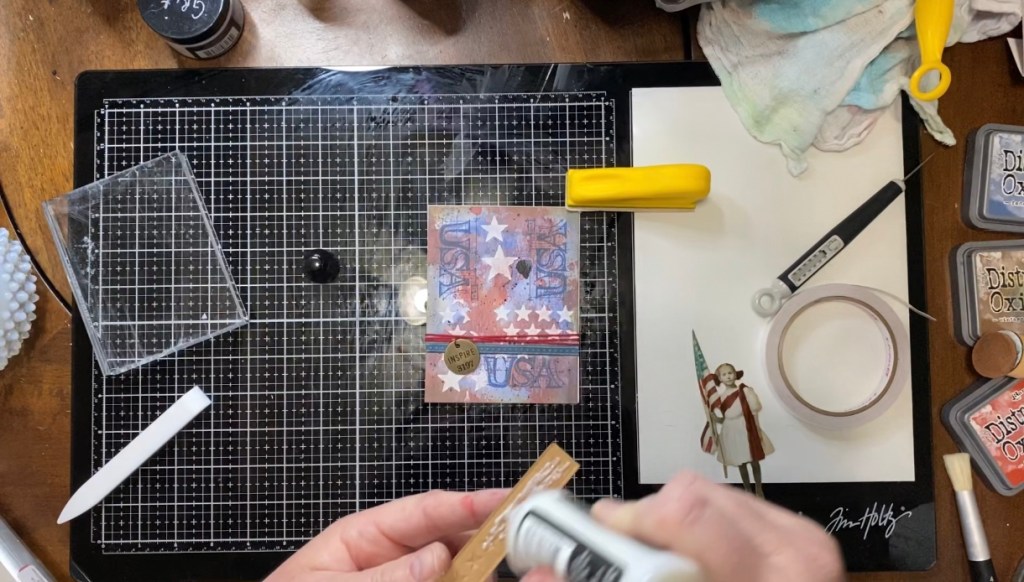
My make today was a card. I used the Tim Holtz Distress Watercolor Card stock for my background. The size of this paper is 4-1/4″ x 5-1/2″ so it’s perfect to make your project on and glue to a blank card base. And, that’s what I did. My inks today were Distress Oxide inks, Fired Brick and Faded Jeans. I used my favorite technique of spreading some of the Faded Jeans ink onto my Tim Holtz Glass Media Mat by Tonic, and spritzing it with some large water droplets with my Distress Sprayer bottle of water. I then took my paper and dabbed it into the ink mixture until I was happy with the coverage. I used my Ranger Heat It tool to make sure it was good and dry and then proceeded to do the same thing with the Fired Brick.
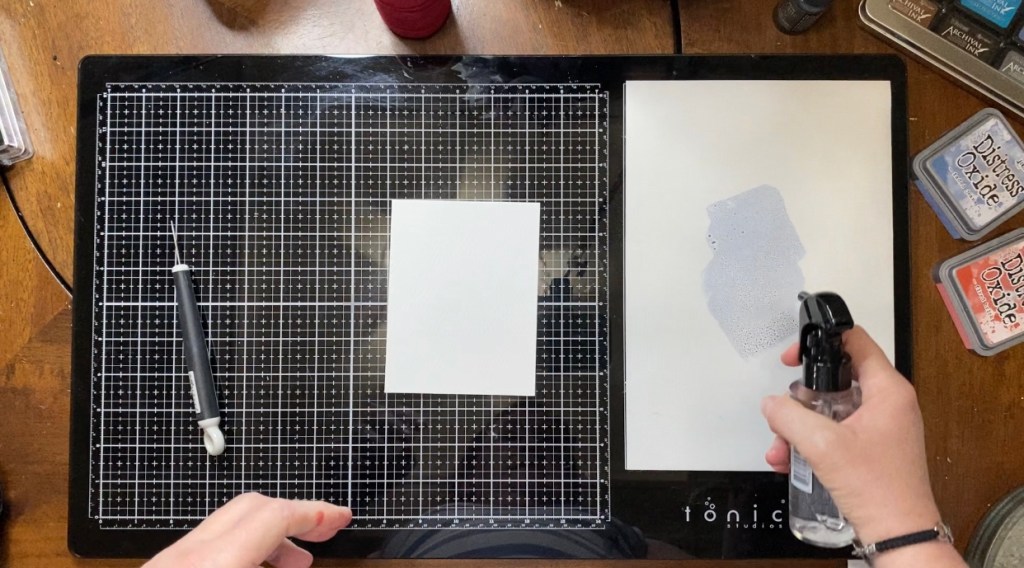


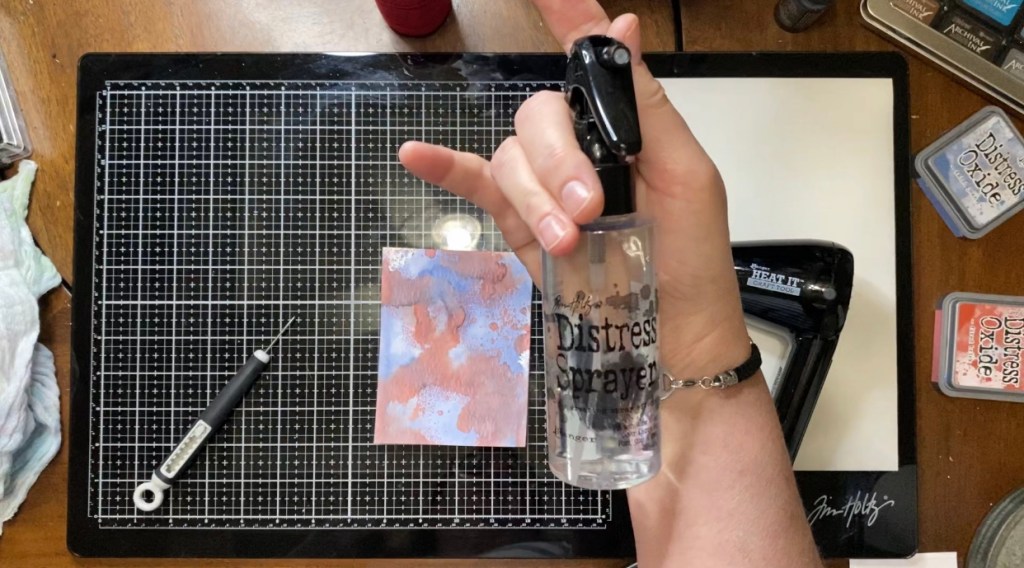
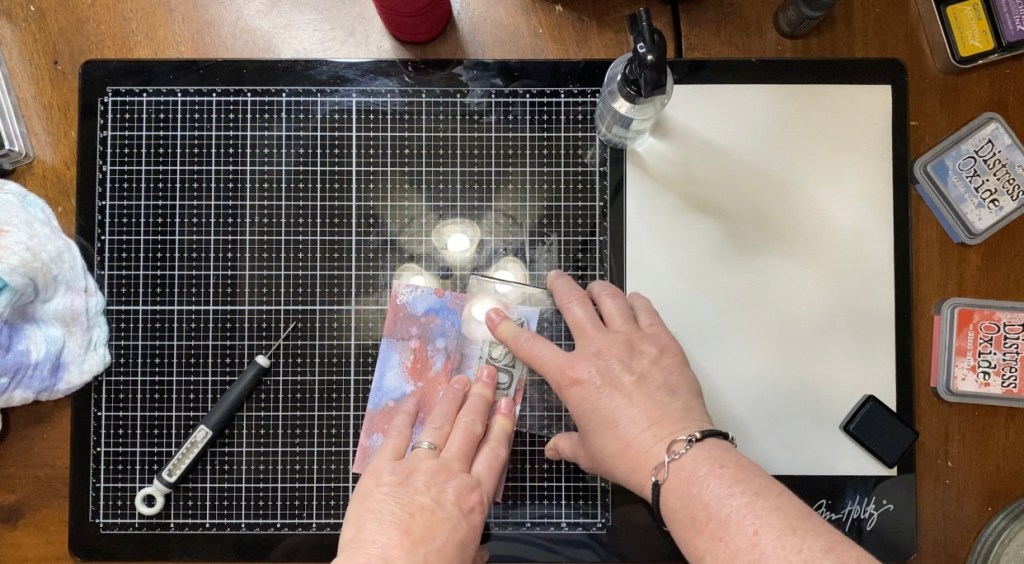
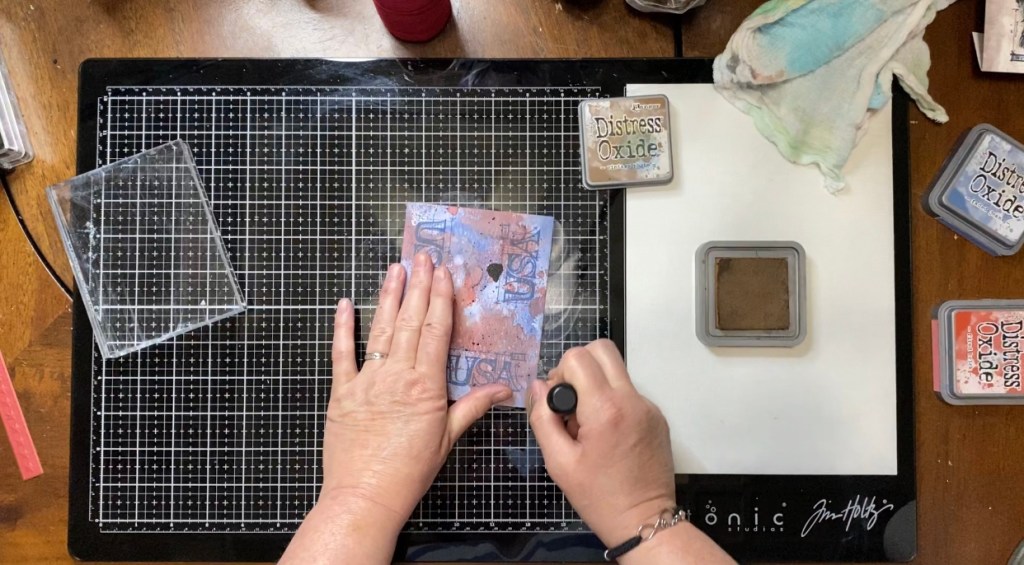
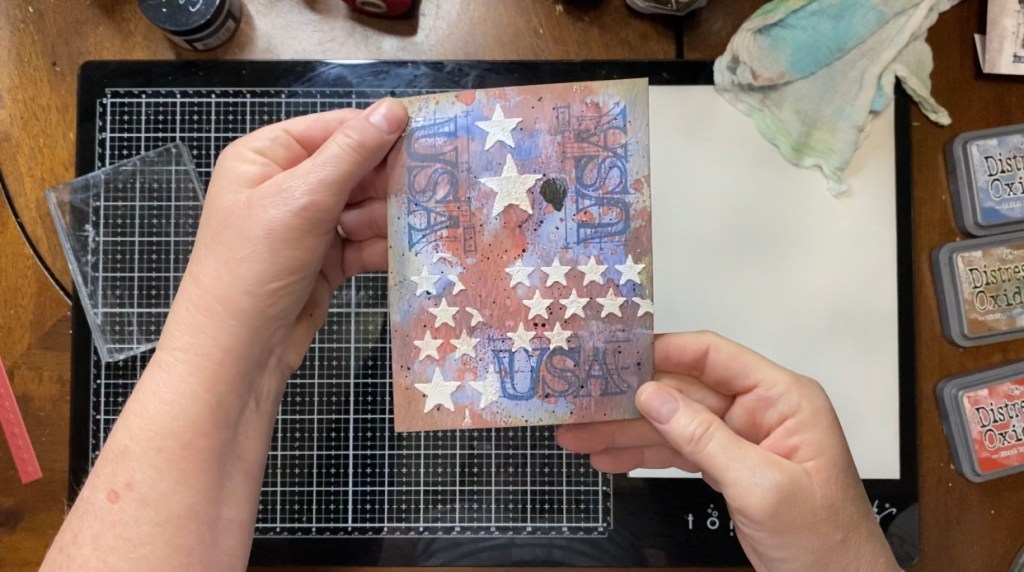
After I applied the Fired Brick, I was happy with the coverage. It still had a few white spots, but that kinda went with that Red, White and Blue theme was going for. Next, I took my Distress Sprayer of water, and barely squeezed the trigger to get some pretty good sized water droplets on my background. Distress Oxides react very nicely with water and if you dab it off, it leaves nice water marks on your page.

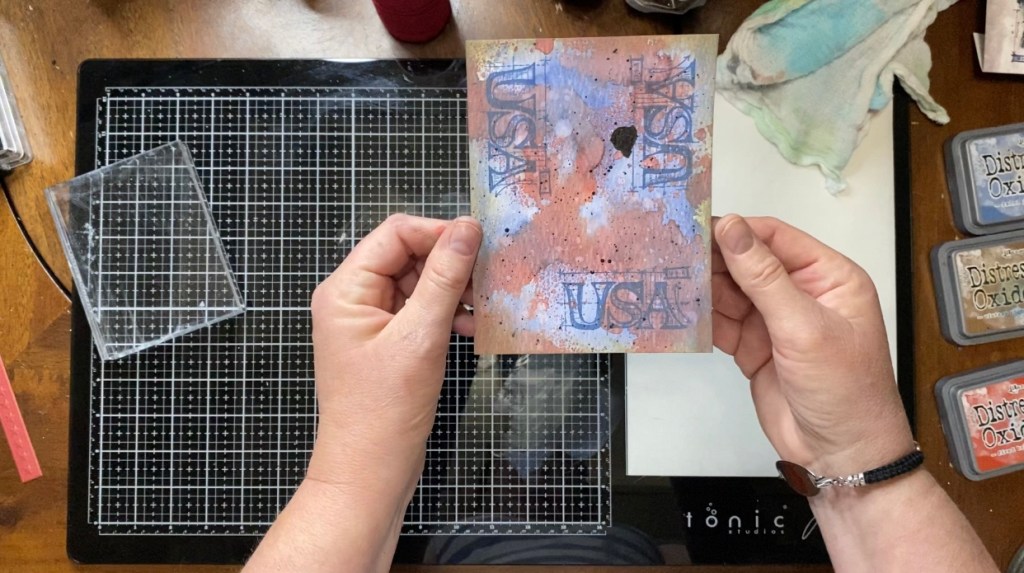
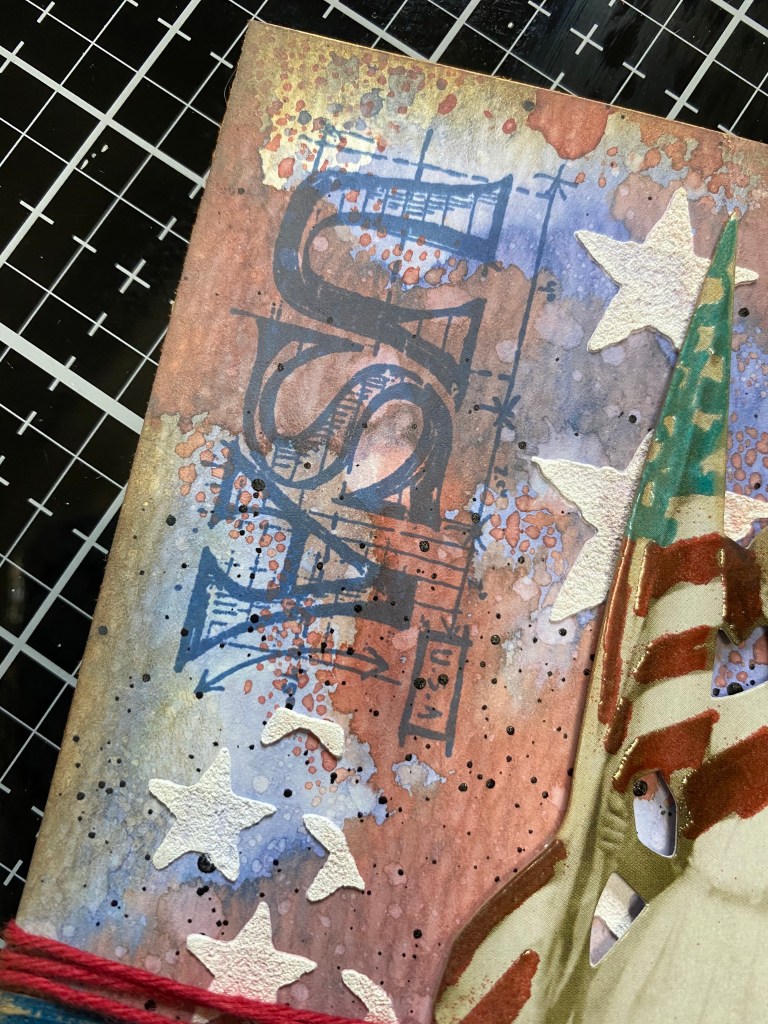
The next thing I did to my background was a little bit of stamping. I always like to add a little bit of text into the background to give it a nice, layered and kinda grungy look. This is where the Americana set came into play. I used the “USA” blueprint stamp for my text. For the stamping I used Distress Archival Ink Faded Jeans.

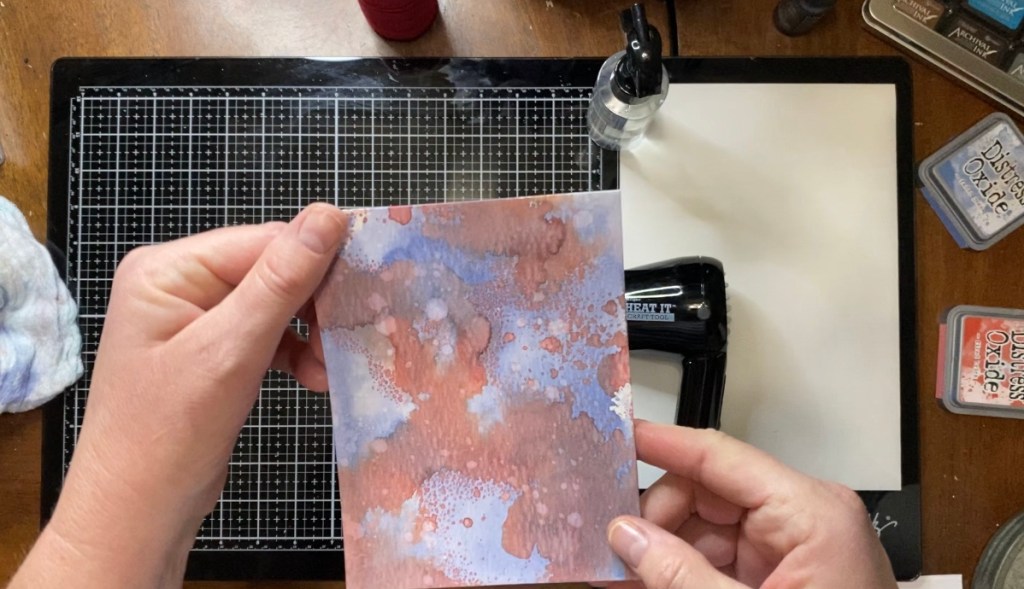
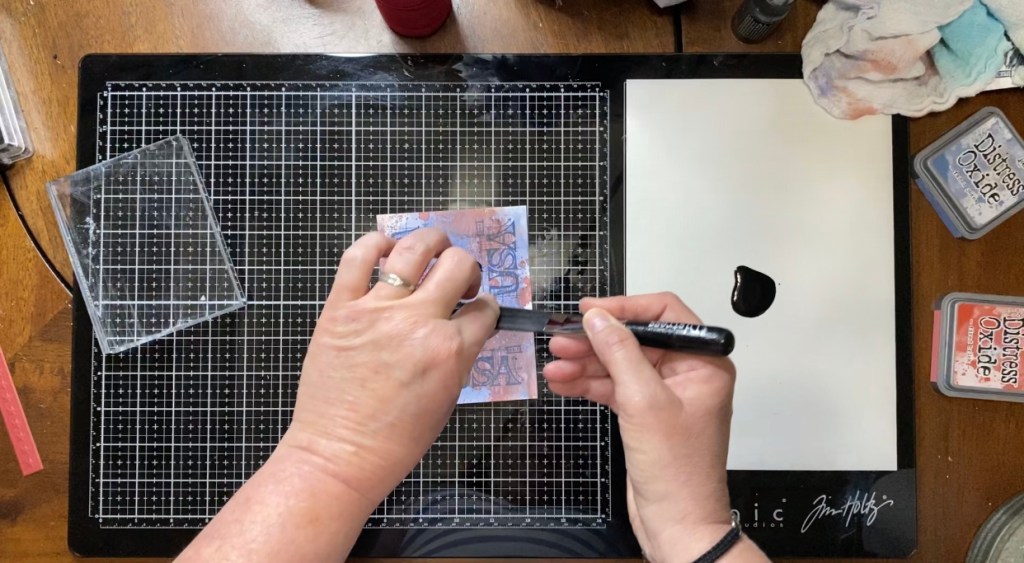
So the next step is gonna need a little practice. Haha. I have definitely learned that less is more in this case. I got my Distress Splatter brush in this week, so I was dying to use it. Probably should have used it a little before the make, haha, but it’s all good. I took my Distress Paint Black Soot and poured some on my nonstick mat part of the media mat. A little too much, but my replacement flip caps that I ordered from Stampers Anonymous have not come in yet, so I am stuck with the old dabber caps for now. I then dabbed my splatter brush into the paint. And very gently, pulling back the bristles, I proceeded to drop a big glob of paint on my background. Haha. Oh well, there’s no crying in mixed media. Once i got over the big glob, the rest of the little droplets splattered like a charm.


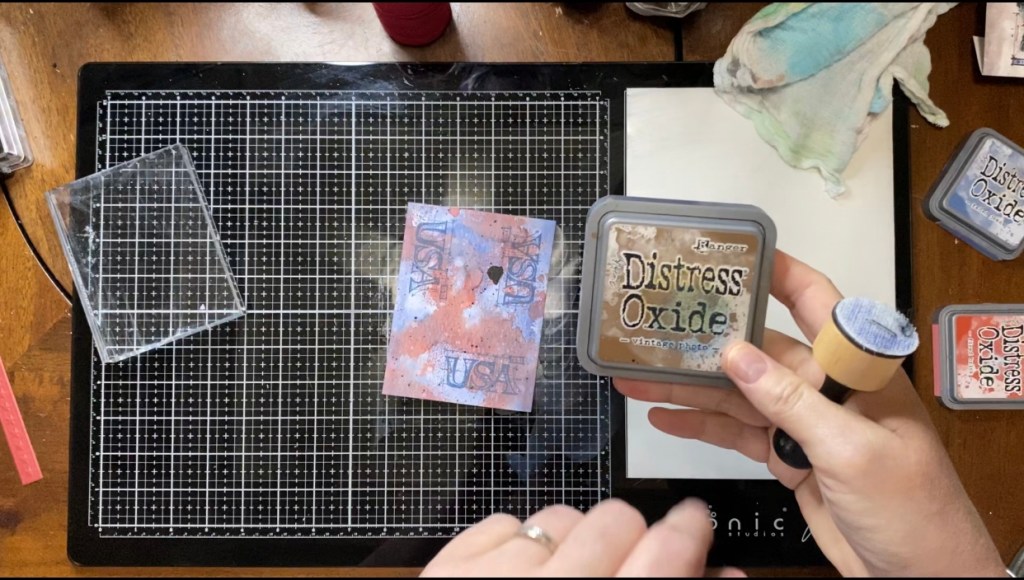
Next step was the distressing the edges. I did try the Faded Jeans first, but it wasn’t dark enough to show up on the background. So I went with the trusty, Vintage Photo. You can never go wrong with Vintage Photo. You take your Ranger Blending Tool and foam, and in a circular motion, spread the ink around the edge of your paper. it gives it that nice, vintage, famed in look.
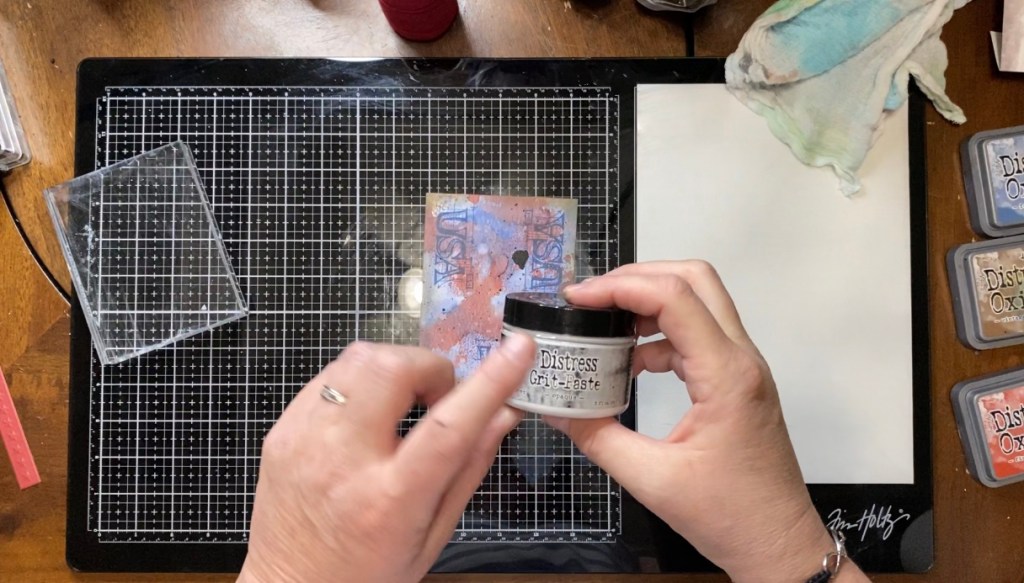
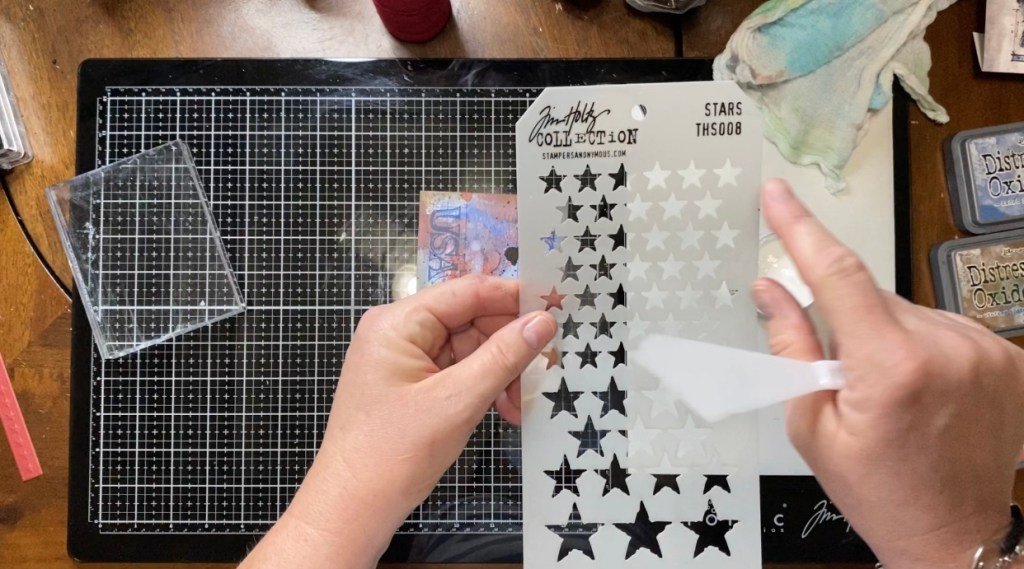
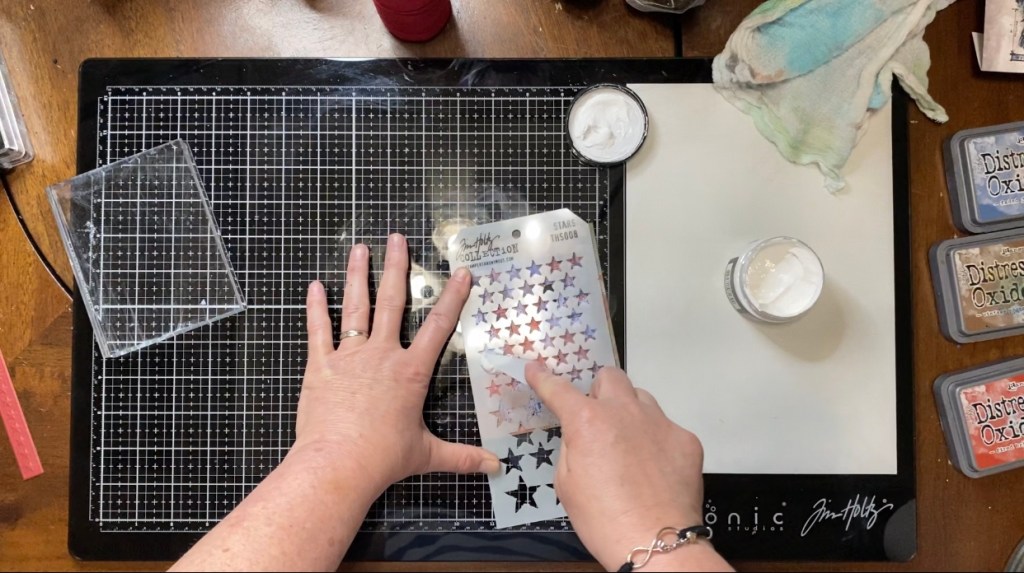
I’m not sure any background is complete without a little texture of some kind. Today I chose the Distress Grit paste. I find that the grit paste doesn’t absorb too much of the color from your inks, and I wanted my stars to pop nice and white. And, I think these did. I used the Stars layering stencil (THS008) from Stampers Anonymous, a palette knife, and the grit paste to spread just a few stars here and there on the background. After that, I was done with the background.
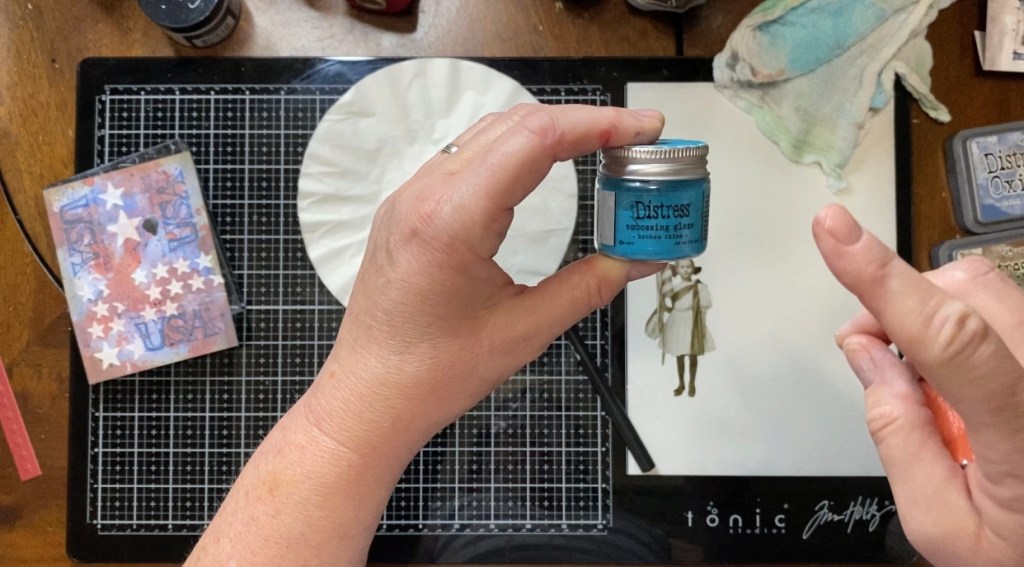
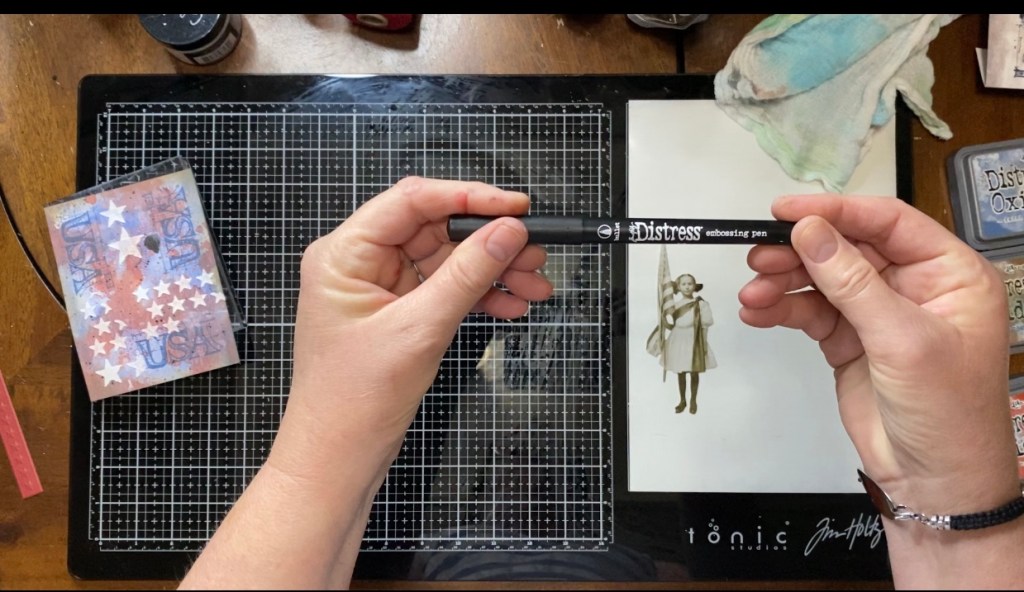
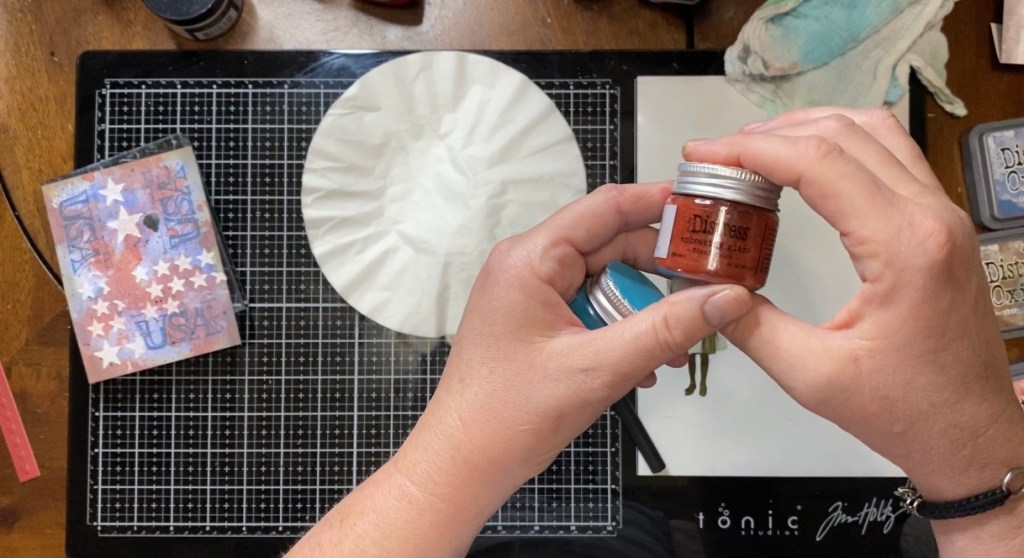
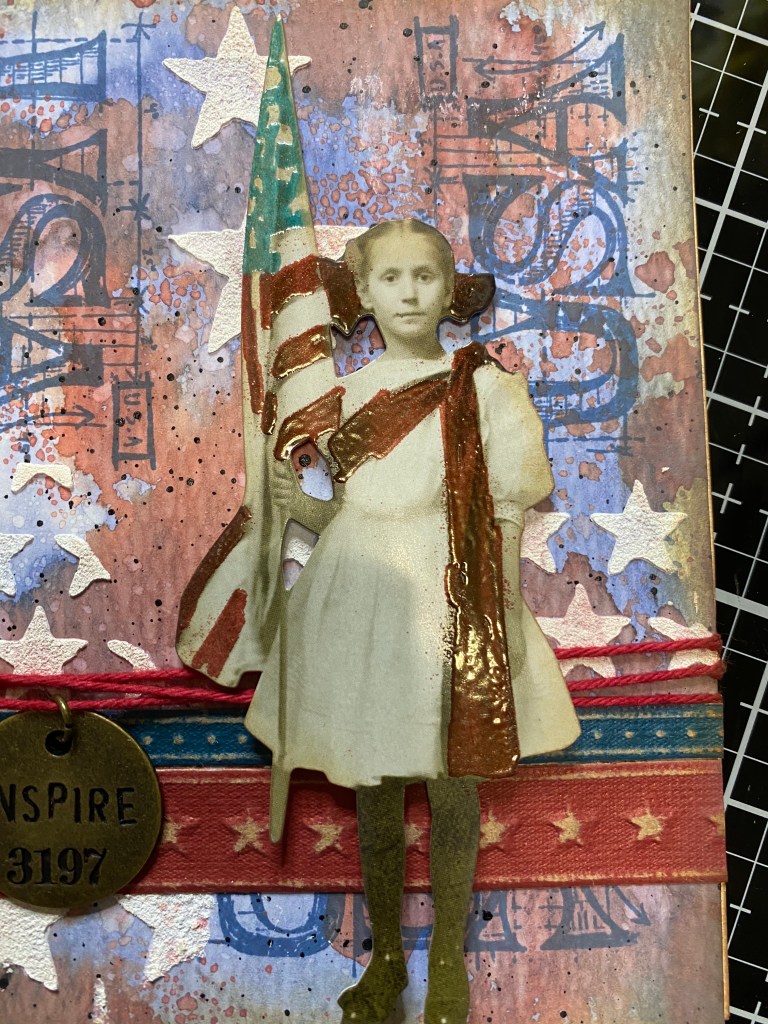
I was going through my paper-dolls for last weeks make, and remembered seeing the cutie holding the American flag. So, naturally, she was a must have for today’s make. I used my Distress Embossing Pen, coffee filters, and my Distress Embossing Glazes for the next technique. The colors of glazes I chose were Fired Brick and Broken China. Broken China turned out to be a little too light, but it was the bluest blue I had. HahA. I used my Distress Embossing pen to color the spots that I wanted highlighted. The first color I used was the Fired Brick. I colored some of the flag, here sash, and her hair bows. Then, I sprinkled the Fired Brick over the areas and used a brush to brush off the areas I didn’t want it. Then I used my embossing gun to heat and melt the embossing glaze. I did the same steps with the Broken China on parts of the flag. I then took the Vintage Photo Distress ink, again, and distressed the edges of my paperdoll.


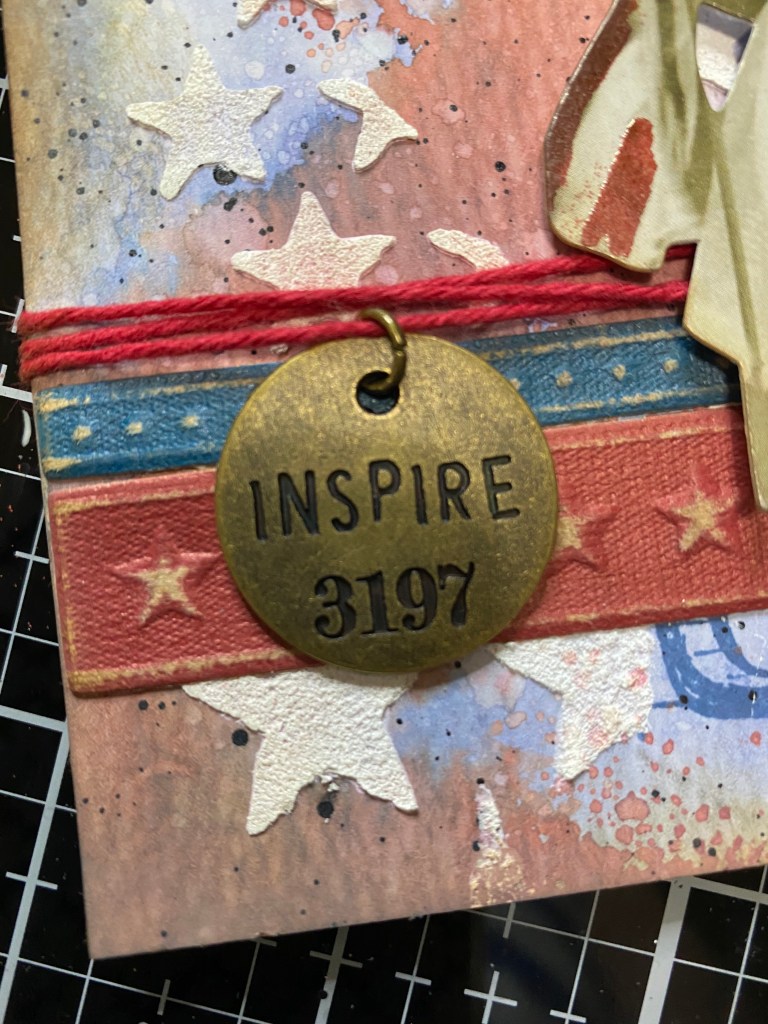
I found an Idea-ology tag, “Inspire”, in my stash, so I used a jump ring and some red bakers twine to use it as an embellishment on the card. I used glue dots on the back to keep the twine in place and threaded the twine thru the jump ring to hang it on the card. I wrapped the twine 3-4 times around the card and used another glue dot to hold it in place. I used my Xpress-It double sided tape to adhere the background to the blank card base.
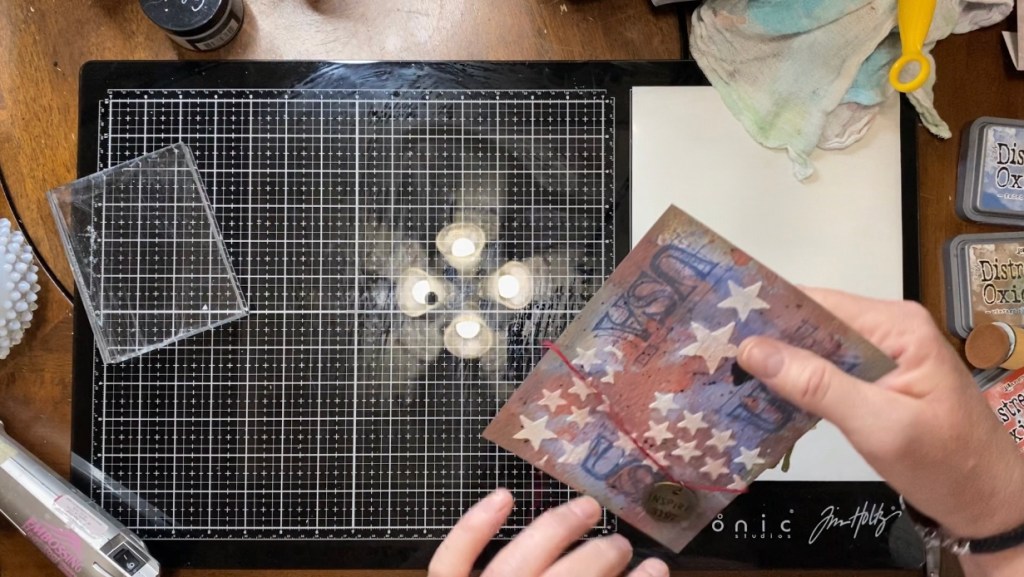


For the next step, I’m going to go into a little different direction of explanation, but i highly recommend it to any crafter. Last weekend, I took my Vagabond and several of my Sizzix dies, and Big Z’s and some Impresslits, and cut till my little hearts desire. Haha. One of the items I used was the Sizzix Impresslits embossing folder Star Trim (663297). I cut out a ton of these using the Tim Holtz Kraft stock in red, blue, gold, silver, etc. Today it came in handy, as I knew it would. I took a small piece in blue, and the larger piece in red, and used my little sanding block to distress the paper and make the kraft paper come through. I glued these under my twine and token. I then used a glue dot on my token to hold it in place.

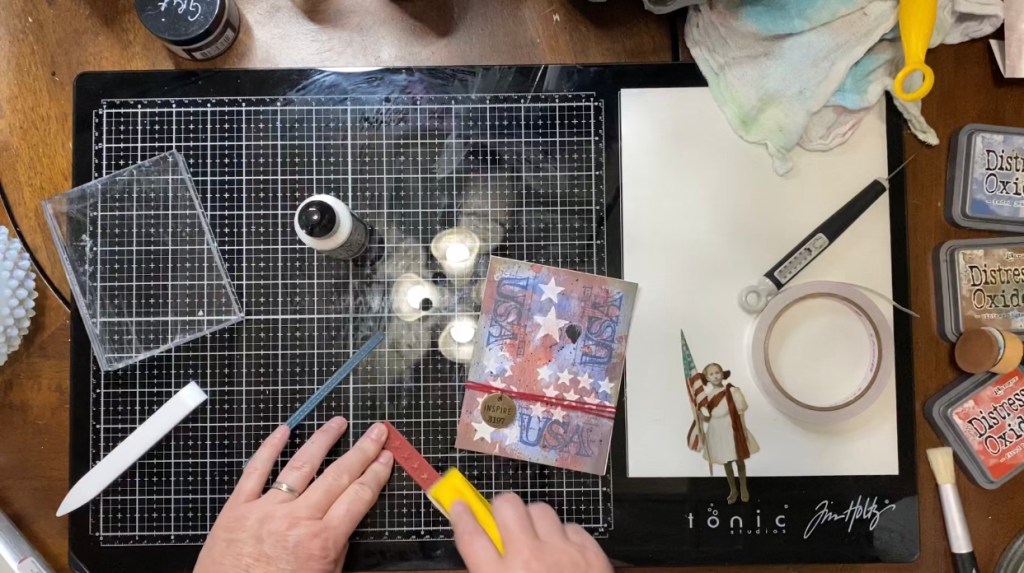
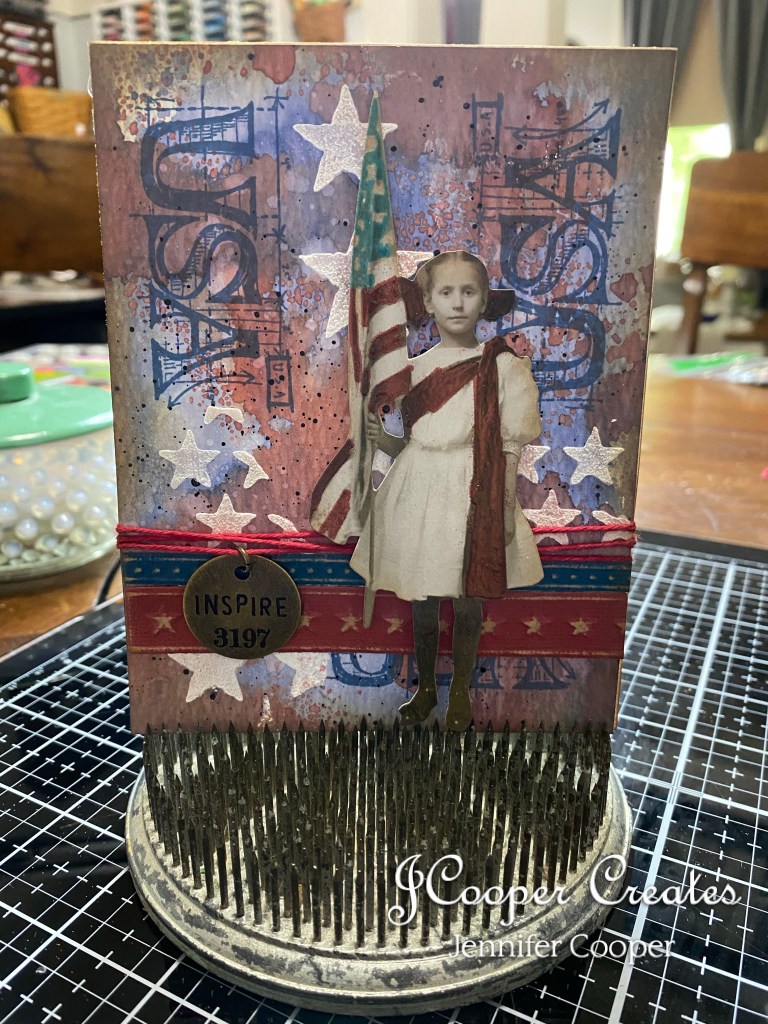
And last but not least, I took a few pop dots and adhered the little girl to the card. And, of course, the glob has disappeared just like it never happened. Haha. I think this little girl turned out pretty cute. I would like my flag to be a little bit of a darker blue, but maybe that could be one of the new colors. That would be nice. Hey, A girl can dream! After all, this is America!
I hope you enjoyed this make. I know I did. Here are a few close ups of the finished product.

Until next time,
Jennifer
Here is a list of the supplies used in today’s video:
Ranger Distress Watercolor Cardstock
Products used :
Distress Oxide Ink Fired Brick
Distress Oxide Ink Faded Jeans
Distress Oxide Ink Vintage Photo
Distress Collage Medium
Distress Grit Texture Paste
Distress Archival Ink Faded Jeans
Distress Embossing Pen
Distress Embossing Glaze Fired Brick
Distress Embossing Blaze Broken China
Tools:
Stampers Anonymous THS008 Stars
Stampers Anonymous THMB006 Americana
Ranger Blending Tool & Foams
Ranger Heat it Craft Tool
Tim Holtz Distress Sprayer
Tim Holtz Media Mat by Tonic
Sizzix 3D Impresslits Star Trim 663297
Tim Holtz Kraft Stock
Red Bakers Twine
Marvy Embossing Gun
Tim Holtz Mixed Media Mat by Tonic
X-press it Double Sided tape
