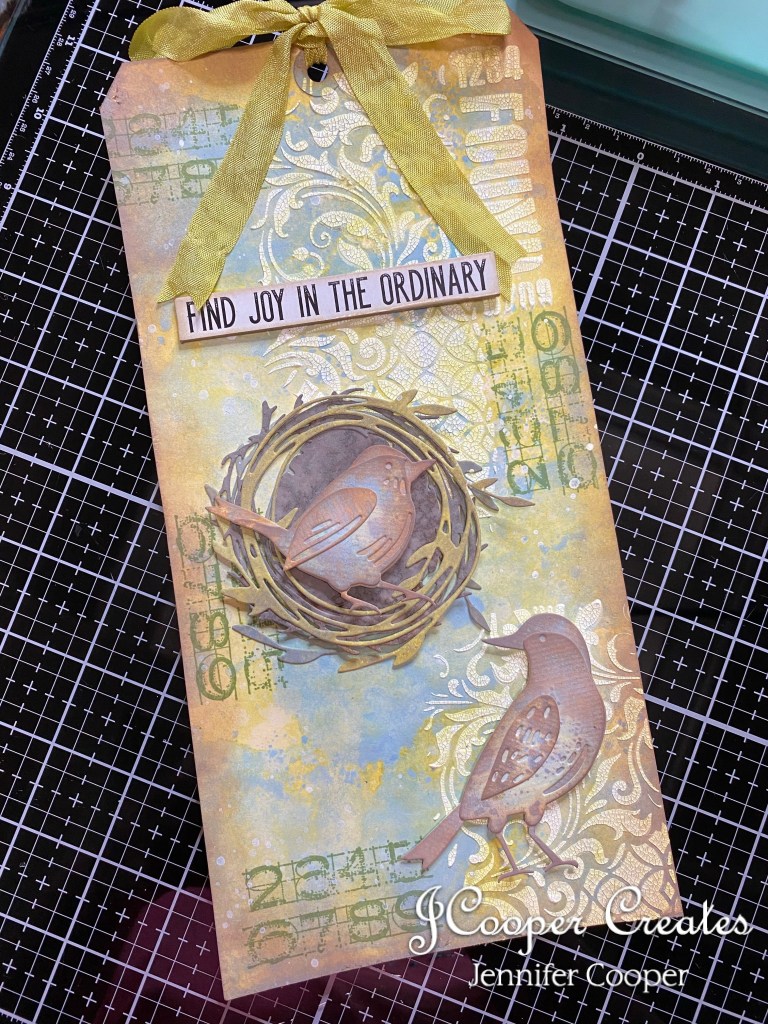
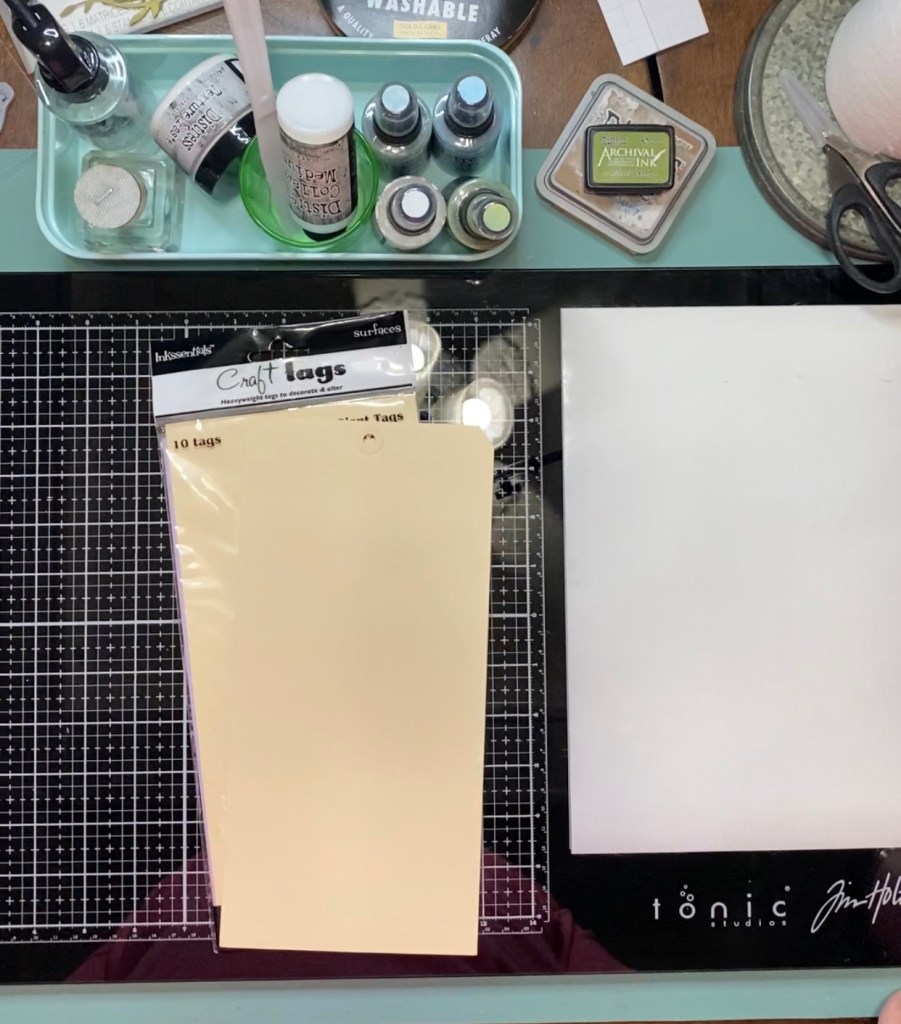
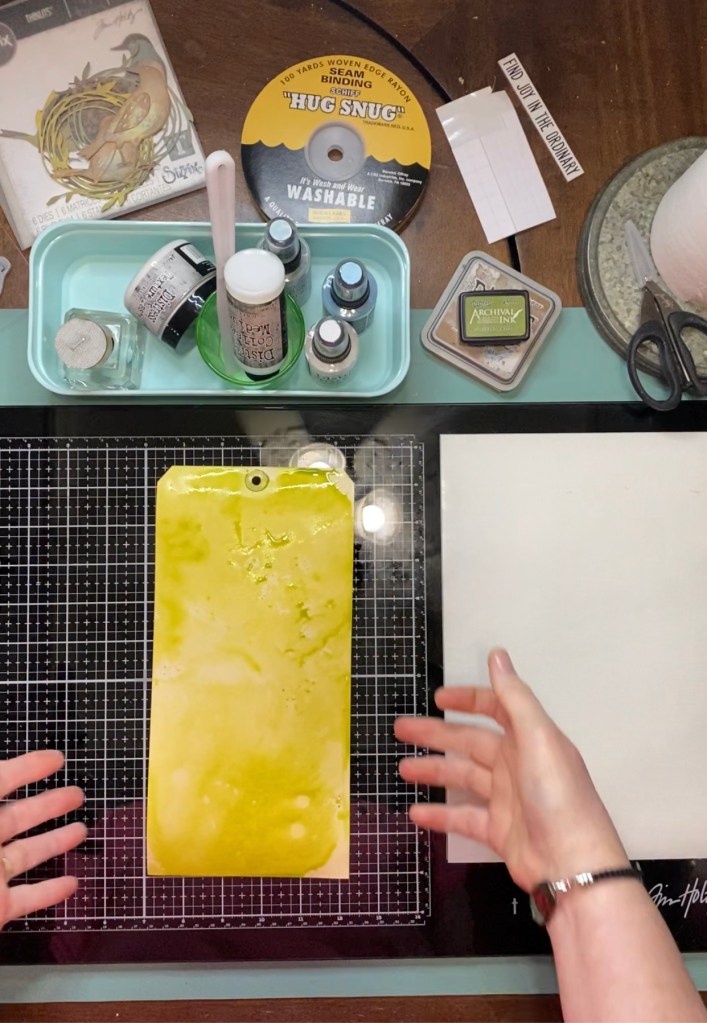
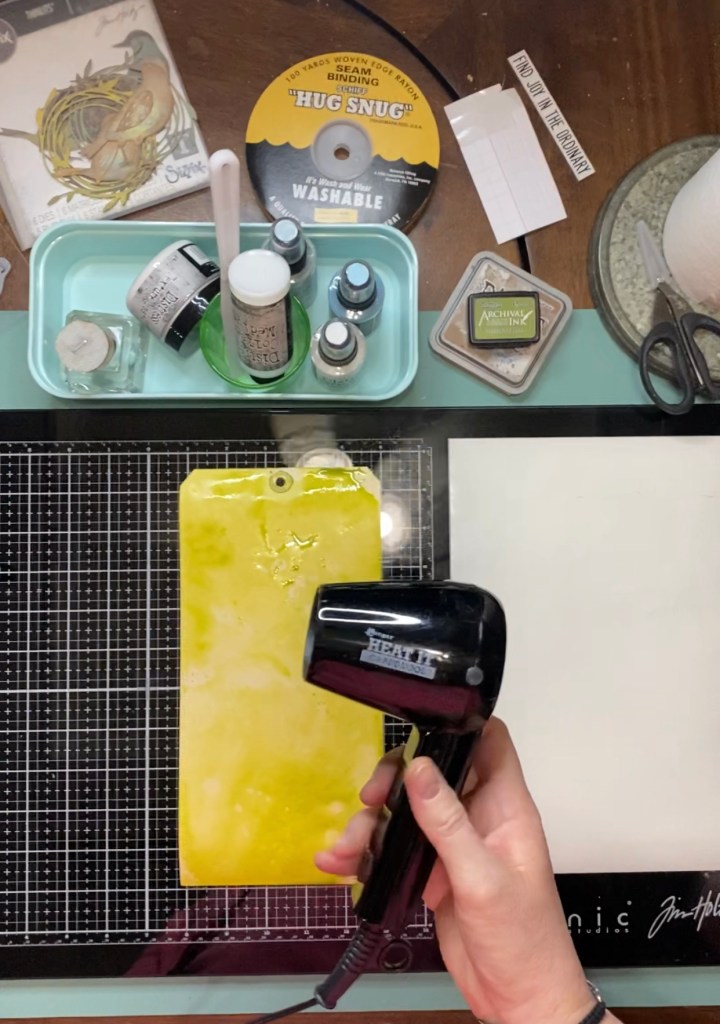
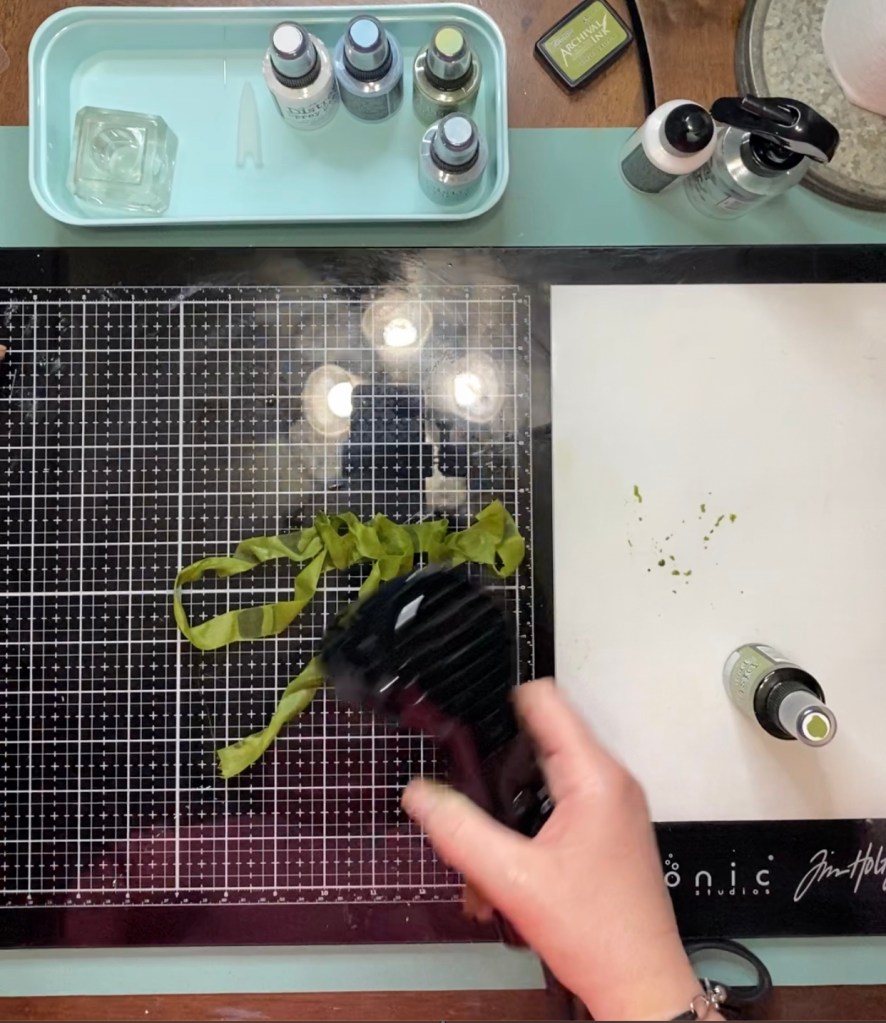
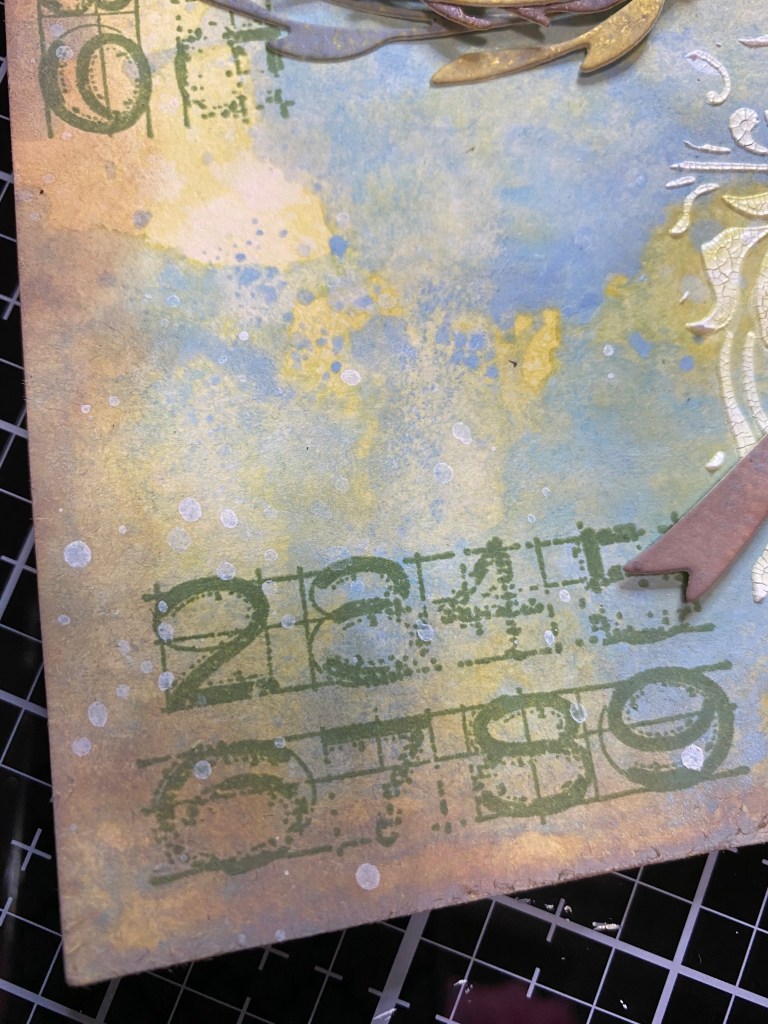
Y’all! Today’s challenge was something I really enjoyed. “Sprays and Splashes” is something I have been practicing all weekend!! Haha. For today’s challenge, I used an Inkssentials #12 Giant Tag. It’s just a very large, manila craft tag by Ranger. As for sprays, I used what seems to be my favorite these day, Distress Oxide Sprays from the Distress Line by Tim Holtz. I just love the way these inks layer so beautifully. The colors I used today were Peeled Paint, Tumbled Glass, and of course, you guessed it. Speckled Egg! The first color I used was the Peeled Paint. Being the darker of the three, I wanted it on the bottom. I sprayed a little of the ink onto my nonstick mat area of my Tim Holtz Glass Media mat from Tonic. Then, using my Distress Sprayer, I spritzed it with some water to get those nice, big ink droplets that we love so much. I then dabbed my tag into the mixture until I was happy with the coverage. Next, I made sure it was nice and dry with my Ranger Heat It tool. I then proceeded to do the same exact steps with the Tumbled Glass and the Speckled Egg.


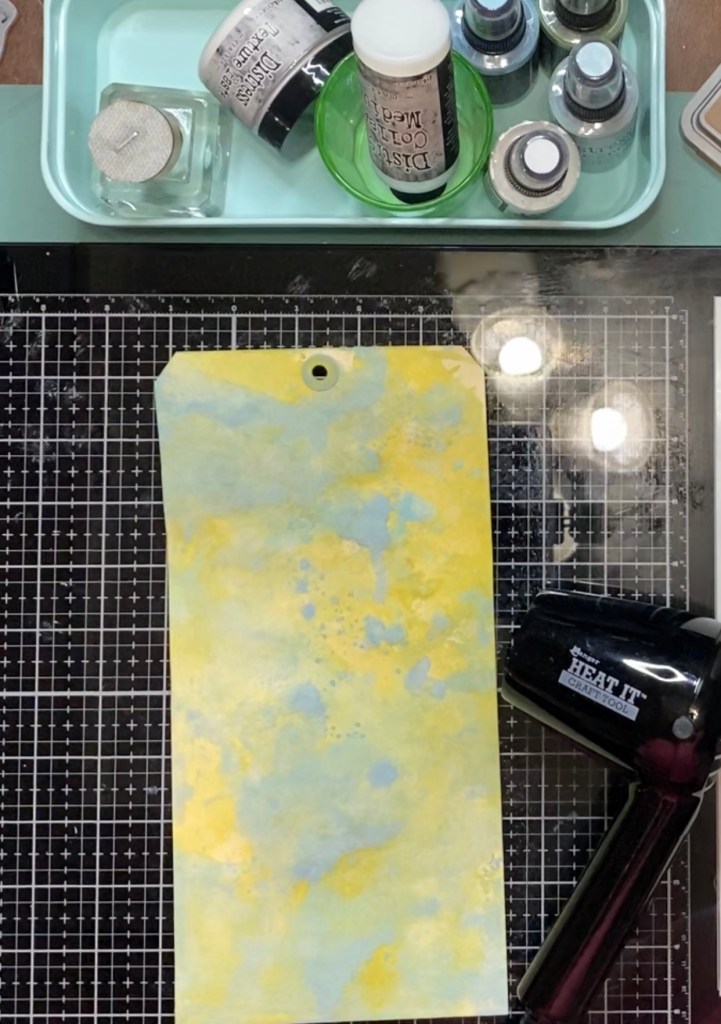
Once I was happy with the coverage of the inks, and it was nice and dry, I used Distress Oxide Vintage Photo and my Ranger Blending Tool and distressed the edges. To quote “Distress” the edges, all you need to do is ink your blending tool and in a circular motion, blend the ink around the edges of the paper until your page or project is nicely framed in.
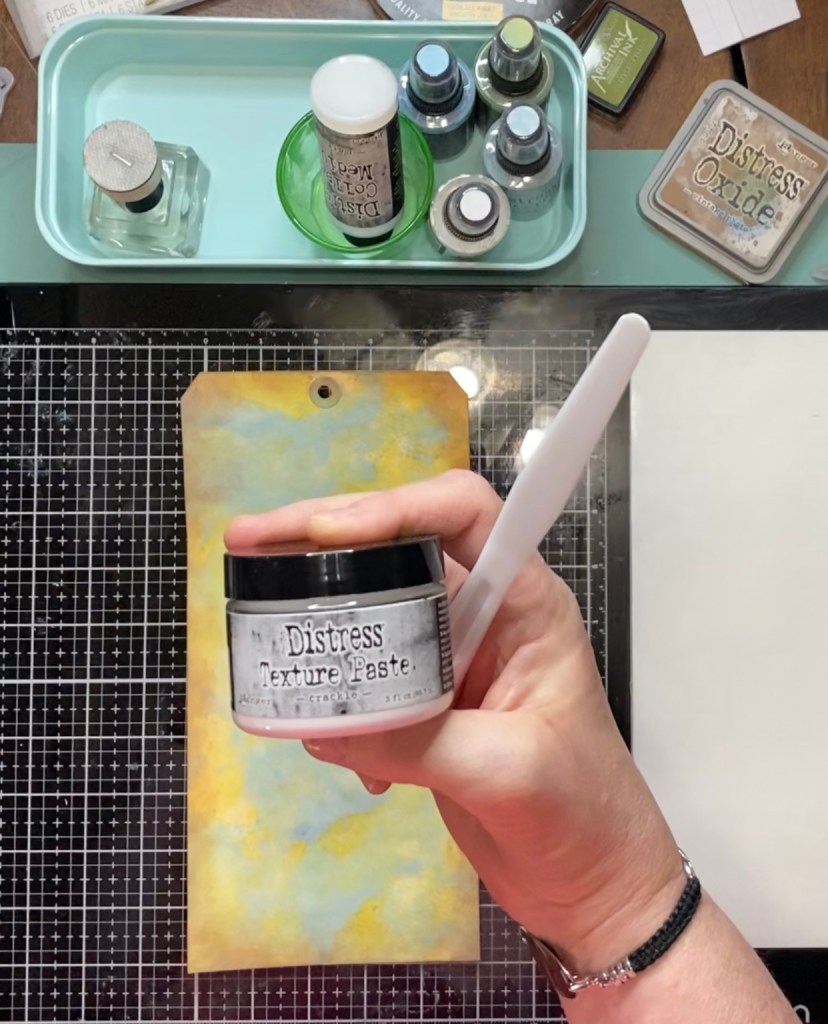
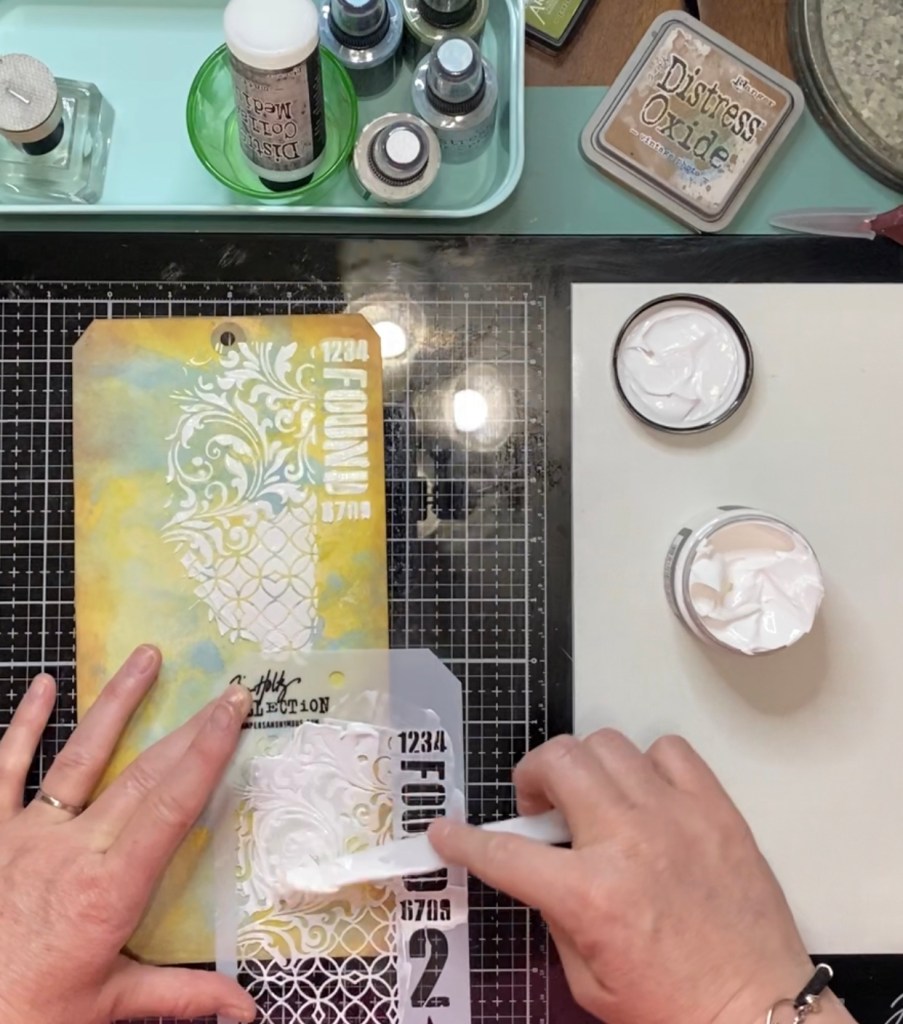
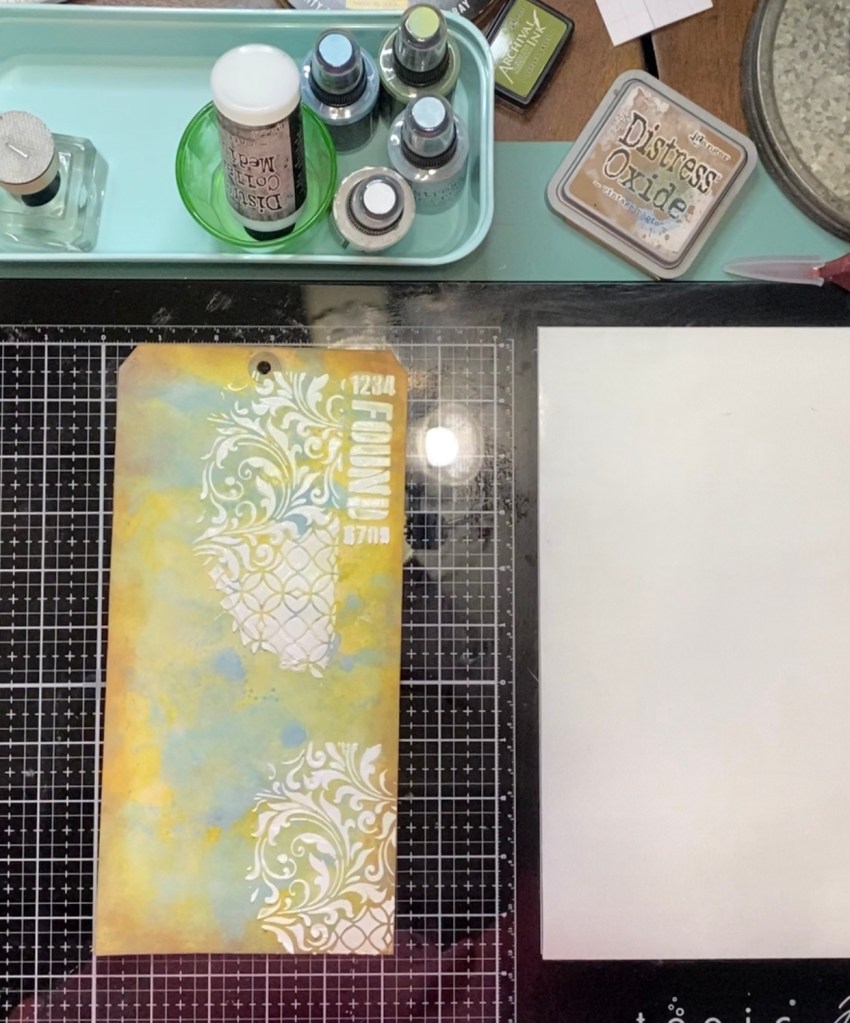
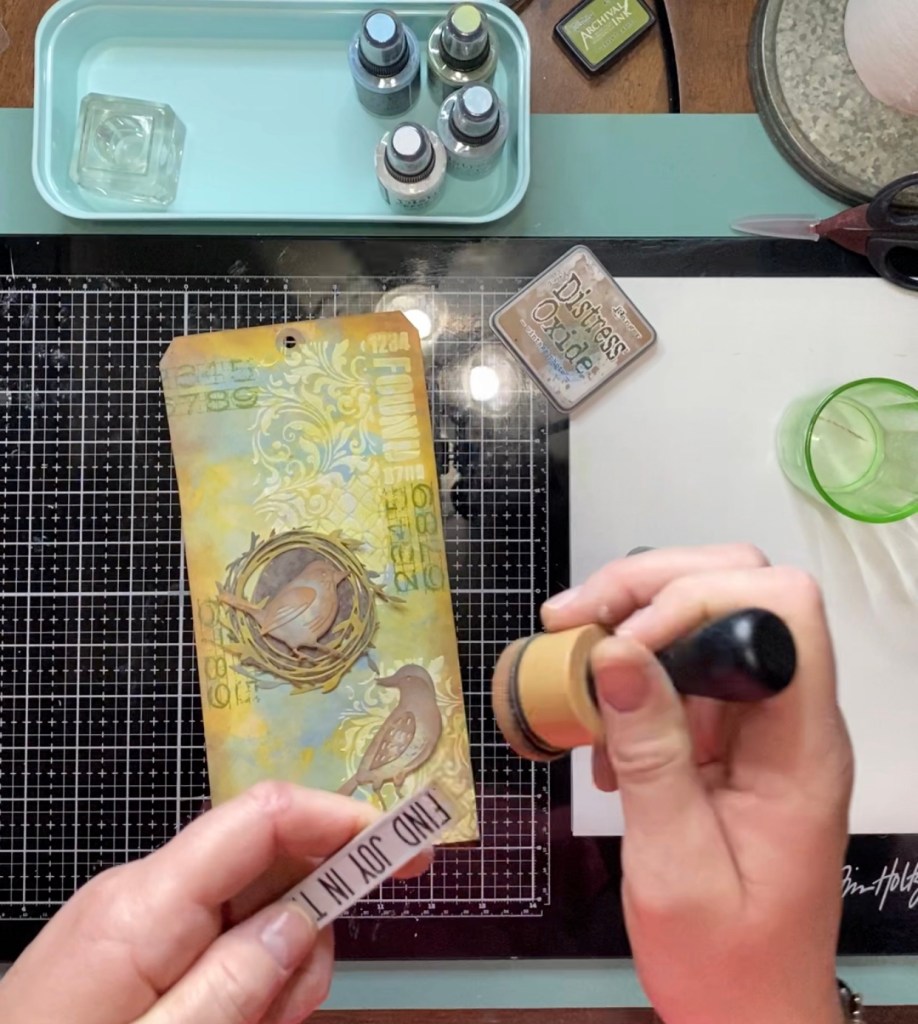
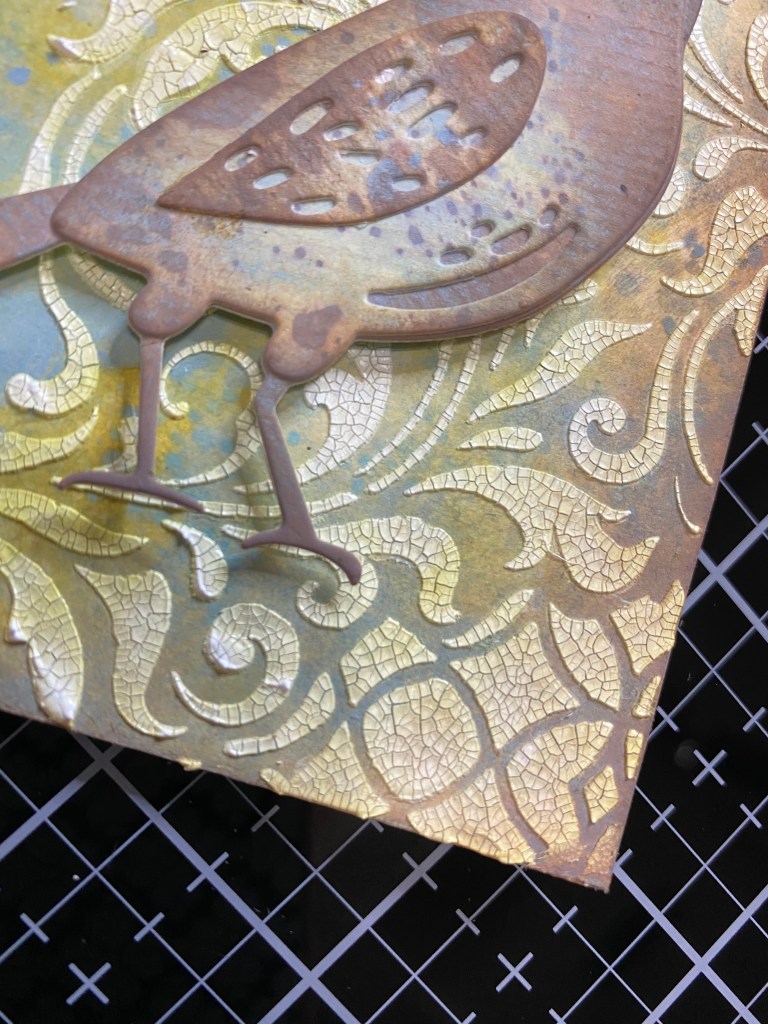
Next technique, or should I say product, has become one of my favorites these days. I used a spatula and the Distress Crackle Texture Paste with my limited edition layering stencil that i received in the mail a few weeks ago from the one and only Tim Holtz. I’m still geeking out about that a little. Haha. Any-who, back to the post. I took my spatula and spread just a thin layer of the crackle texture paste over the stencil. Just enough to be even with the stencil, and I set it aside to dry.
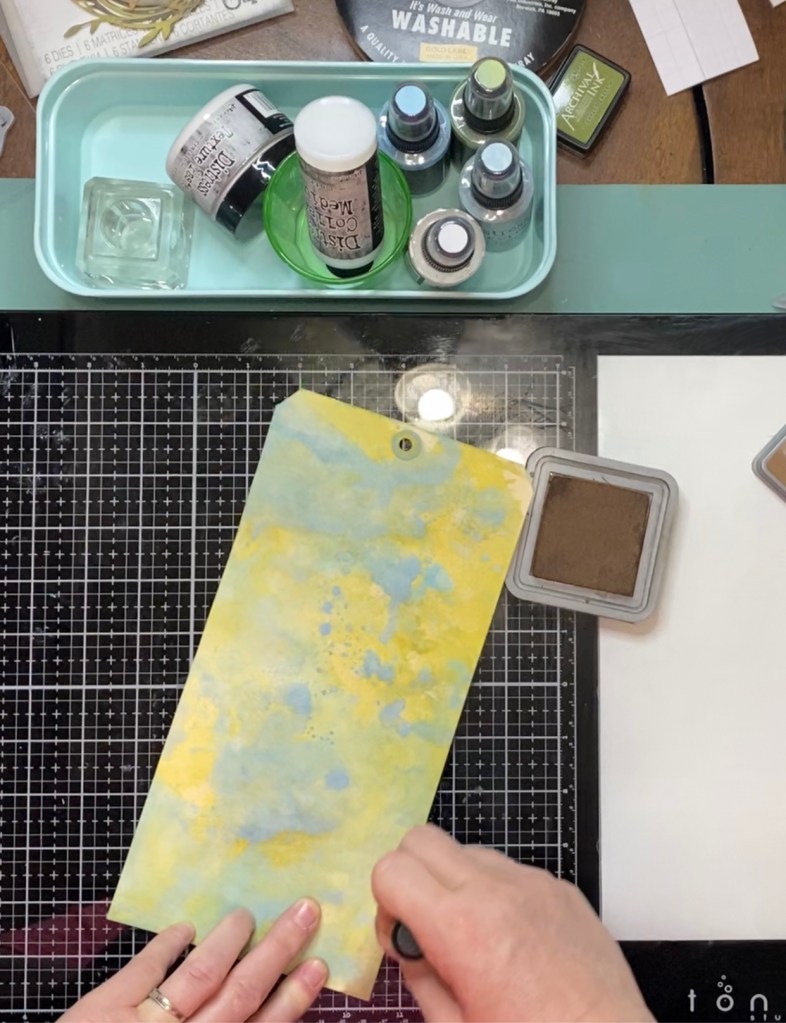
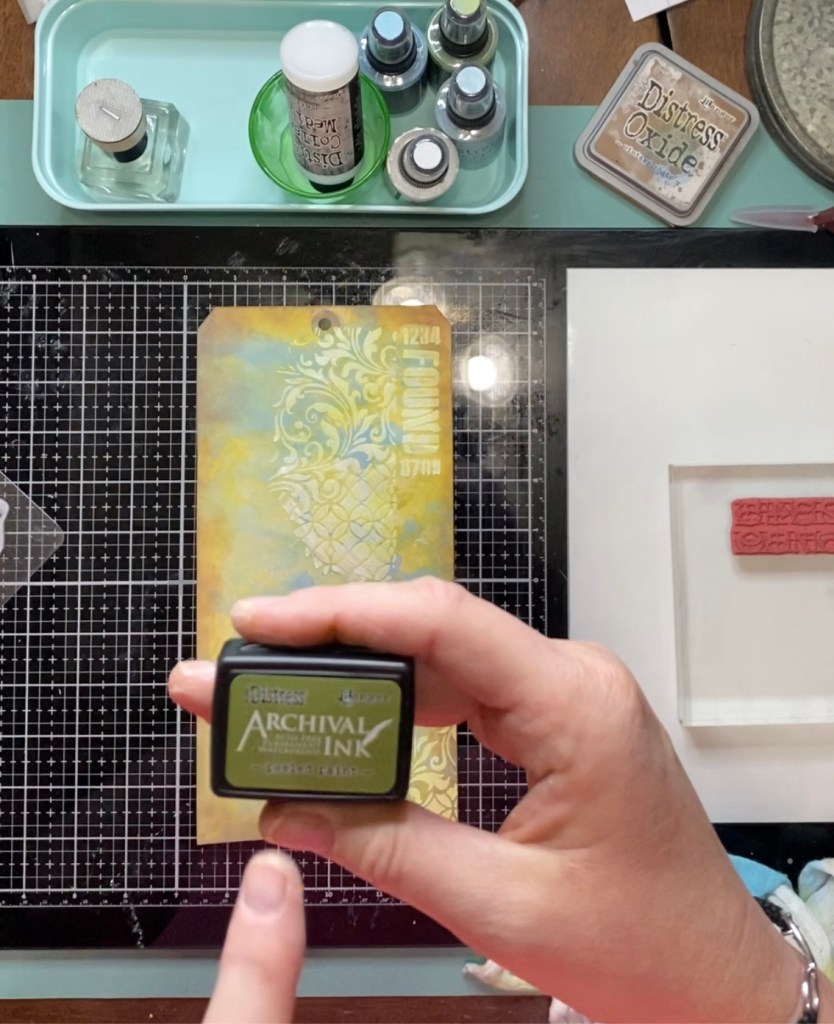
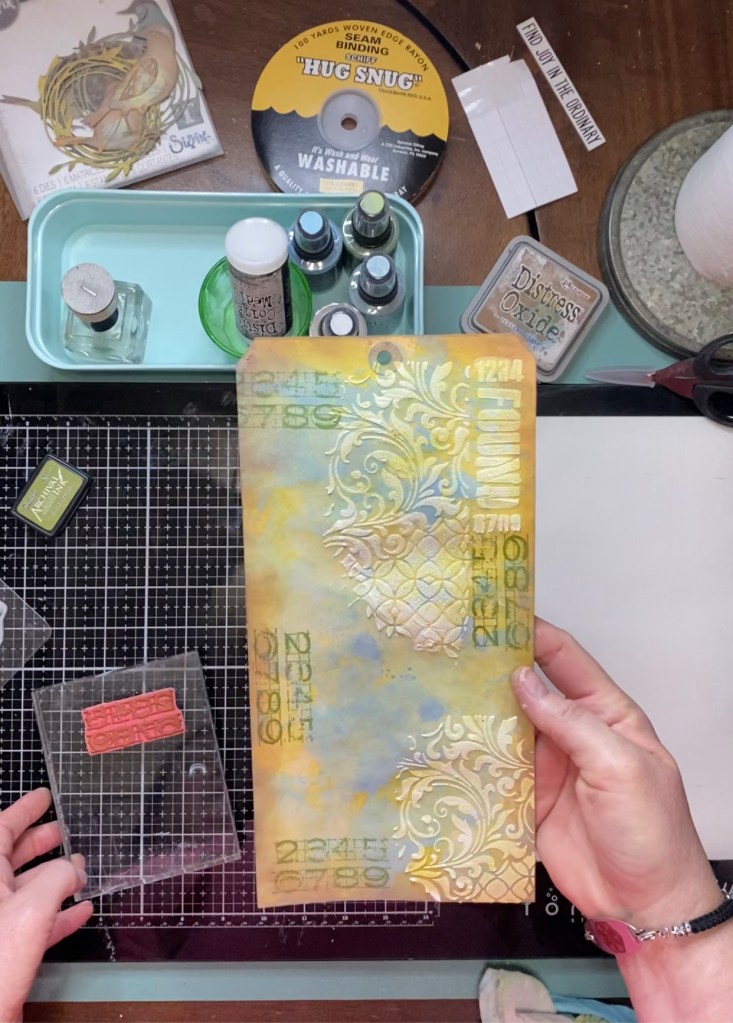
Next up, was a little stamping on my background. The stamp set that I used was the Faded Type – CMS397 (of course), just a stamping block and the Distress Archival Peeled Paint. I did however use a different stamp this time. I chose a smaller stamp so that it didn’t take away from the crakle paste and all those lovely colors.

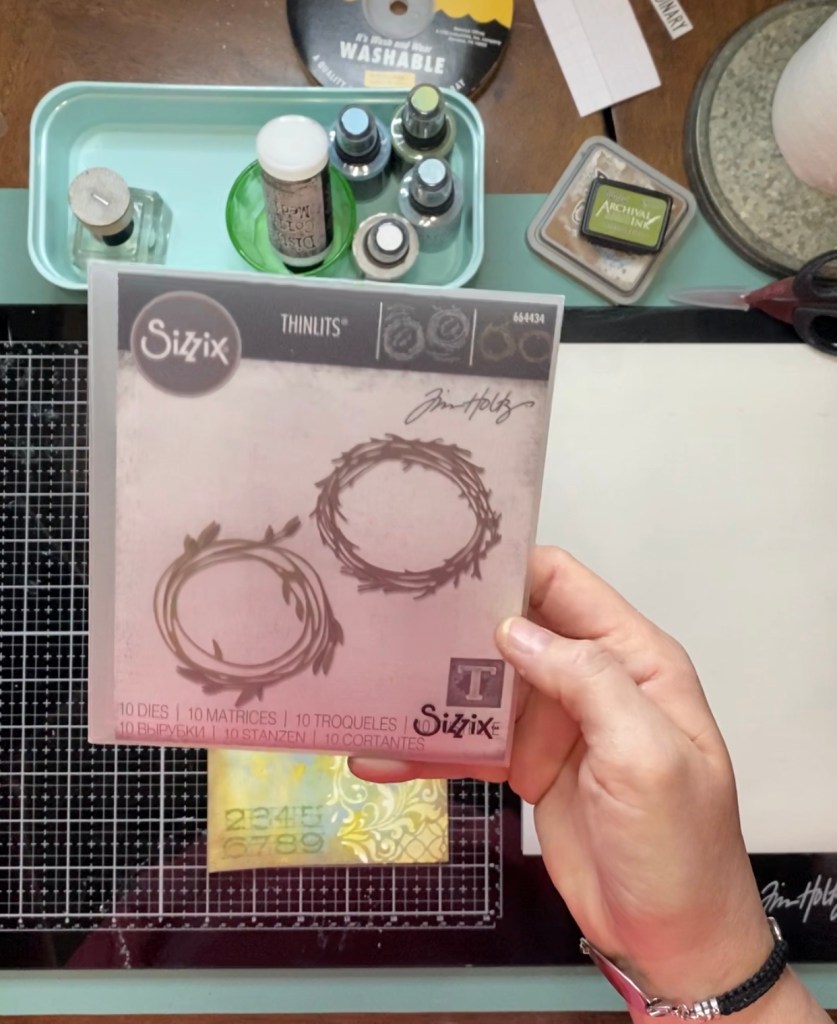
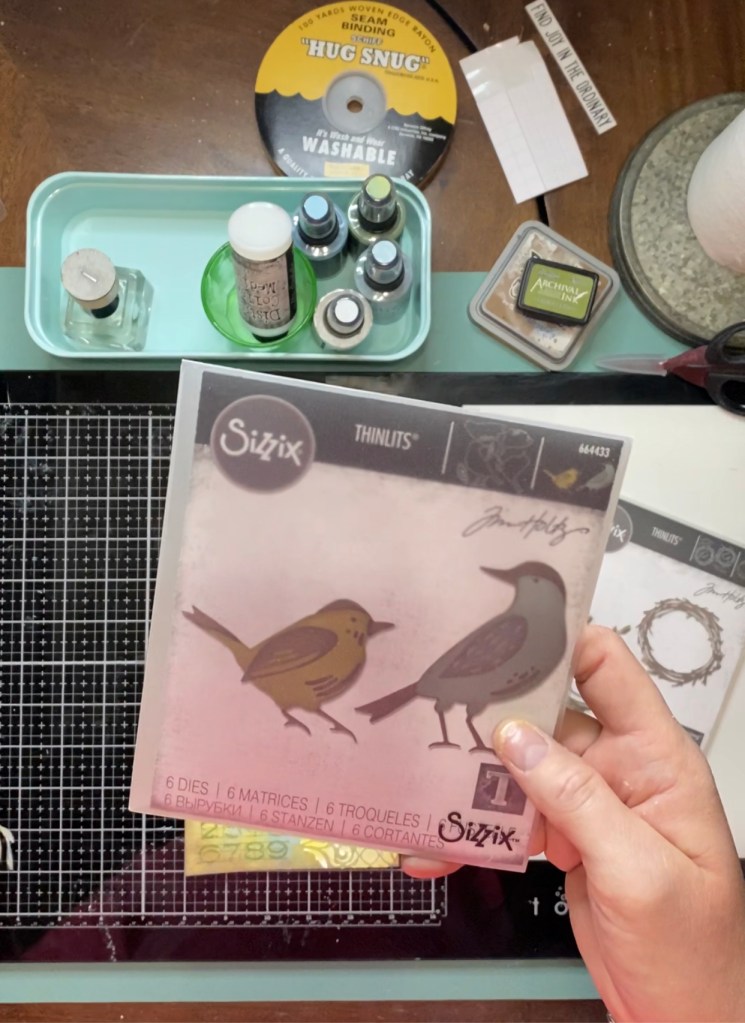
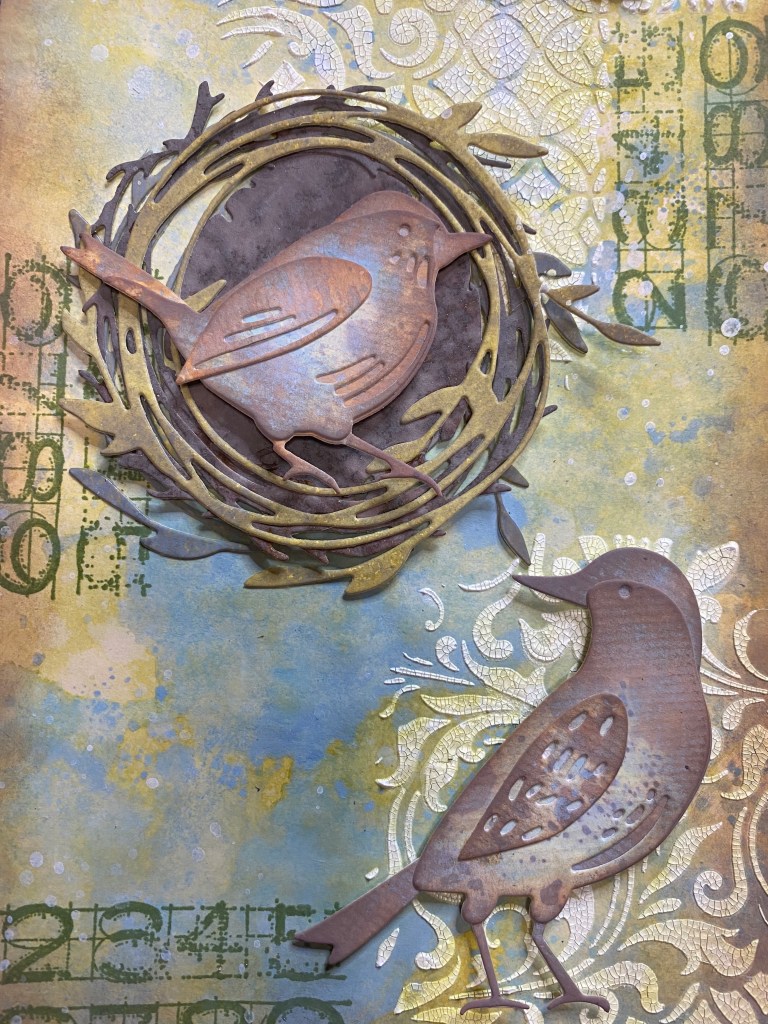
The next step, I’ll go into a little detail because this is something that I already had done and I think it was a real time saver. Long story short, this weekend, I had an ink and Vagabond party. I took my watercolor paper and my mixed media cardstock and just went to town with the inks. There were way too many to remember the colors, and I apologize for that, but in the end you do what makes you happy. I’ve gotten a lot of new die sets in lately and I haven’t even taken them out of the wrapper. I know, “Shame on me!”. So this weekend, that’s what I did. I cut leaves, flowers, crazy birds, crazy cats, daisies, clocks, picture wheels, and of course Funky Wreaths (664434) and Feathered Friends (664433).
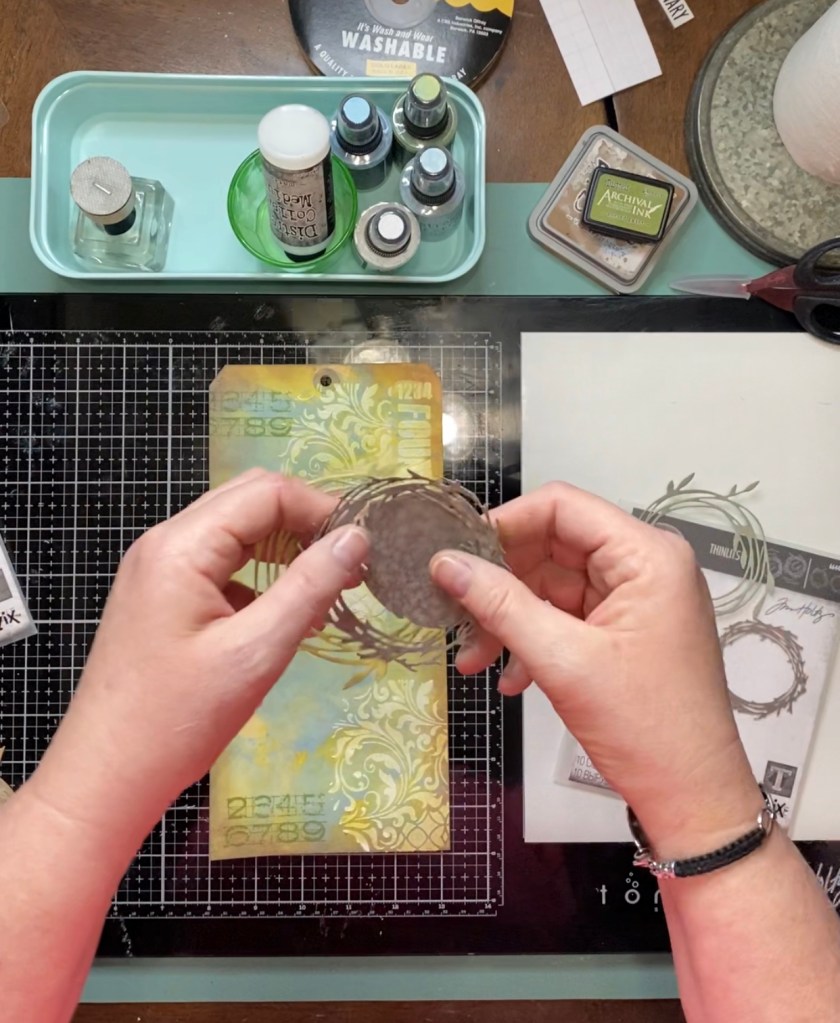
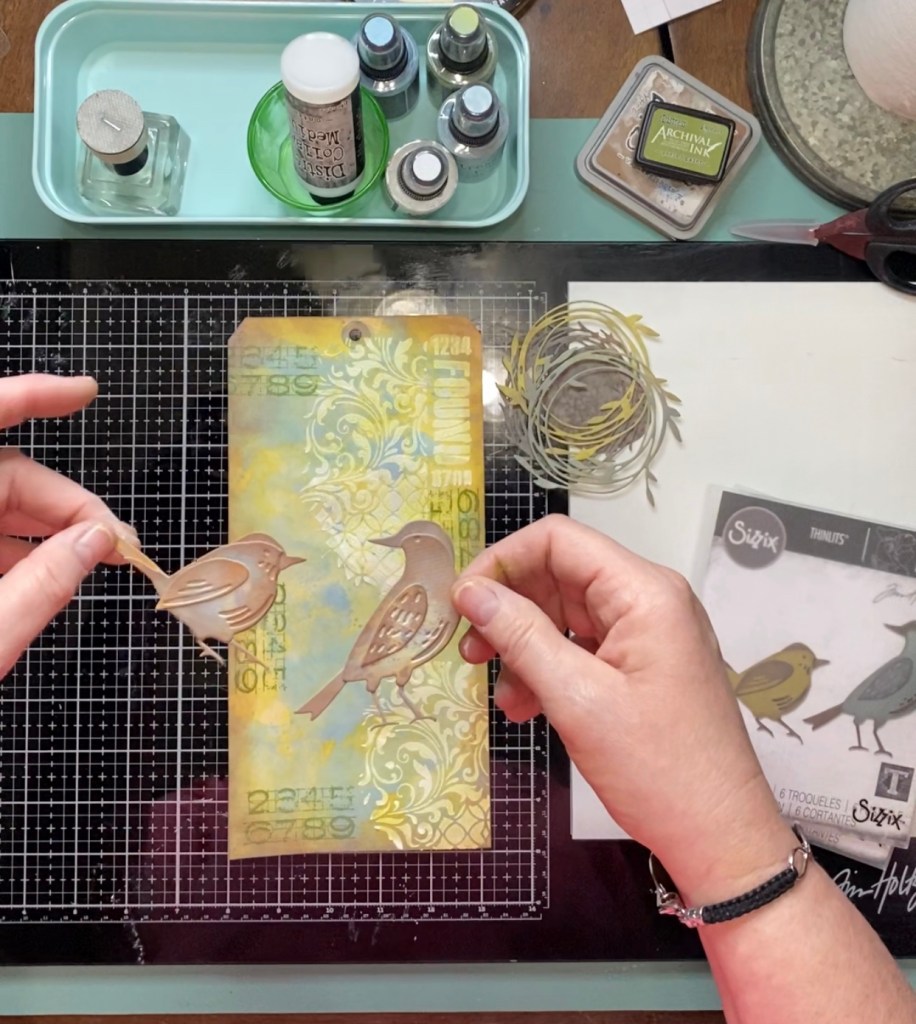
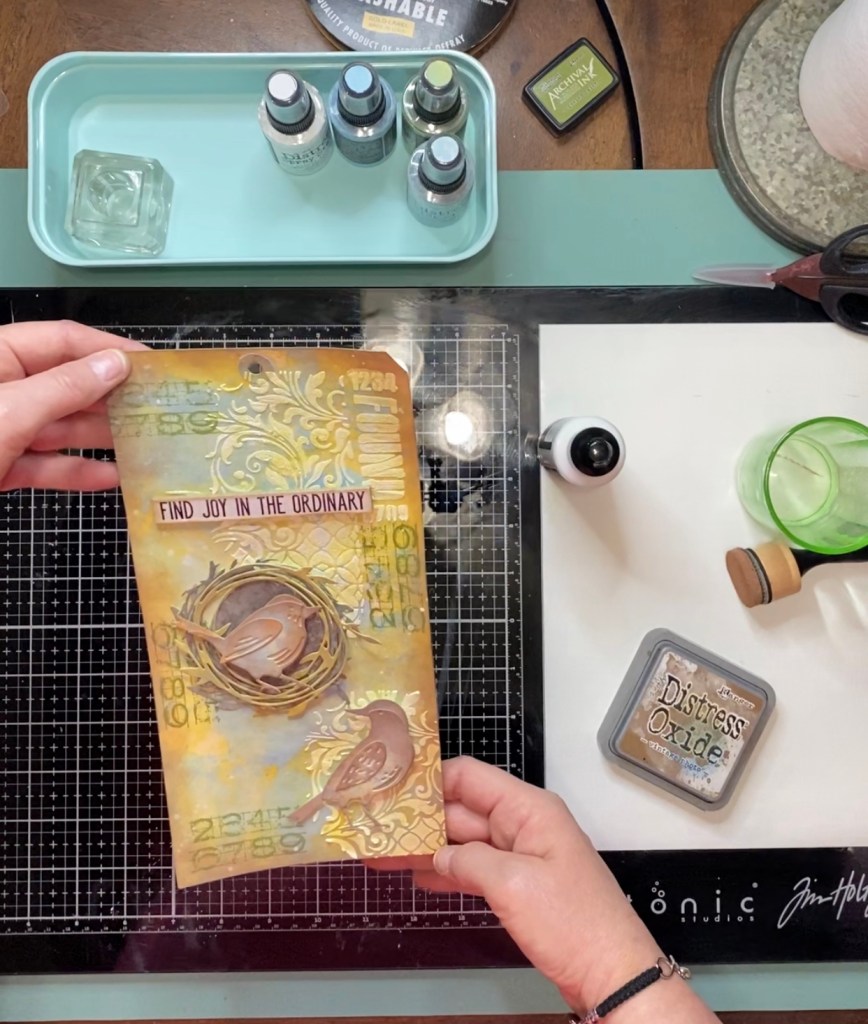
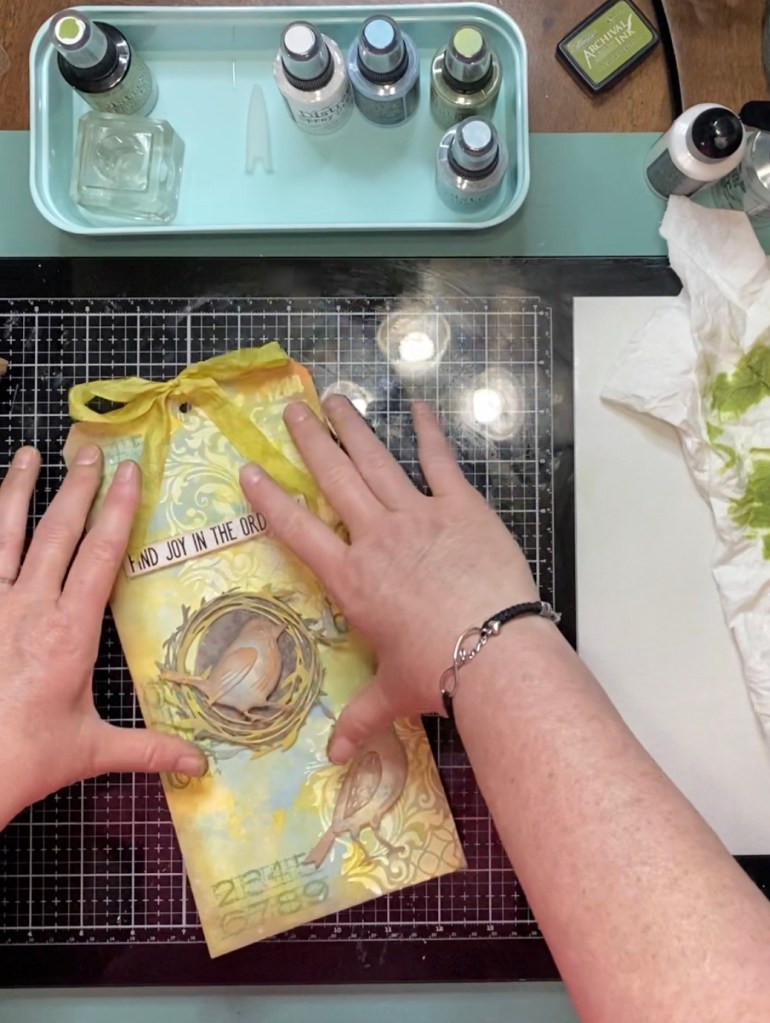
So once I decided on the wreaths and the birds, and their placement, I used my Distress Collage Medium and glued them in place. I took one of the Chipboard Sentiments “”Find Joy in the Ordinary”, because I thought it went perfect with the text on the stencil. I took the Vintage Photo and distressed the edges of the chipboard piece. I took my collage medium and glued everything into place, but, not before pop dotting the birds to add a little dimension to the project. I sort of got a little ahead of myself. I forgot about the splashes. I had it on the table, just forgot. That tends to happen as you get lost in your project. Age has nothing to do with it. Haha. There was an easy fix to the situation. I took a piece of paper and tore pieces to cover my birds on the tag. I then took my Distress Spray Stain Picket Fence and removed the spray nozzle from the bottle. I then “splashed” a few drops of the white onto the project without speckling my birds any further. Then glued the chipboard sentiment to my project.


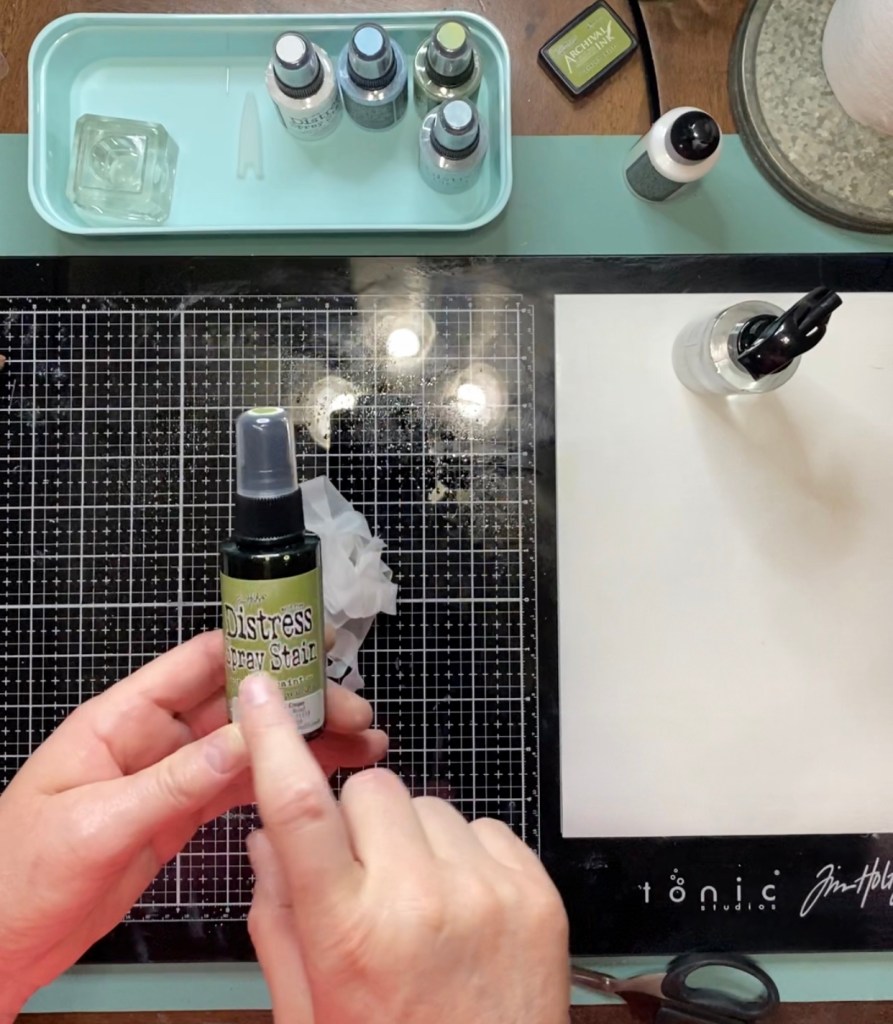
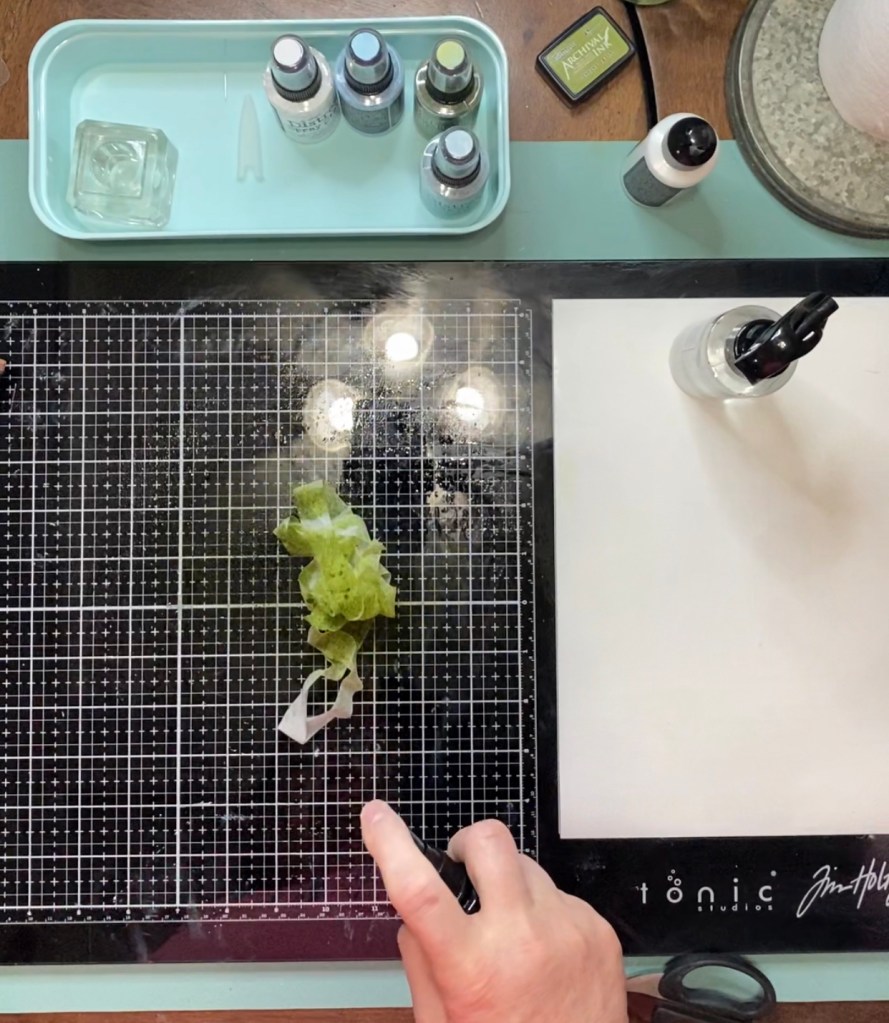
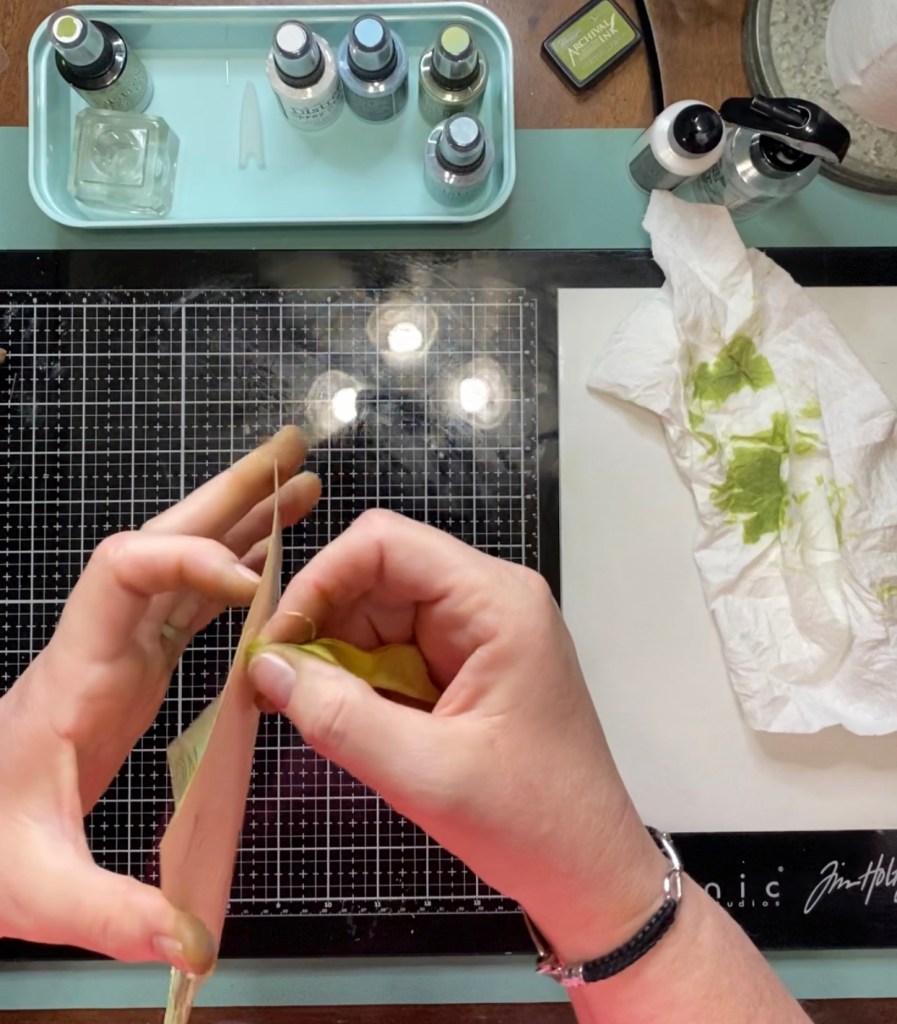
Last but not least, I added a ribbon to my tag. I wanted the ribbon to match, of course. I used white, seam binding ribbon by Hug Snug. I used my Distress Sprayer with water and soaked the ribbon on my glass mat. I then spritzed it with a light amount of the Distress Spray Stain Peeled Paint. It was a little dark for me, so I spritzed it with just a little more water to tone it down some. I soaked up the water and spray mix from the glass mat and made sure that the ribbon had a good, even coverage. Then I took a paper towel and squeezed the ribbon in it to soak up some of the water and ink mix. Then I took my Ranger Heat It tool and made sure it was good and dry. I then tied a regular old bow in the top of the tag. I snipped the frayed ends of my ribbon and then I was done.


I think this project reminds me that there is Joy in the ordinary. We have a few bird feeders and bird baths right outside my kitchen window. We just planted a few new rose bushes out there. I’m finding that the newly, replanted and redecorated “bird sanctuary” is bringing me a lot of joy these days. If I could just convince Humphrey the cat that the bird baths are not water bowls. What’s a cat to do??
I hope you enjoyed this make as much as I did. Here are a few up close pictures of the finished project.

Until next time,
Jennifer
The list of items used in today’s make:
Products:
Inkssential #12 Manila Tag
Distress Oxide Spray Peeled paint
Distress Oxide Spray Tumbled Glass
Distress Oxide Spray Speckled Egg
Distress Sprayer Bottle
Distress Spray Stain Picket Fence
Distress Spray Stain Peeled Paint
Distress Oxide Ink Vintage Photo
Distress Archival Ink Peeled Paint
Distress Crackle Paste
Distress Collage Medium
Tools:
Tim Holtz Glass Media Mat by Tonic
Ranger Blending Tool and Foams
Ranger Heat It Tool
Sizzix Funky Wreaths 664434
Sizzix Feathered Friends 664433
Stampers Anonymous Faded Type CMS397
Hug Snug Seam Binding White
