
“Make your own background”. That was the theme for Simon Says Stamp’s Monday challenge this week. I made a card last week using the new Distress color, Speckled Egg, and I liked it so much that I decided to do something similar this week, but in a little larger size and put it on something so I could display it in my craft room. In fact, I was very pleased with the outcome of this make, so it is actually on display in my living room. My house has a somewhat vintage style so it fits in nicely. Let me tell you how I made it.
First, I started with my paper of course. I used Arteza, 140 pound, watercolor paper. I was planning on mounting my page on an 8″x10″ canvas so that it could be displayed. I cut my page down to 7″x9″ to give it a nice border of canvas around it. The first step to my background was my inks. I used Distress Oxide sprays on this make. The three colors I used were, Speckled Egg, Faded Jeans and Bundled Sage.
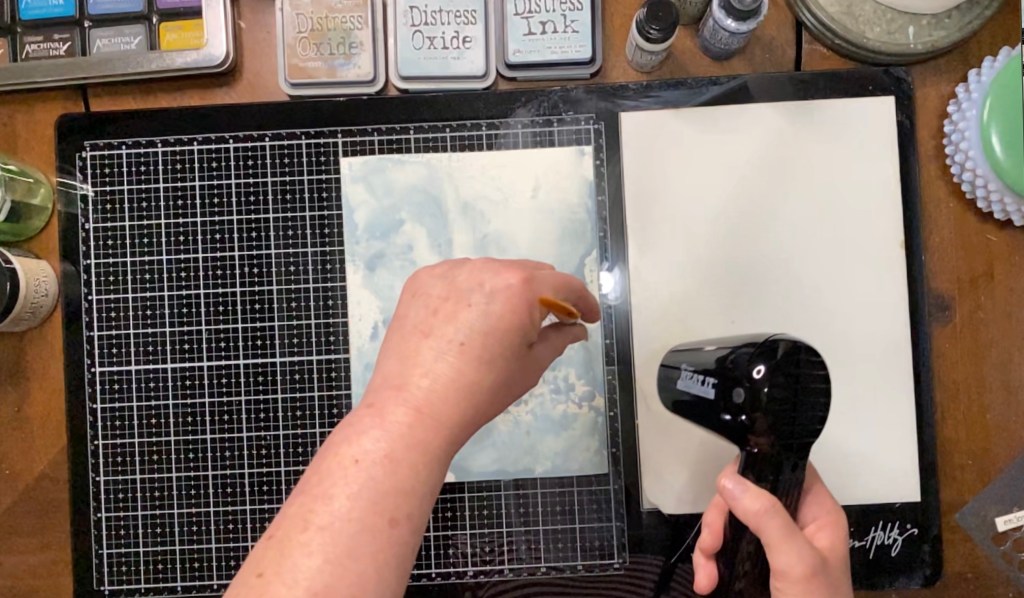
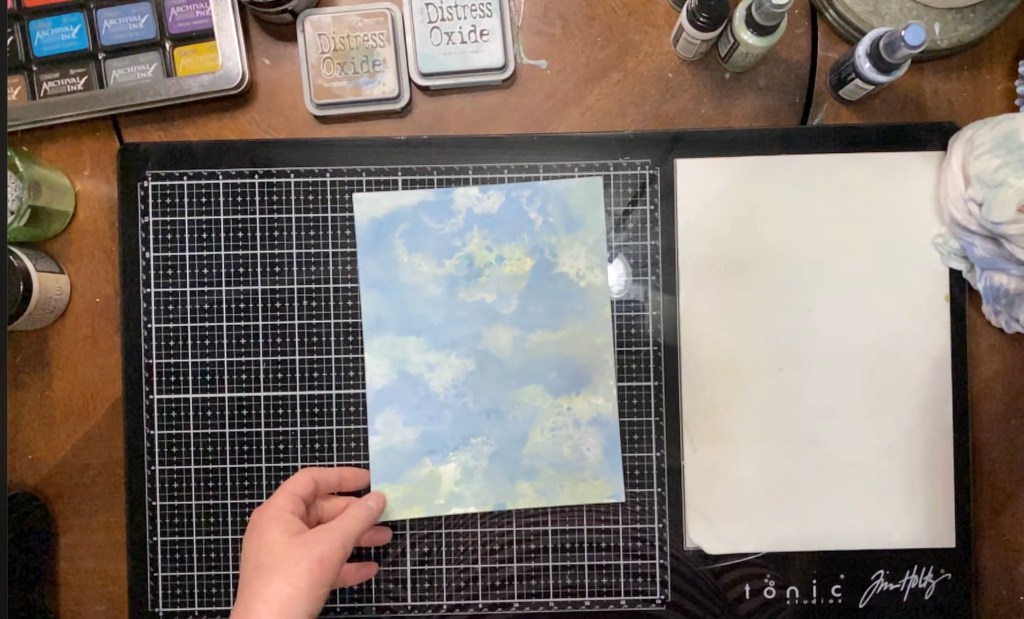
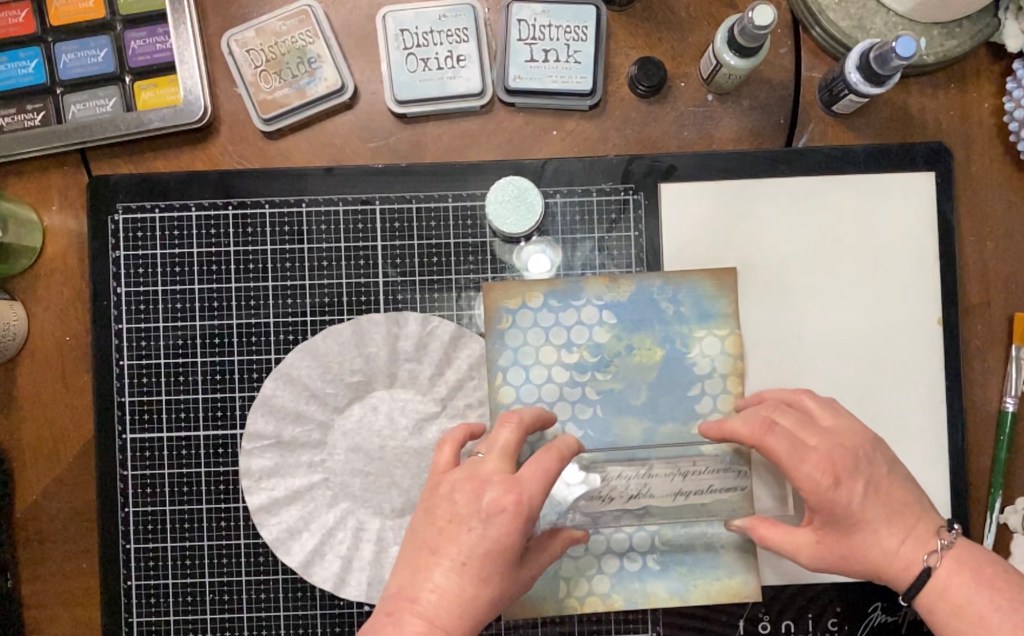
If you follow my blog, or YouTube channel, you have probably discovered that I use this technique quite a lot, or one similar to it. It’s very simple really. You will need your paper, your sprays or ink of choice, and a good working surface. I love working on my Tim Holtz glass media mat by Tonic. It’s a really nice surface if you do a lot of mixed media, and I do. It’s something about the glass. This mat also has a nonstick mat that just makes the inks do so well.
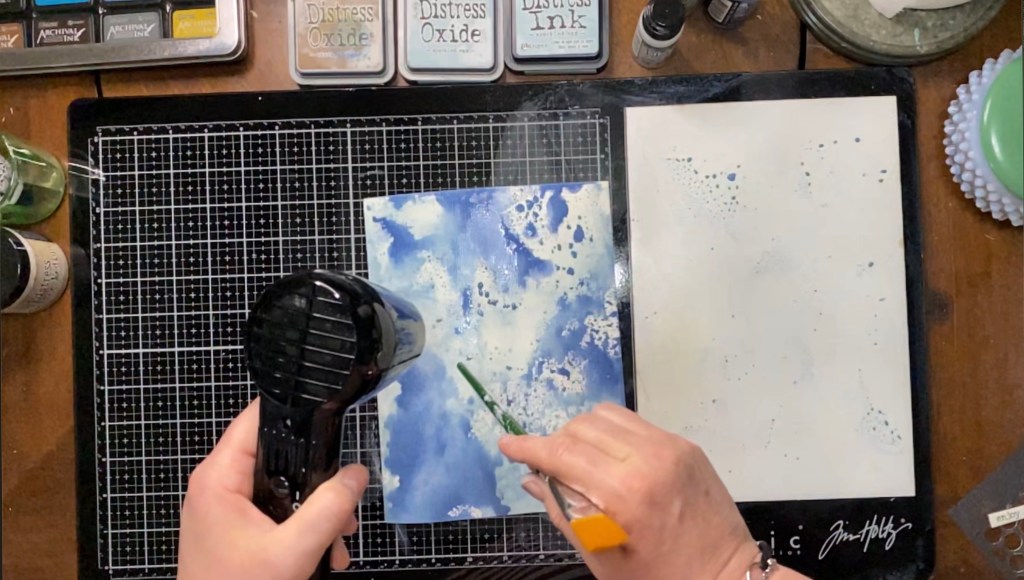
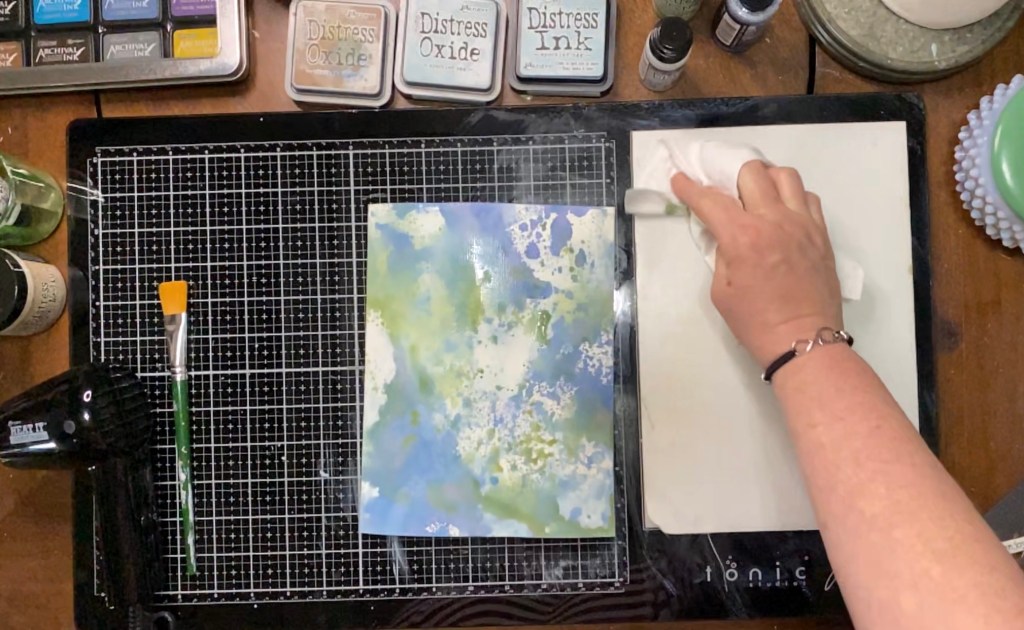
I took the speckled egg first, and sprayed some on the nonstick mat. I then took my Distress Sprayer bottle and spritzed the ink with some water to make it form nice big droplets. I then took my paper and repeatedly dabbed it into the ink and water mixture until I was happy with the coverage on my page. I then dried my page with my Ranger Heat It Tool, cleaned up the leftover ink and went on to the next color. I repeated this same process with the other two colors until I was happy with my background.
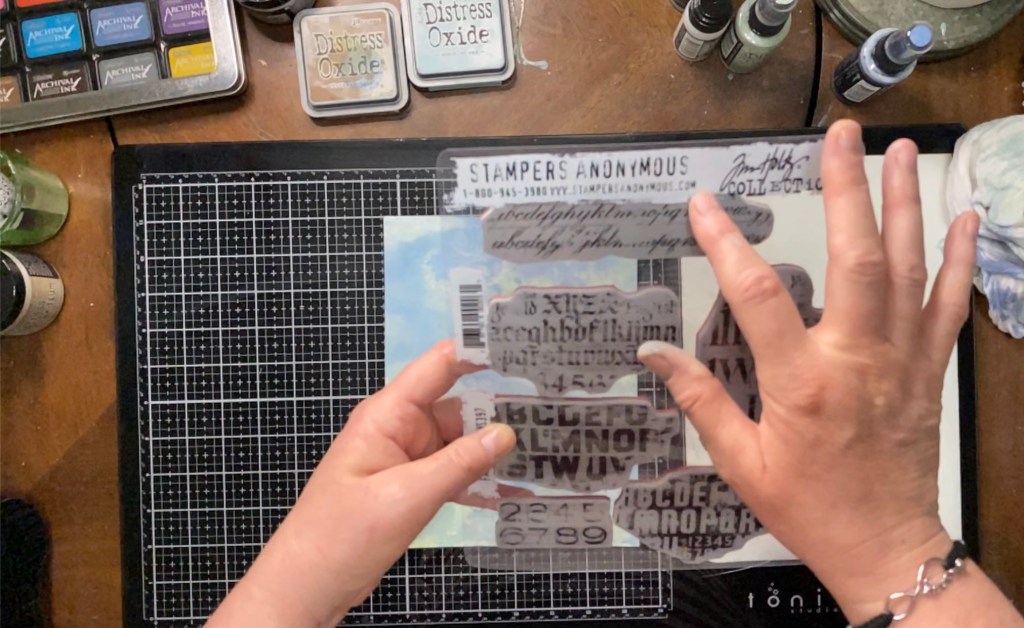

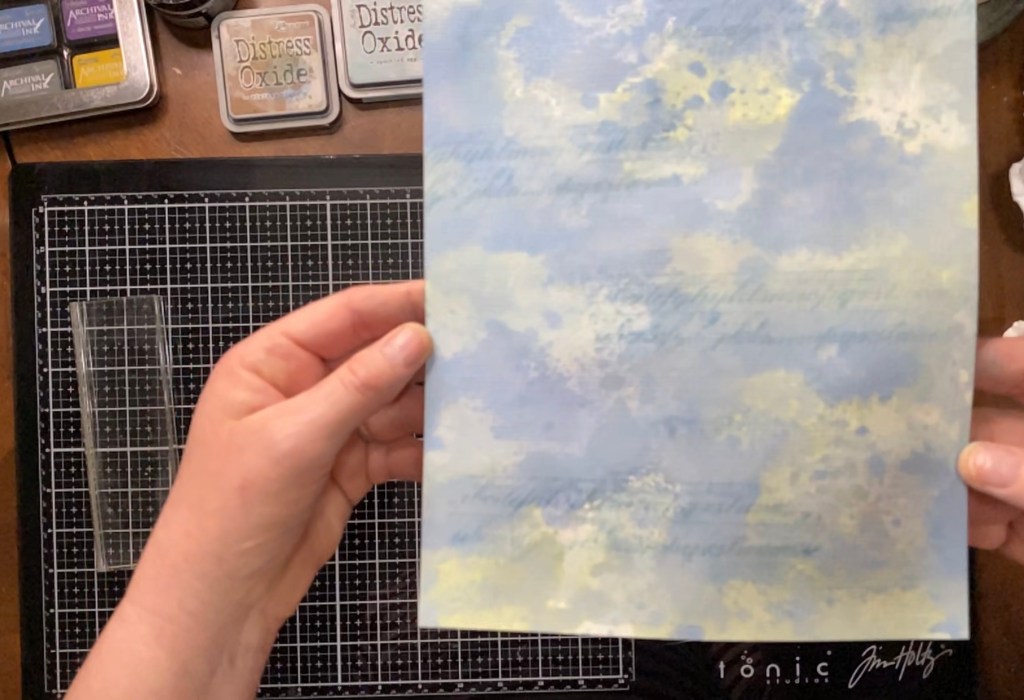
Once I was happy with the inks for my background, I added some stamping. My favorite, go-to background stamps these days is a set by Stampers Anonymous in the Tim Holtz collection. The name of the set is Faded Type and the number is CMS397. This set has some great alphabet stamps in several different fonts. I chose one that has a vintagey, scripty feel (yes, I may have just made those words up), since my make was going to have that vintage look. I used the Speckled Egg in the Distress ink for stamping the image. It gave it a faint script in the background; a nice touch.
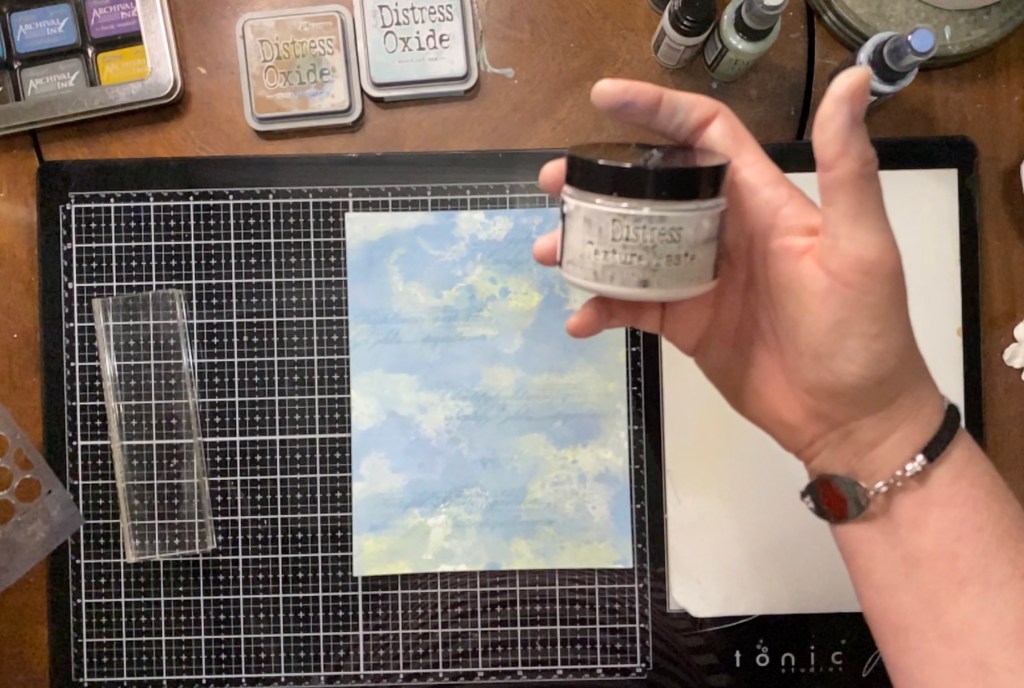
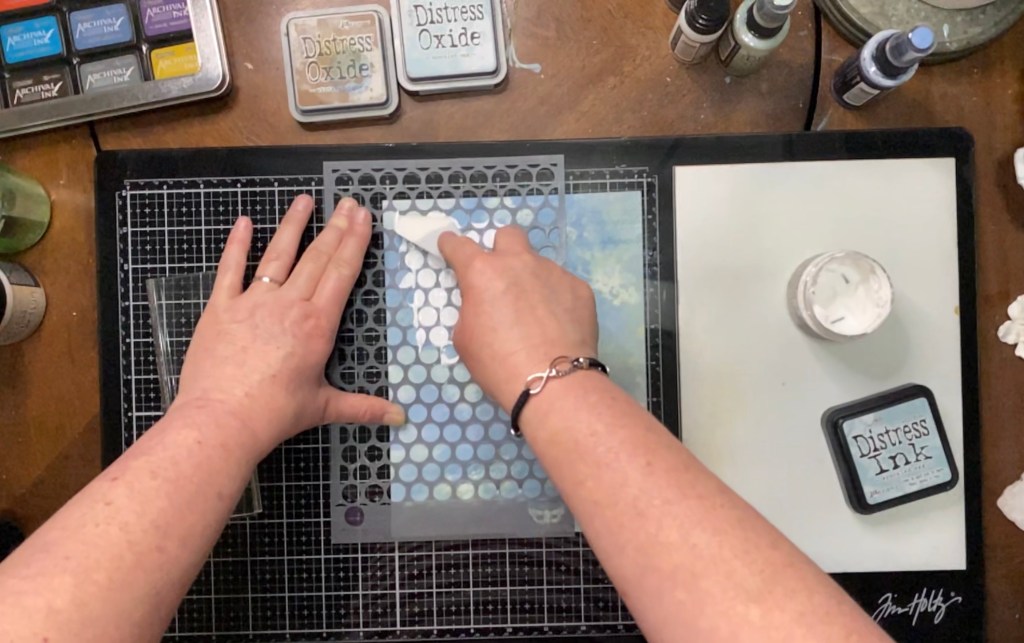
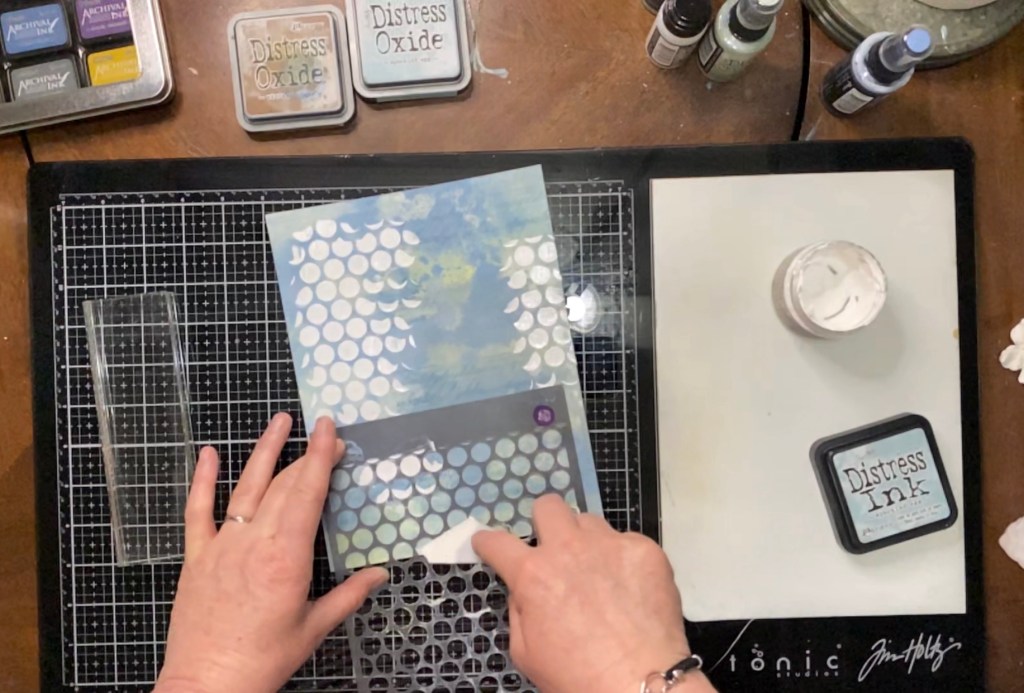
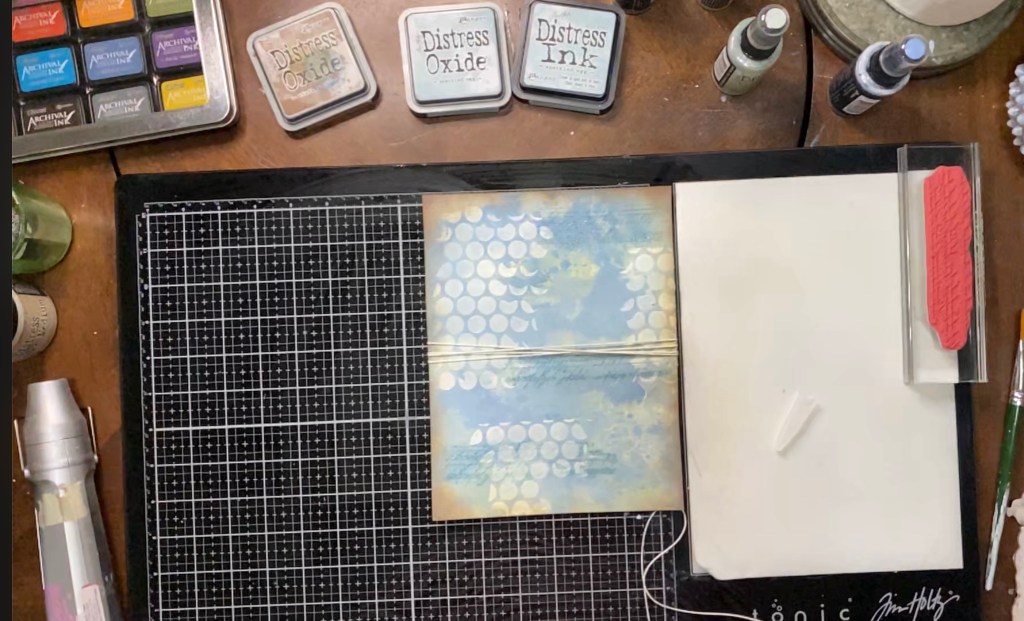
Next, I decided to add another layer to my background so that it had a little texture. I took a circle stencil that I’ve had forever, and my Distress Crackle Texture Paste. With a spatula, I spread the crackle paste over the stencil in a thin layer that was smooth with the edges of the stencil. Once that dried, it had that nice, crackle look. It reminds me of an antique piece of furniture that’s been painted so many times that it has loads of cracks in it. Love it!

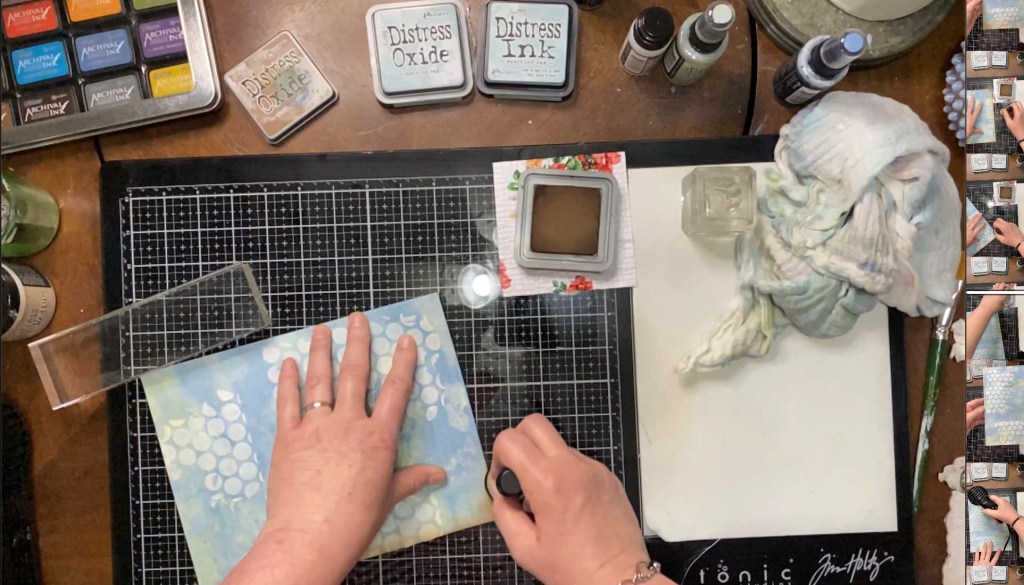
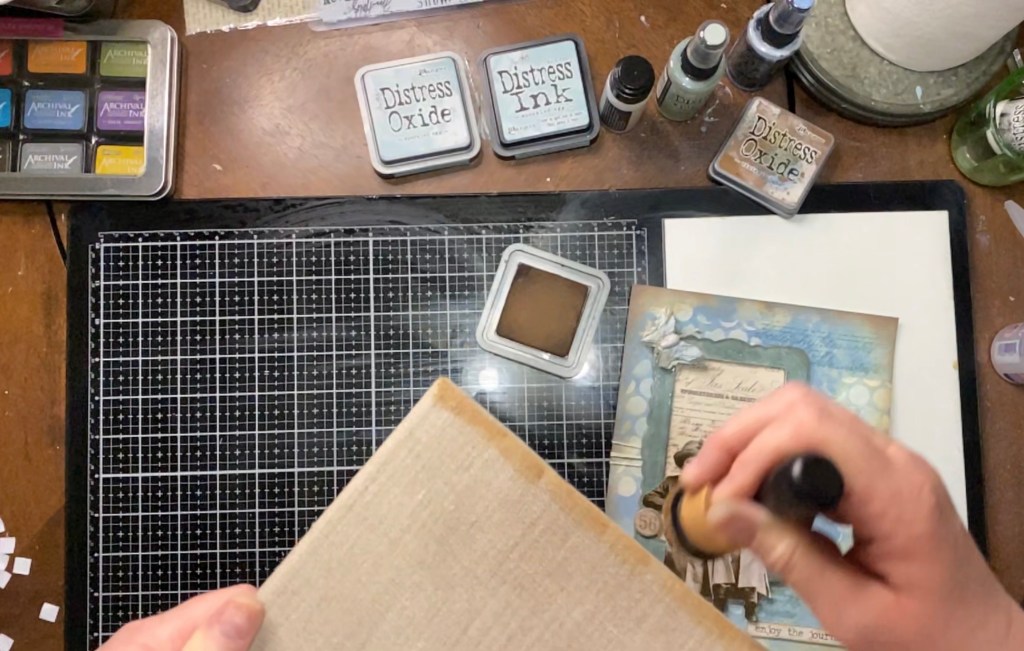
The next step, and one of my favorites for any vintage looking make, was to distress the edges of the page. For this, I took my Distress Oxide ink in Vintage Photo and a blending tool. A blending tool is just what it says, a tool used for blending. The tool has a wooden handle and a piece of Velcro stapled to the business end of the tool. this end holds a blending foam that has a Velcro backing. I have a blending foam for each color of my inks and they are stored nicely on the bottom side of the ink pad with a piece of Velcro. To “distress” a project, you simply work your blending tool in a circular motion, while turning your page or project to ink the edges. I just love the effect it gives the page. It frames it in nicely.
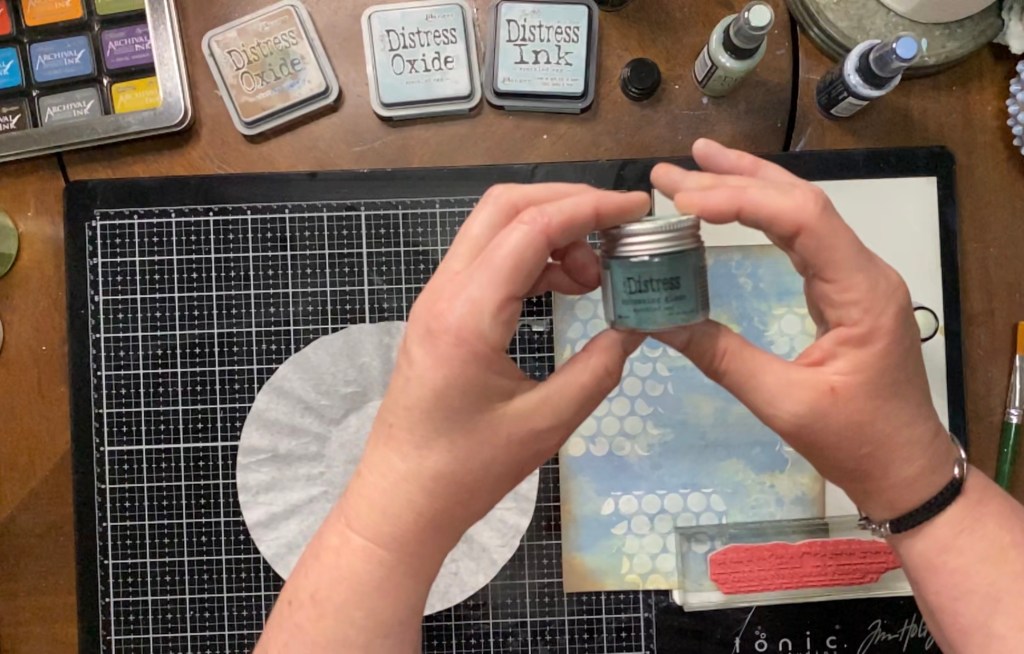

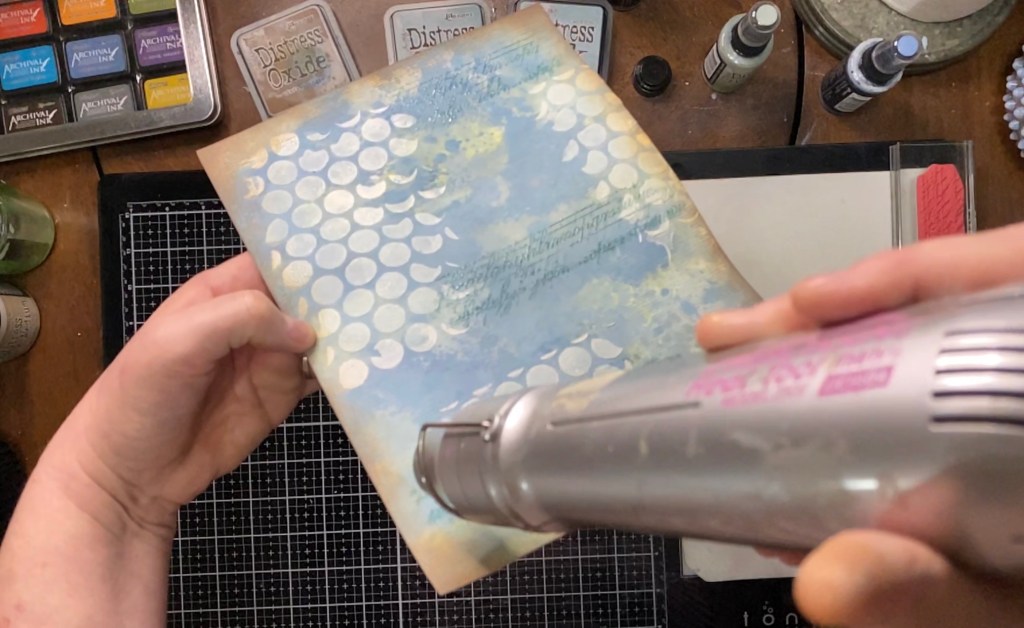
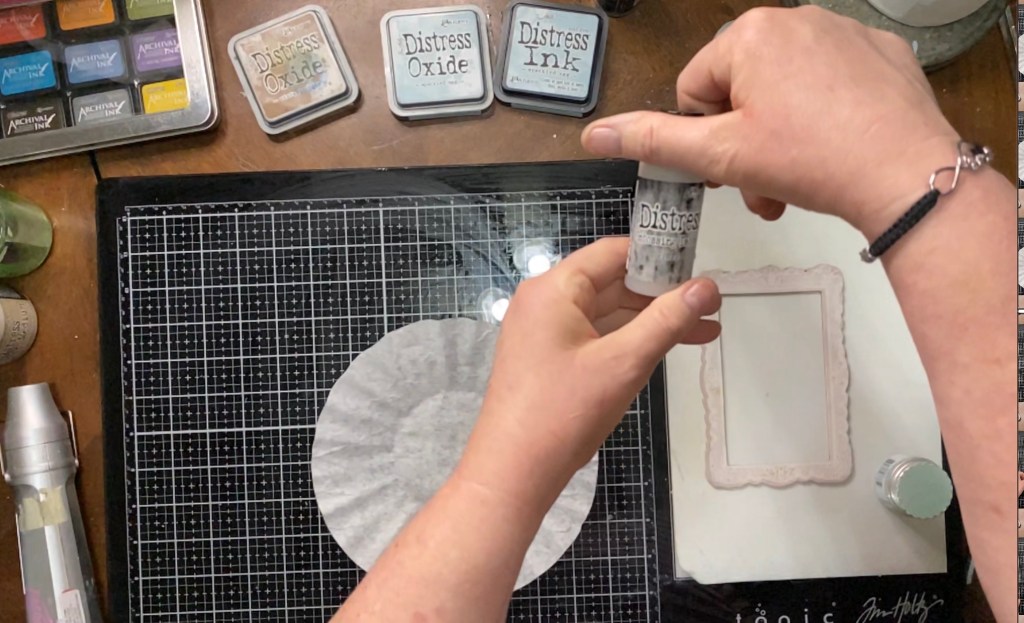
I felt like the font stamp needed to be a little bit darker, so I used a relatively new product from the Distress line, called Distress Embossing Glaze. I of course used the Speckled Egg. Distress Embossing Glaze works just like embossing powder. To emboss, you need an embossing ink of some kind, a stamp of your choice, an embossing powder of some type and an embossing tool. For this step, I used the Distress Embossing Dabber, the embossing glaze, the same stamp as before, and my embossing gun that I purchased years ago. First, you apply the embossing ink to the stamp. Then you stamp the image where you want it to be embossed. Sprinkle the embossing powder, or in this case embossing glaze, over the inked image. Then heat the image with your embossing tool until the powder melts and the image becomes shiny.


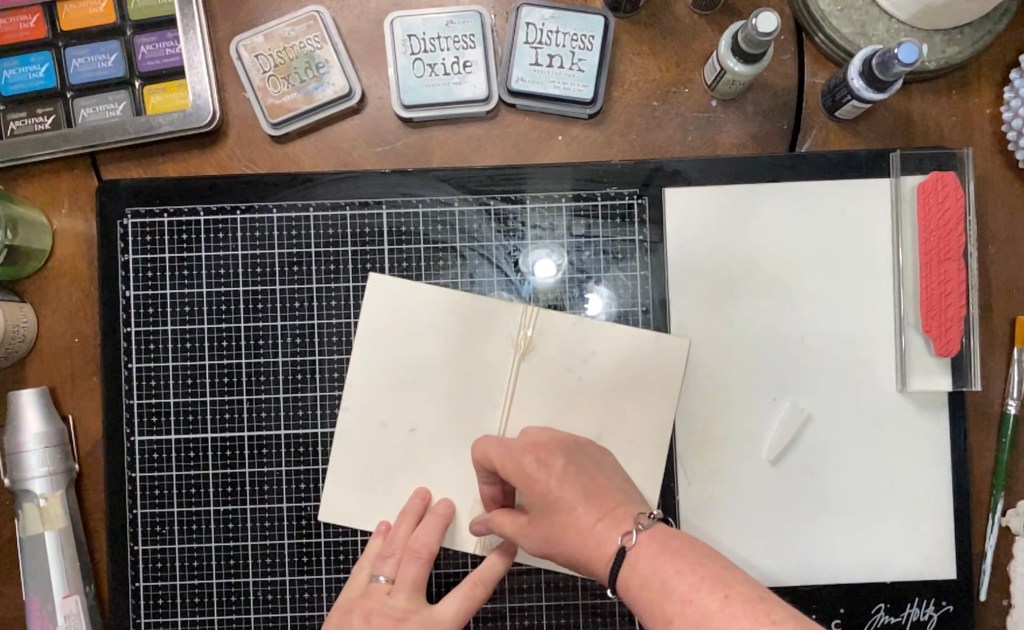
The next thing I did was add just another layer for dimension. I love bakers twine, don’t you? I think I would have it in every color, and I think I almost do. This make, I used a natural twine that matched just perfectly. For this, I like to add two glue dots to the back of the make and just wrap the twine around the page for a few times until I’m happy with it. I think I only wrapped it four times, but it may have been more or less. Just do what makes you happy. I did save the little papers for the glue dots and put them back on them so that the glue dots didn’t bother me while I finished the make.
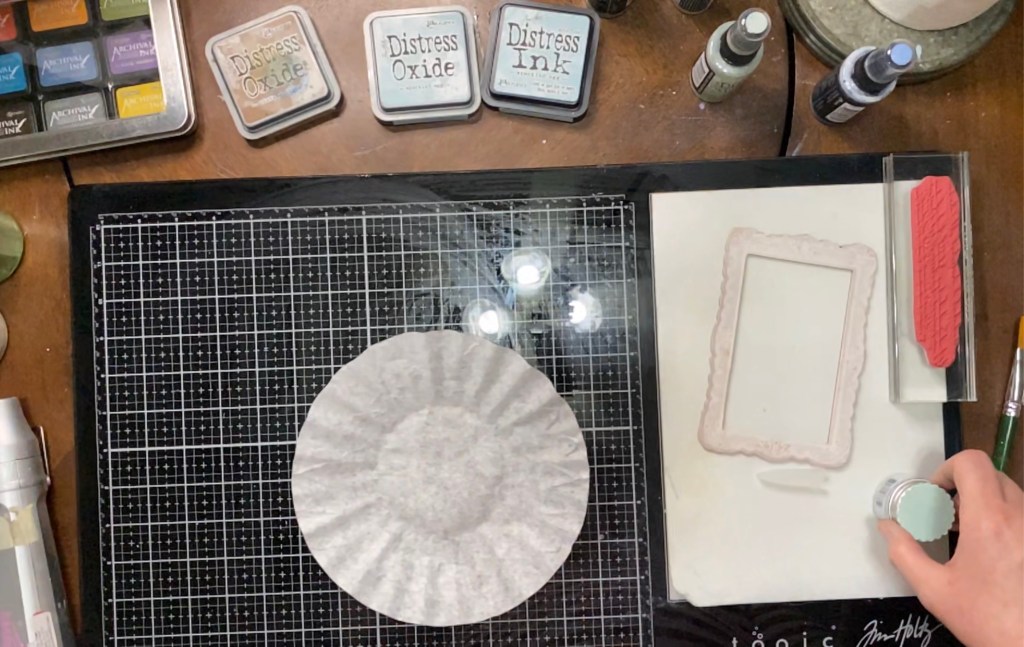
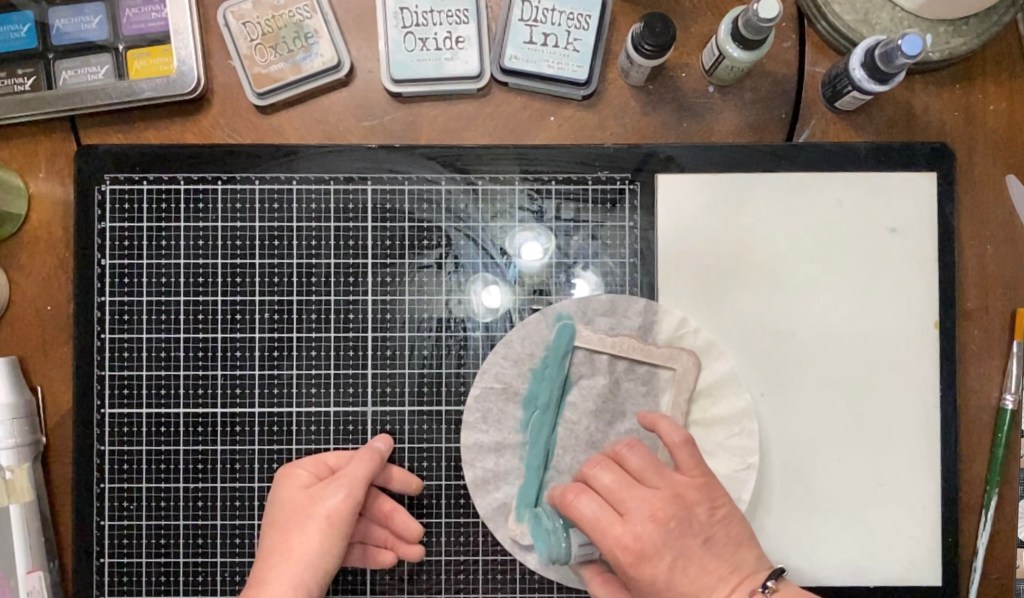
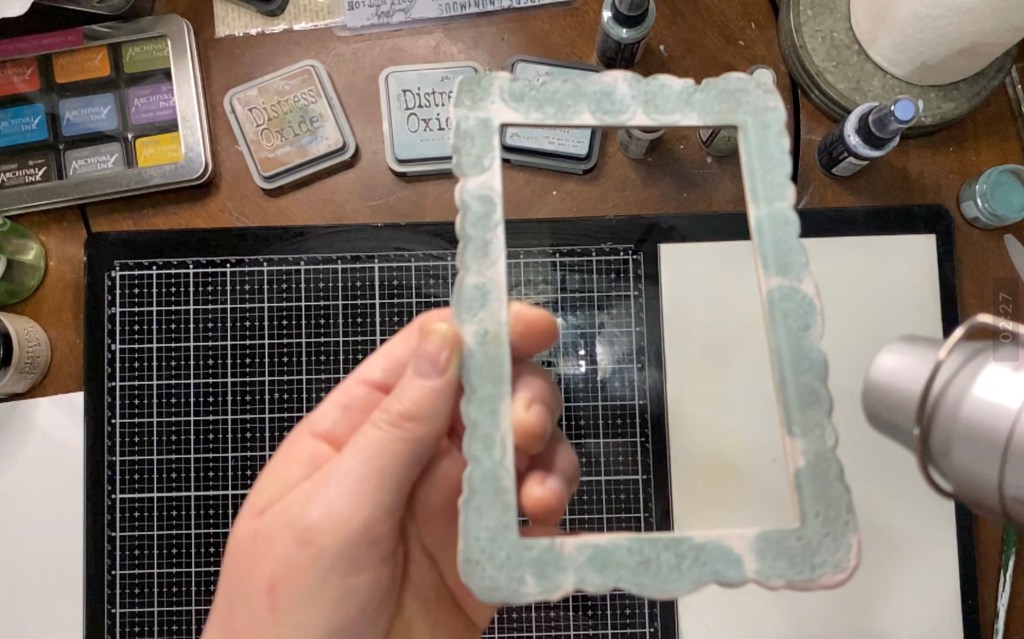
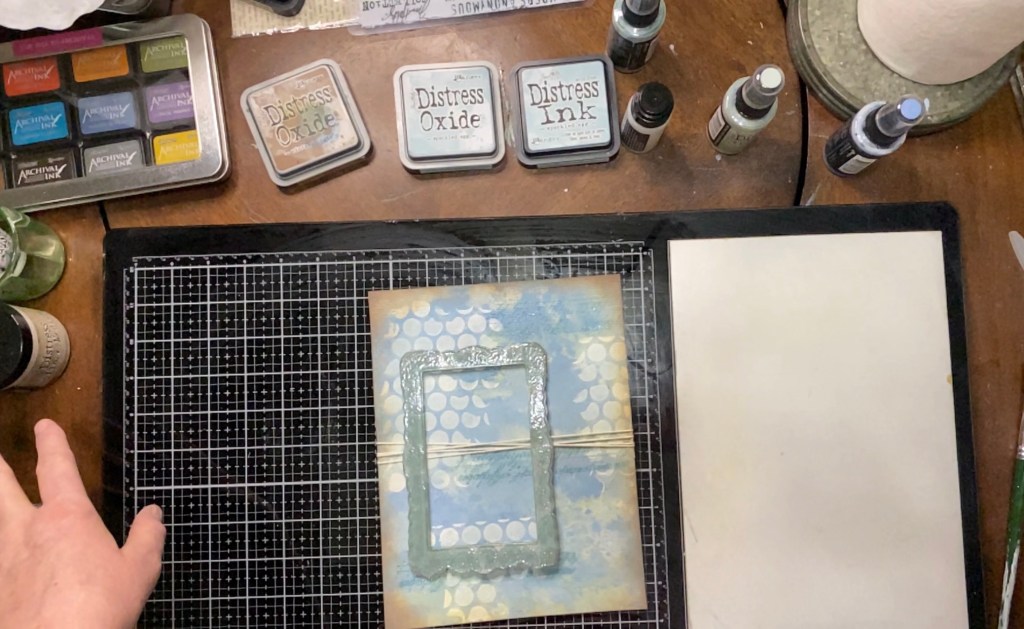
I added a Tim Holtz Lace Printed Baseboard frame to the mix, but not before I embossed it with the distressed embossing glaze also. And yes, It was Speckled Egg! I had to do it twice though, because the first time didn’t get a very good coverage. I was going for something that I just didn’t accomplish. Haha. It happens sometimes. But, once it was done, the shine made it look like as if it was an actual porcelain frame. Love it!!

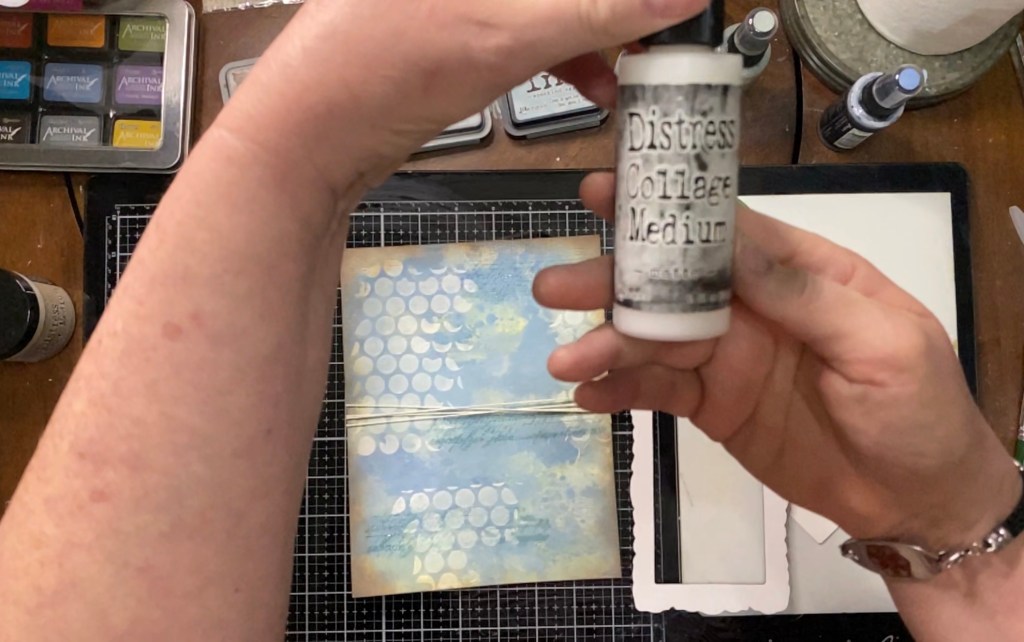
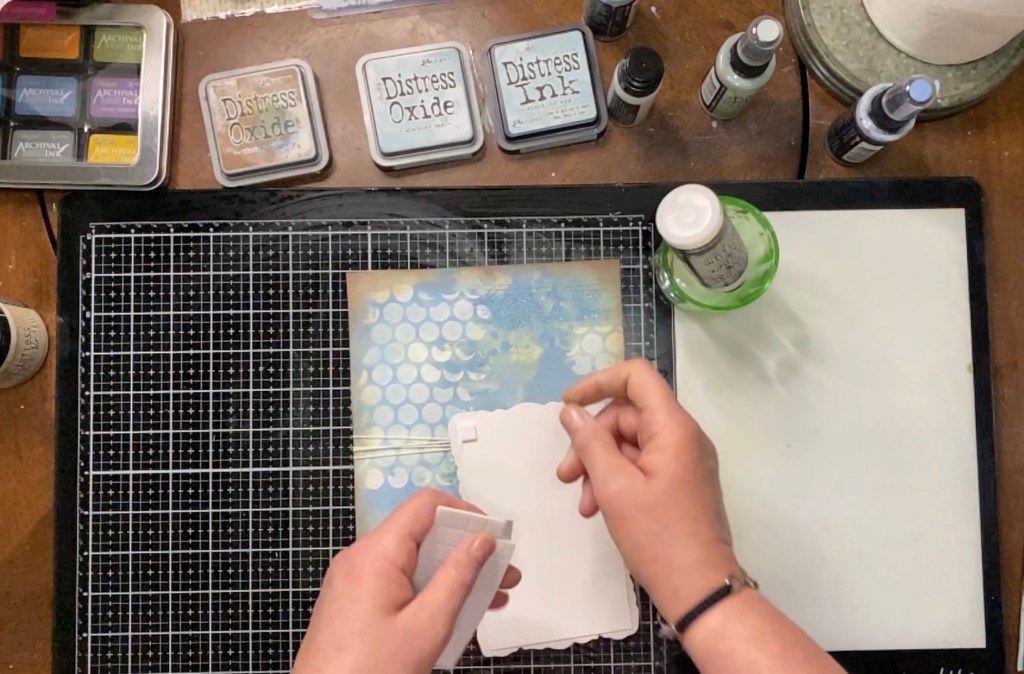
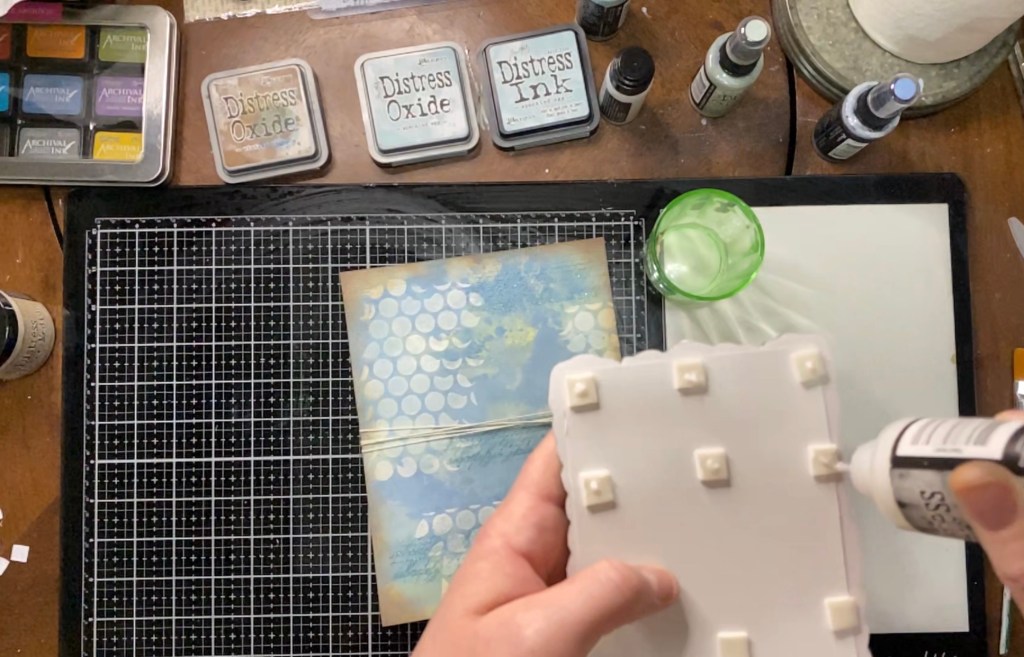

I took one of the Tim Holtz journaling cards and cut it down to fit inside the embossed, baseboard frame. I used my Distress Collage Medium to glue it in . Then, I took some foam, pop dots to make the frame stand out on the page. I usually like to use some type of glue to add to the pop dots, before I adhere my items to a page. The extra glue gives you an extra few seconds to adjust your picture before it becomes stuck down to the make.
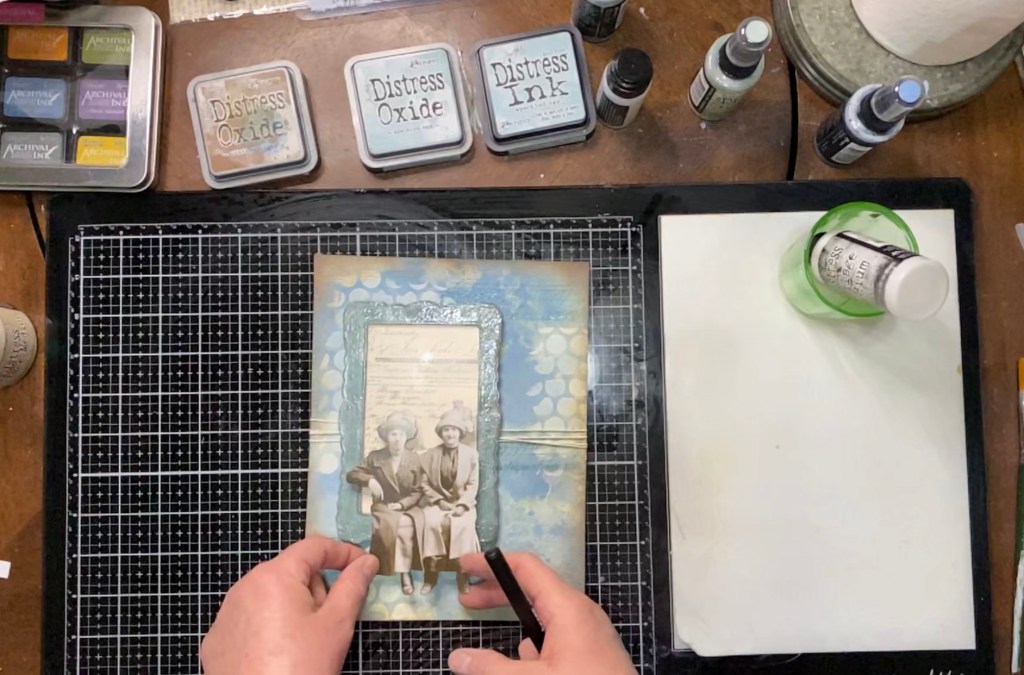
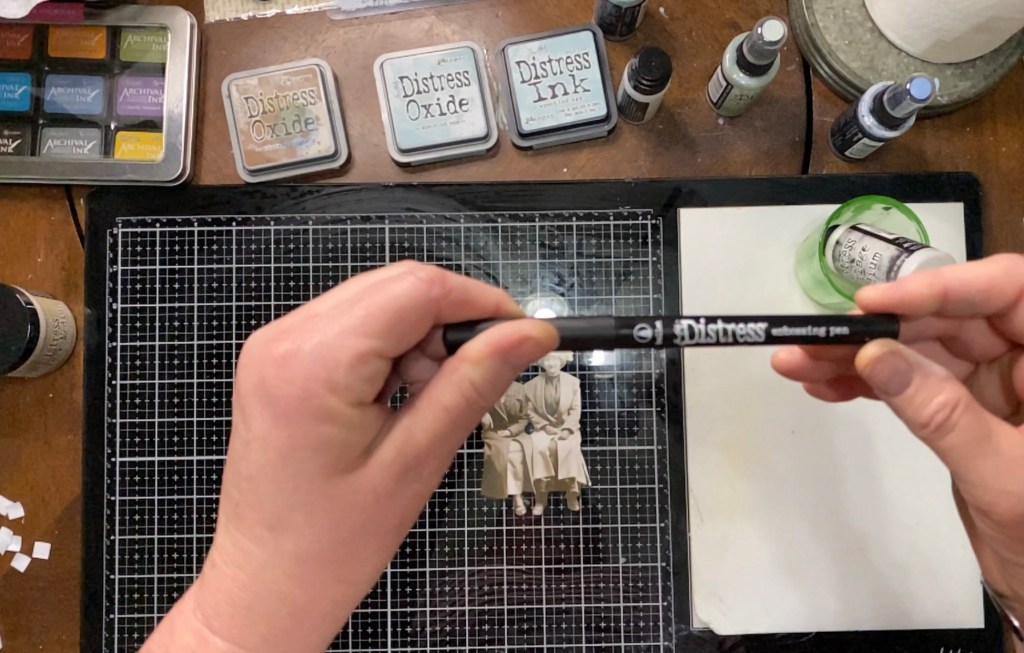


I chose one of the paper dolls from the Tim Holtz collection. This particular paper doll is of two ladies that look like what I would call “shelf sitters”. They are a perfect fit for the frame. I used my Distress embossing pen (glue in pen form) to emboss just a few details to give it a little extra pop. As you can see, the blue details really pop on this make.

One of the little “shelf sitters” needed something to prop her elbow on, so I pulled out my cigar box full of little Tim Holtz goodies to see what would work. I settled on this little game piece that had that same blue in it. Just Perfect! This particular piece came in the Idea-ology pack called Junk Drawer Baseboards by none other than Tim Holtz. Haha. Are you seeing a pattern here?
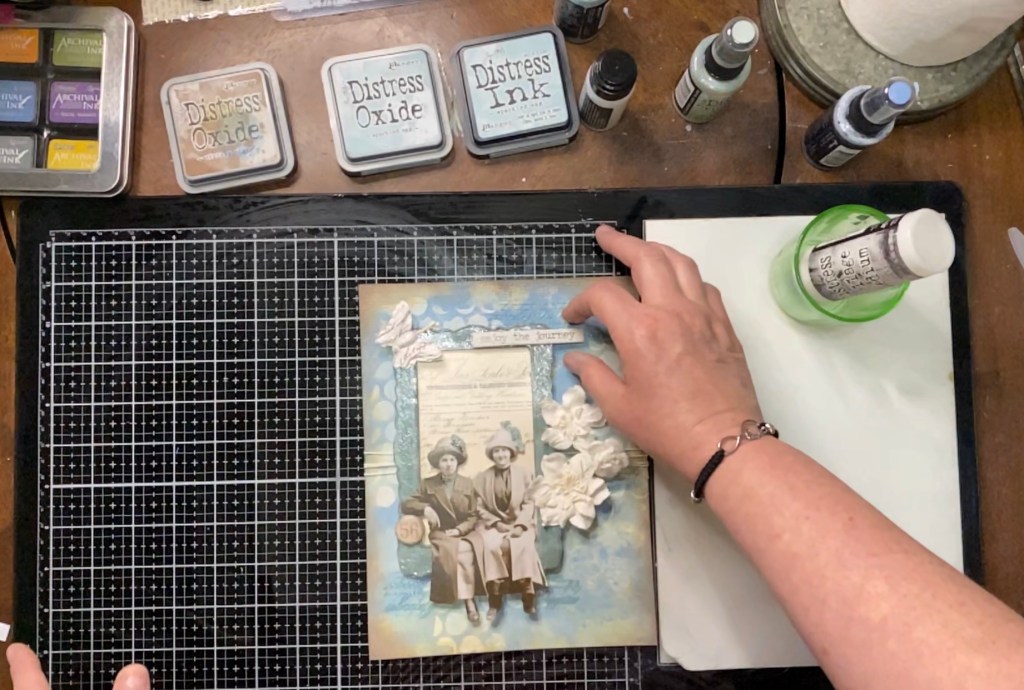
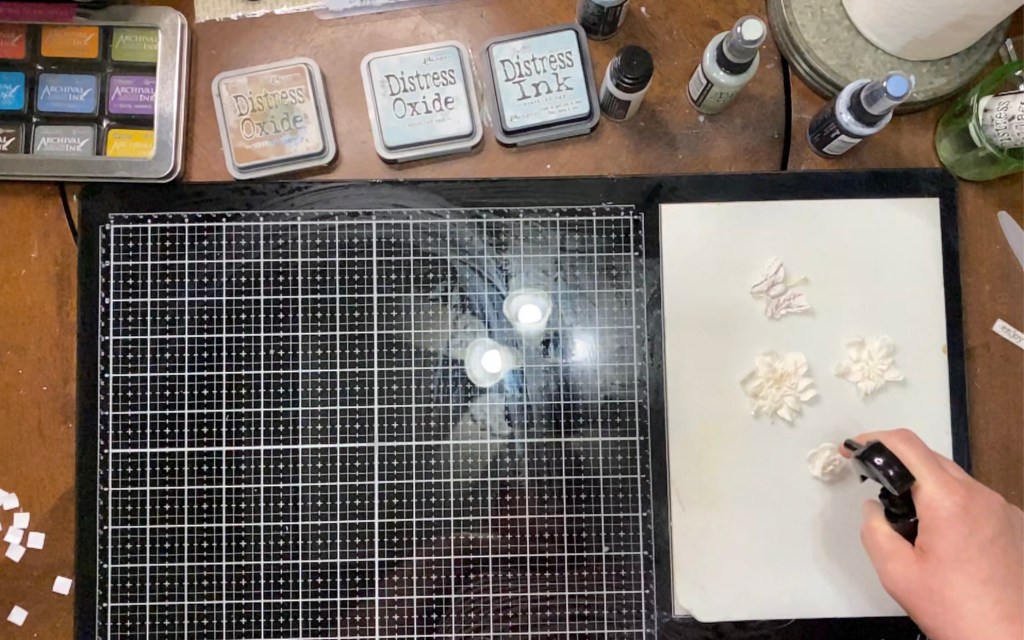
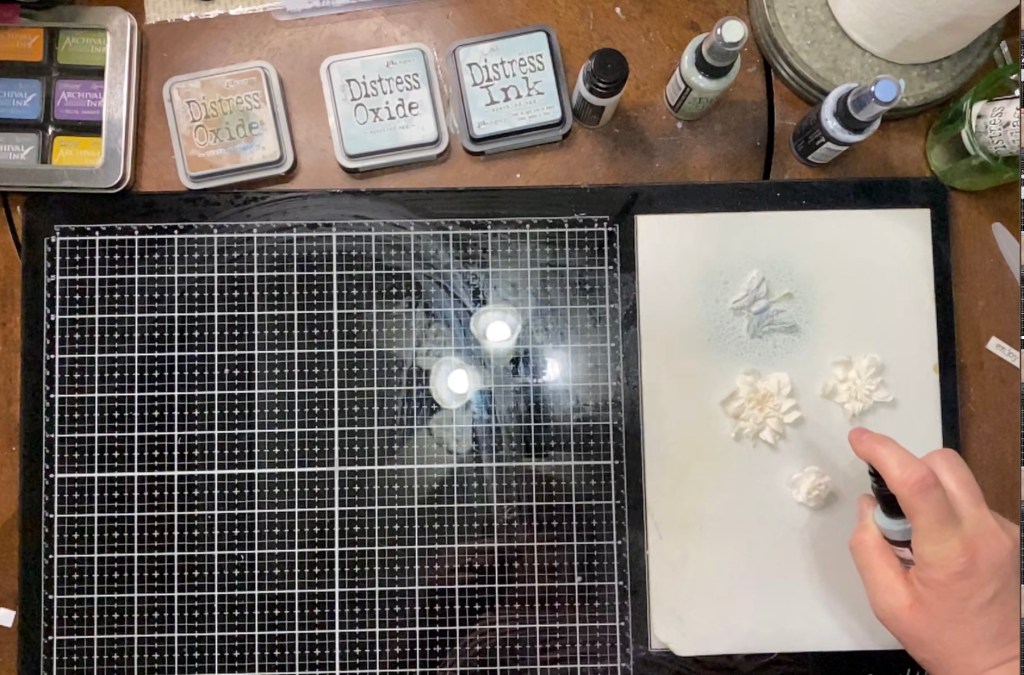

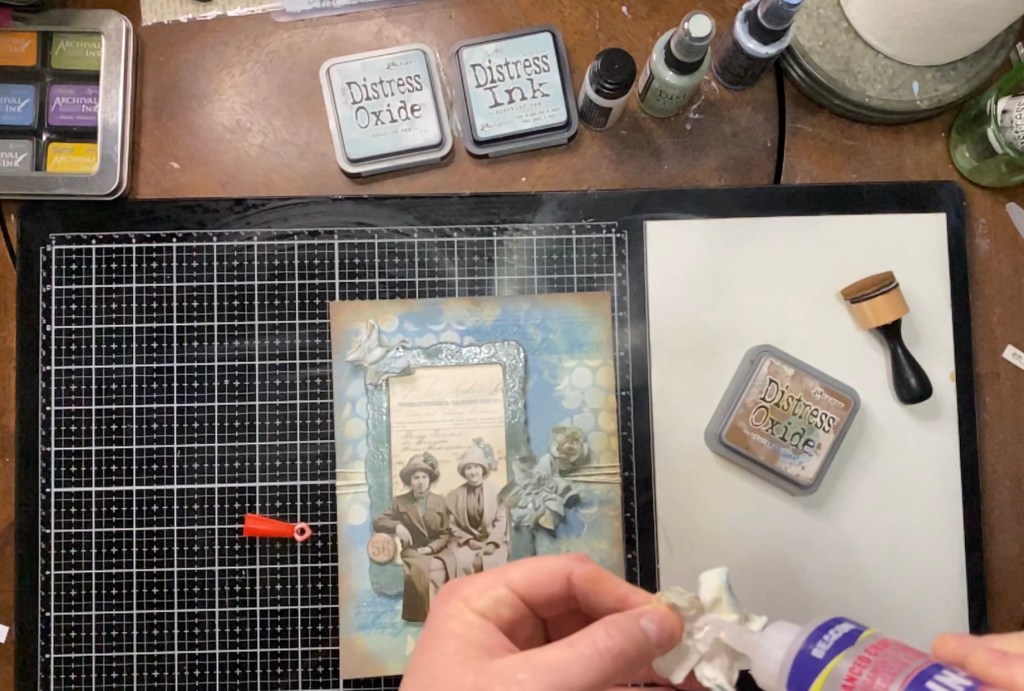
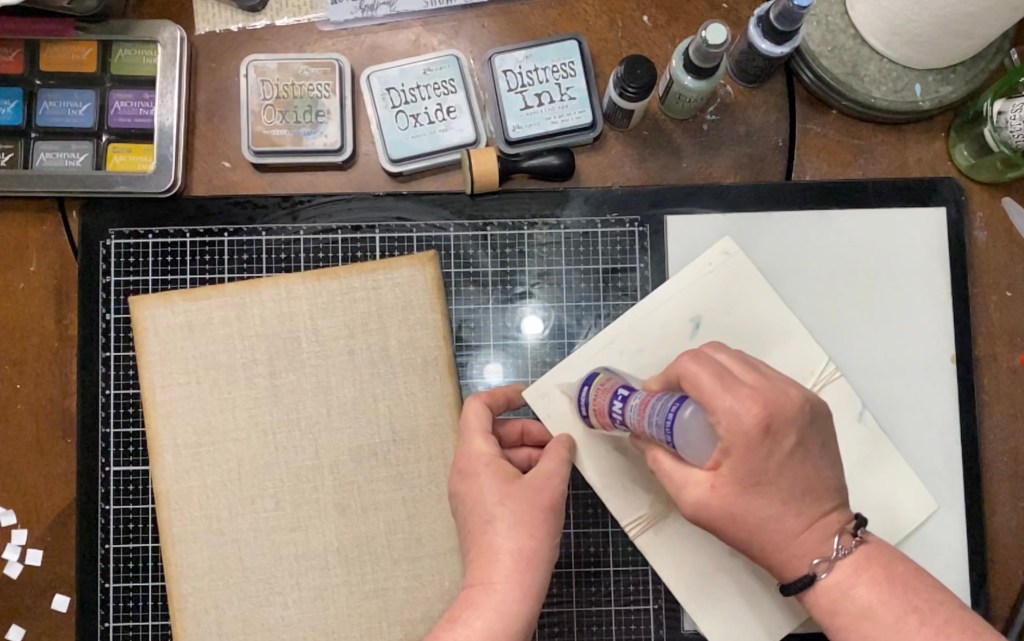
Hang in there, we’re almost done! I chose some DIY flowers. DIY just means you can color them whatever color you want as long as you have some ink, or sprays. And we’re in luck because I have a few. First thing I did was spritz them with some water, and then sprayed them with, you guessed it, Speckled Egg Distress Oxide Spray! Haha. I am really loving this color! Can you tell? I dried them with my Ranger Heat tool, and used my 3-in-1 adhesive to glue them onto the page. I “dirtied” them up a bit with some Distress Ink Vintage Photo first, though. Then I distressed the edges of the canvas with the Vintage Photo, also. Next, I used the 3-in-1 to adhere the page to the canvas. And that, my friend, is a done make. I was rather pleased with the turn out. I’m a sucker for a vintage make. I think they’re my favorites.

I hope these instructions were detailed enough to explain every step. If not, please feel free to ask questions in the section provided. If you’d rather, you can check out the video on my YouTube channel.
Talk to you soon!
Jennifer
Here is a list of the supplies used in Monday’s make:
Arteza Watercolor Paper 140lb
Products used :
Distress Oxide Spray Speckled Egg
Distress Oxide Spray Faded Jeans
Distress Oxide Spray Bundled Sage
Distress Oxide Spray Peeled Paint
Distress Ink Speckled Egg
Distress Oxide Ink Vintage Photo
Distress Collage Medium
Distress Embossing Dabber
Distress Embossing Pen
Distress Embossing Glaze Speckled Egg
Distress Crackle Texture Paste
Glue Dots
Pop Dots
Beacon 3-in-1
Tools:
Stampers Anonymous Faded Type CMS397
Ranger Blending Tool & Foams
Ranger Heat it Craft Tool
Tim Holtz Distress Sprayer
Tim Holtz Media Mat by Tonic
Tim Holtz Paper Dolls
Tim Holtz Junk Drawer Baseboard Pieces
Embossing Heat Tool
