“We’re all A-Buzz” about my new blog! See what I did there? HaHa. For my first Blog post, I decided to take Simon Says Stamp up on their Monday challenge. Today’s theme was “We’re All A-Buzz”. Well, naturally that made me think of bees and honey. I wasn’t 100% pleased with the outcome, but with mixed media you get what you get and you don’t sweat it. There is no crying in mixed media! Bare with me as I try to walk you through the steps I took to get to this outcome.
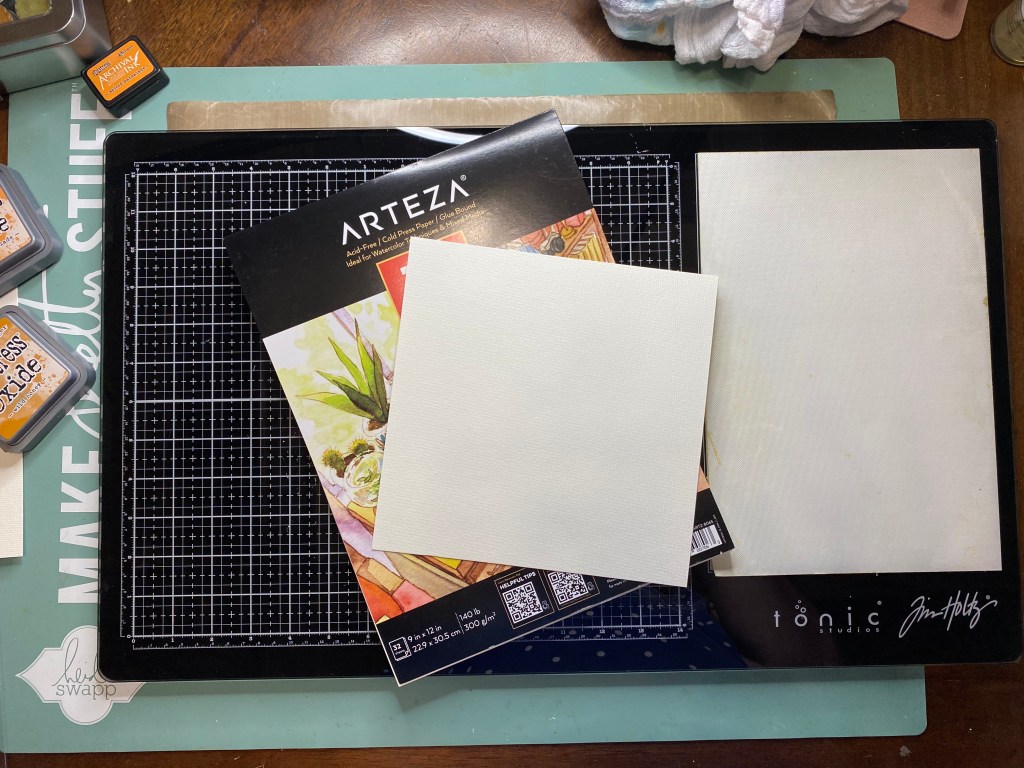
The paper that I worked with today was a water color paper from Arteza. It is 140lb. so it is a pretty good paper to use with mixed media. I cut the page 8″x8″ and I will use my Happy Planner hole punch and rings to bind it into a nice little art journal when it’s all done.

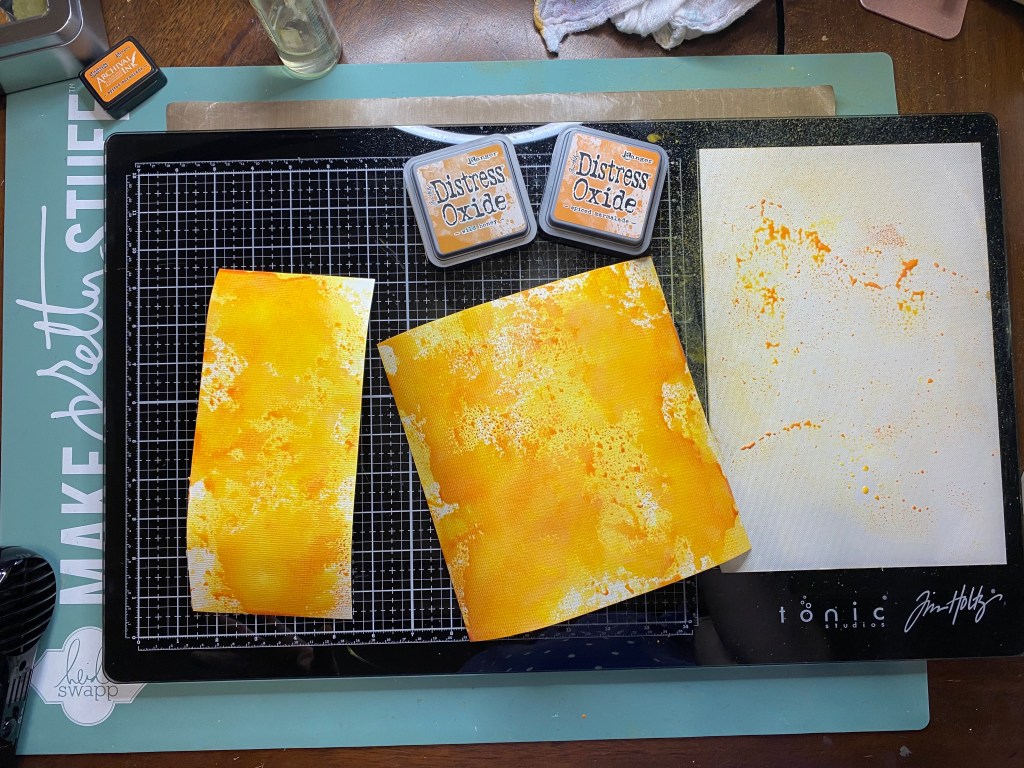
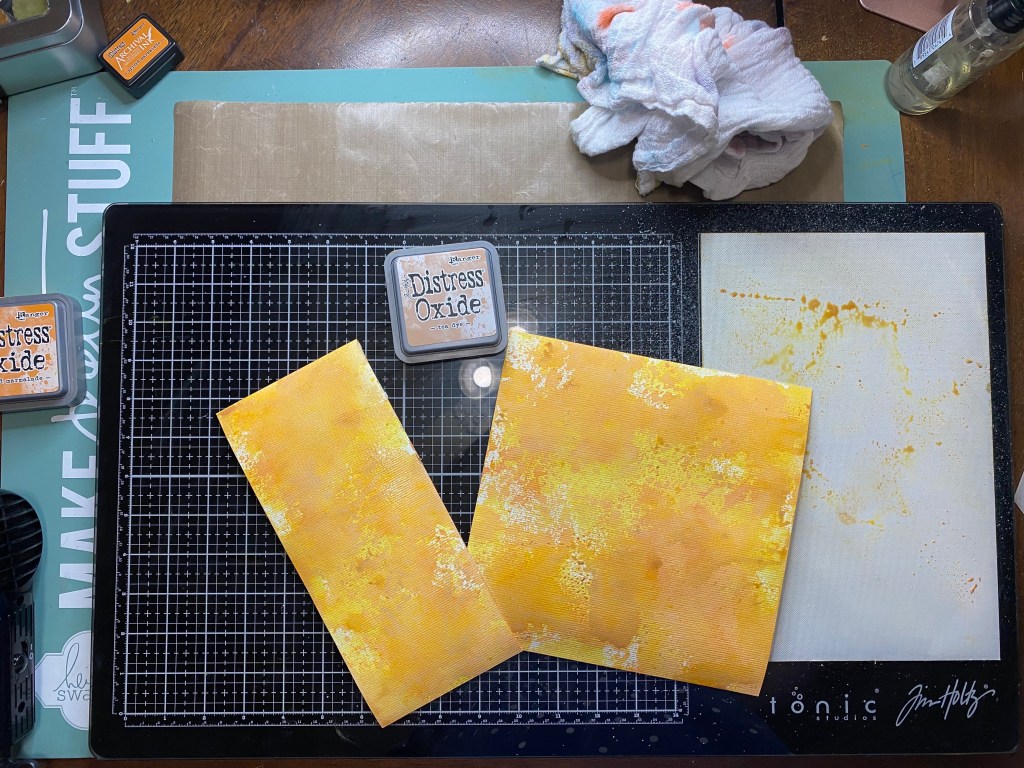
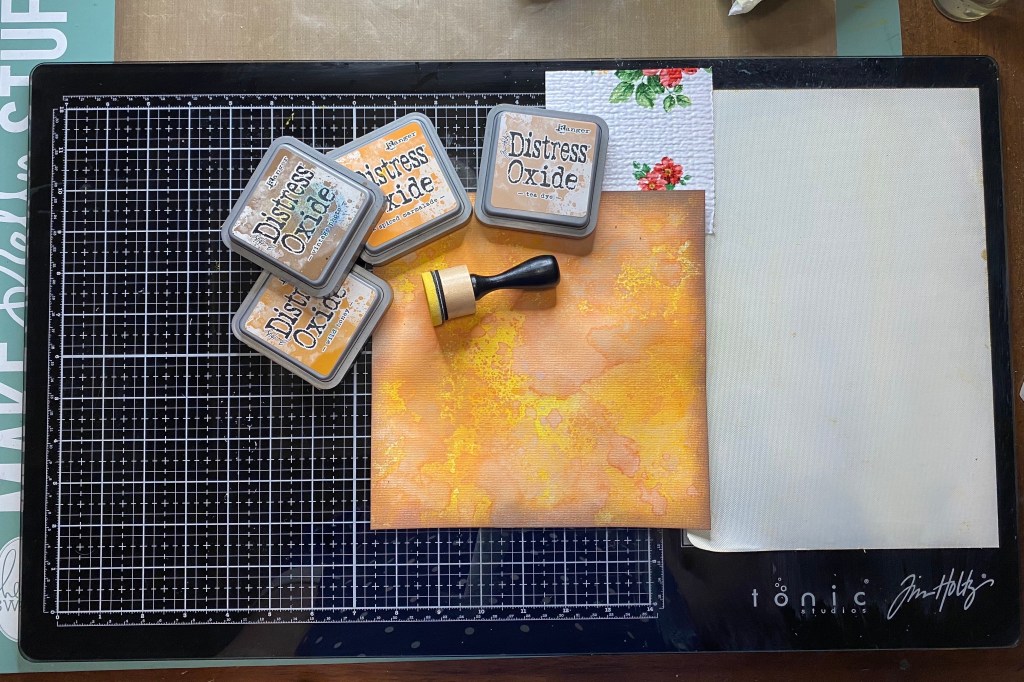
In the pictures above, I used Tim Holtz Distress Oxide Ink: Wild Honey, Spiced Marmalade, and Tea Dye. The process for these colors was simple. I used the ink pad to smudge some ink on the nonstick mat of my Tim Holtz media mat and used my spray bottle to spritz some water so that I got some nice droplets to press my paper in. The first color I used was Wild Honey. I dabbed my paper into the ink droplets until it was covered to my liking. Once I was pleased with the Wild Honey, I used my heat tool to dry my project in between color applications. The next color was Spiced Marmalade and I used the same steps, dried with my heat tool, and then used Tea Dye in the same way.
The next step for the Distress Oxide Inks, was to use my blending tool and the Wild Honey and blend in any white spots that were left. Then I used the blending tool with Vintage Photo and distressed the edges of my page.
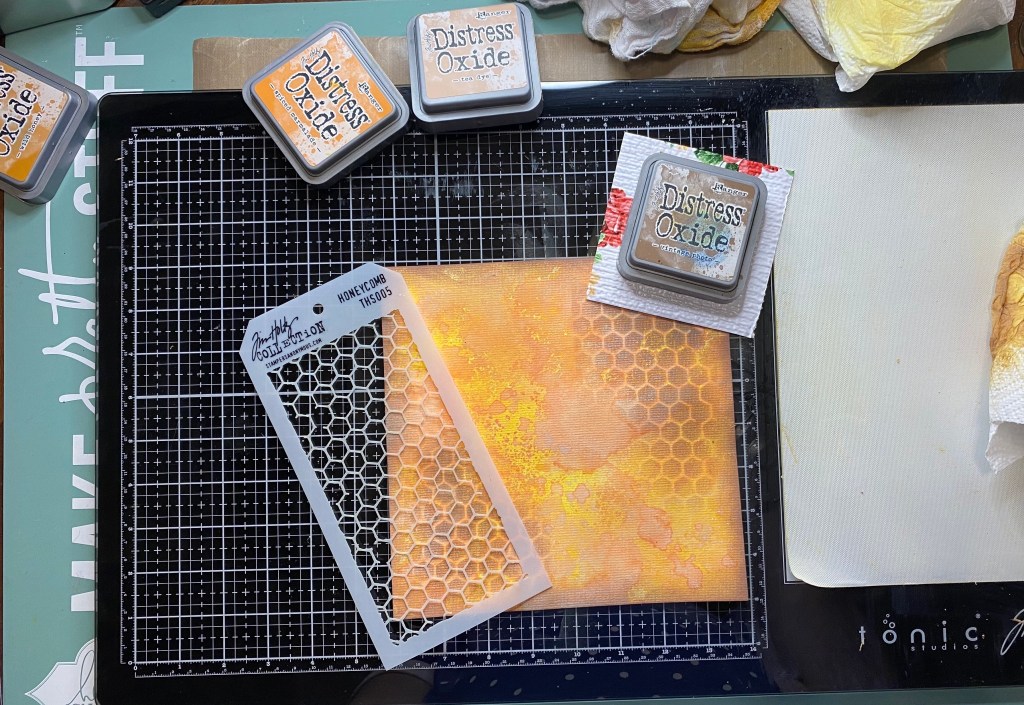
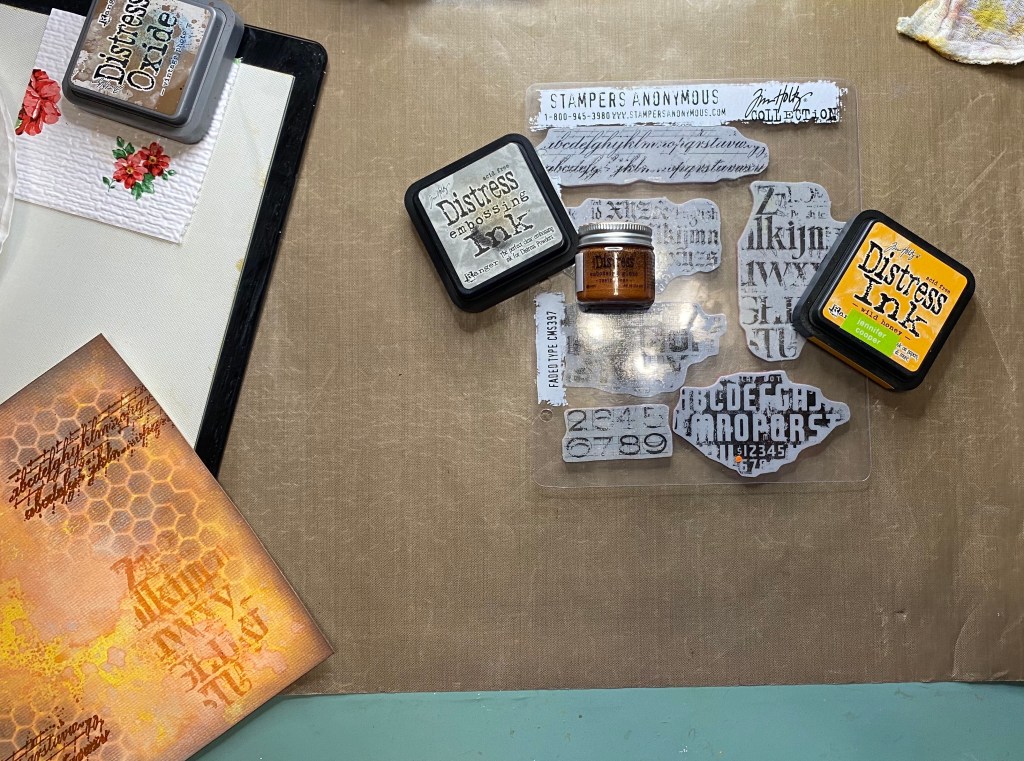
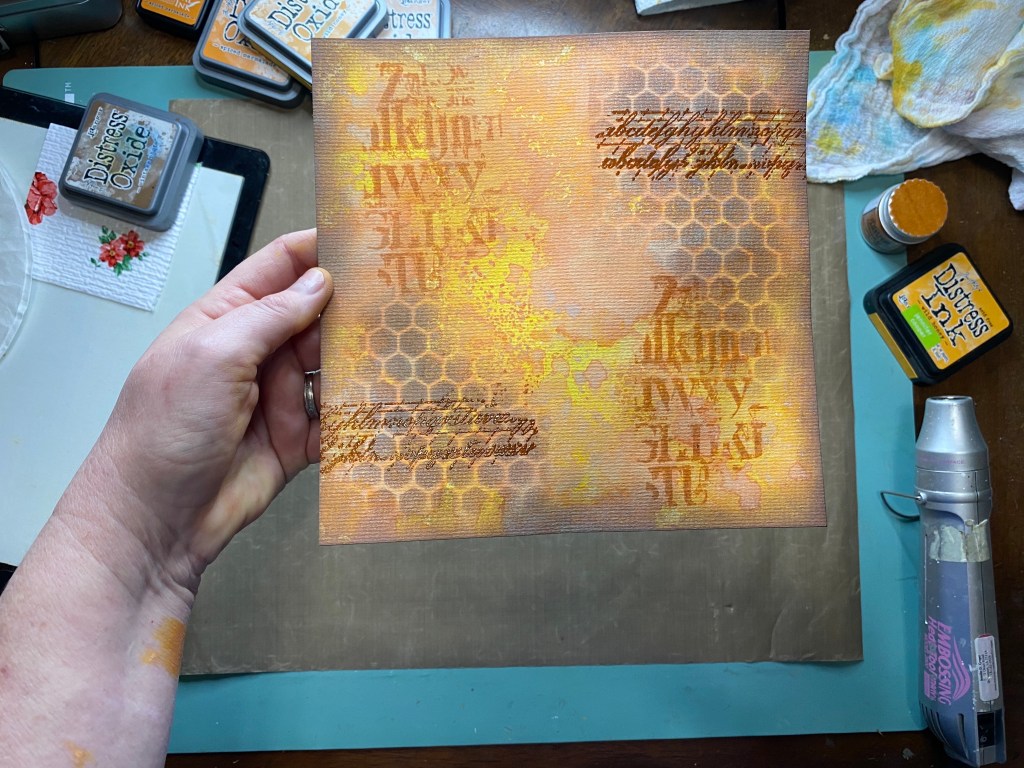
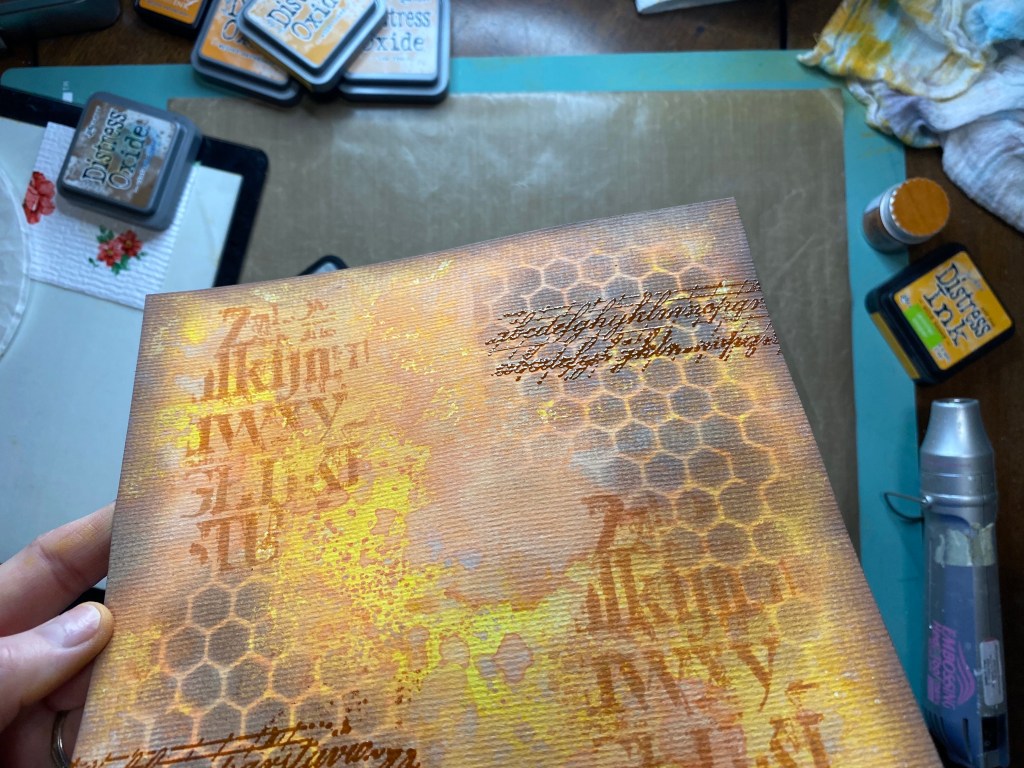
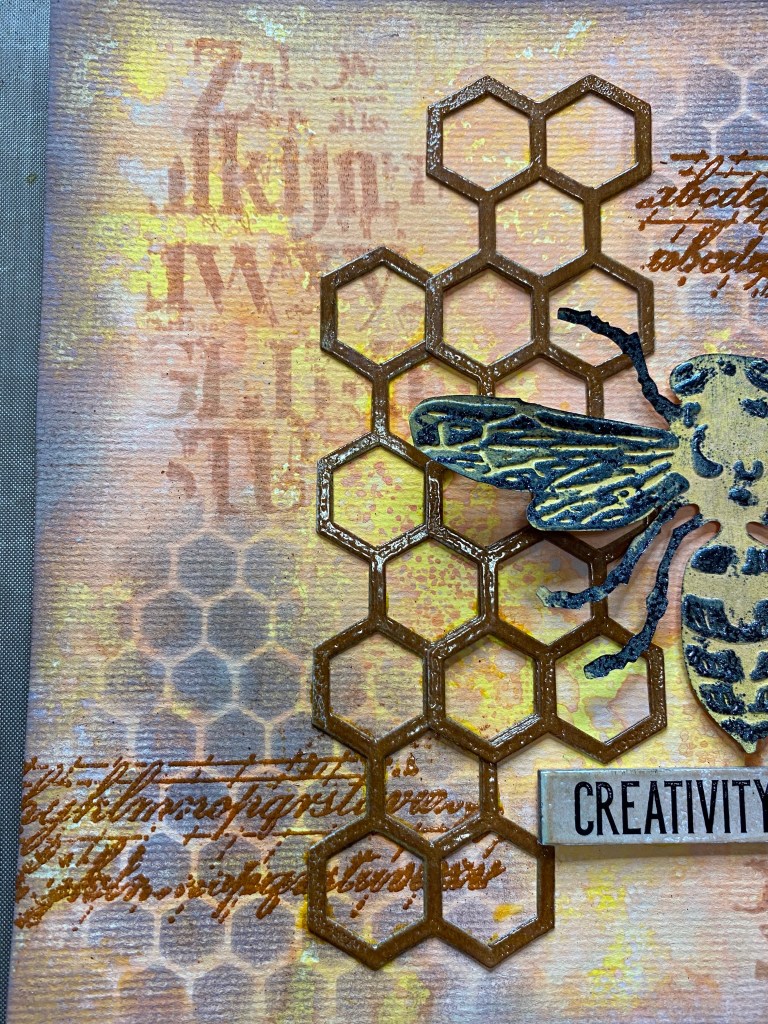
Next, I took my Vintage Photo, a blending tool and the Stampers Anonymous Layering Stencil THS005 and blended the ink over the stencil for this nice honeycomb pattern on my background. Then, I took the Stampers Anonymous Fade Type stamp set and the Wild Honey Distress Ink and stamped the alphabet images. Next, I took my Distress Embossing Ink and my Rusty Hinge Distress embossing Glaze and used another one of the stamps from the Faded Type set, and embossed the image on my background. Embossing is really easy. You simply take the stamp image that you want to emboss and stamp it in the embossing ink, just like you would any stamp ink. Then, you cover your image to be embossed with the embossing powder, or glaze in this case, by sprinkling the powder over the entire stamped image. It’s best to do this over a coffee filter or a piece of paper so that the excess can be salvaged and put back in the jar. Then you use your embossing heat gun and heat the image until the embossing powder melts.

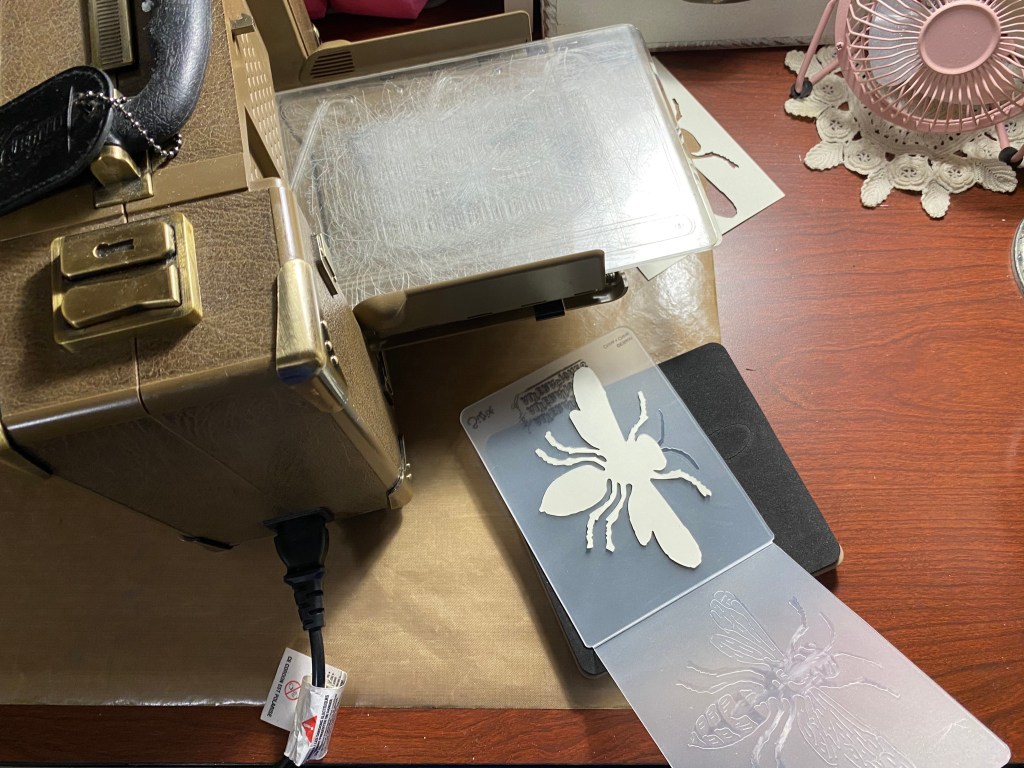
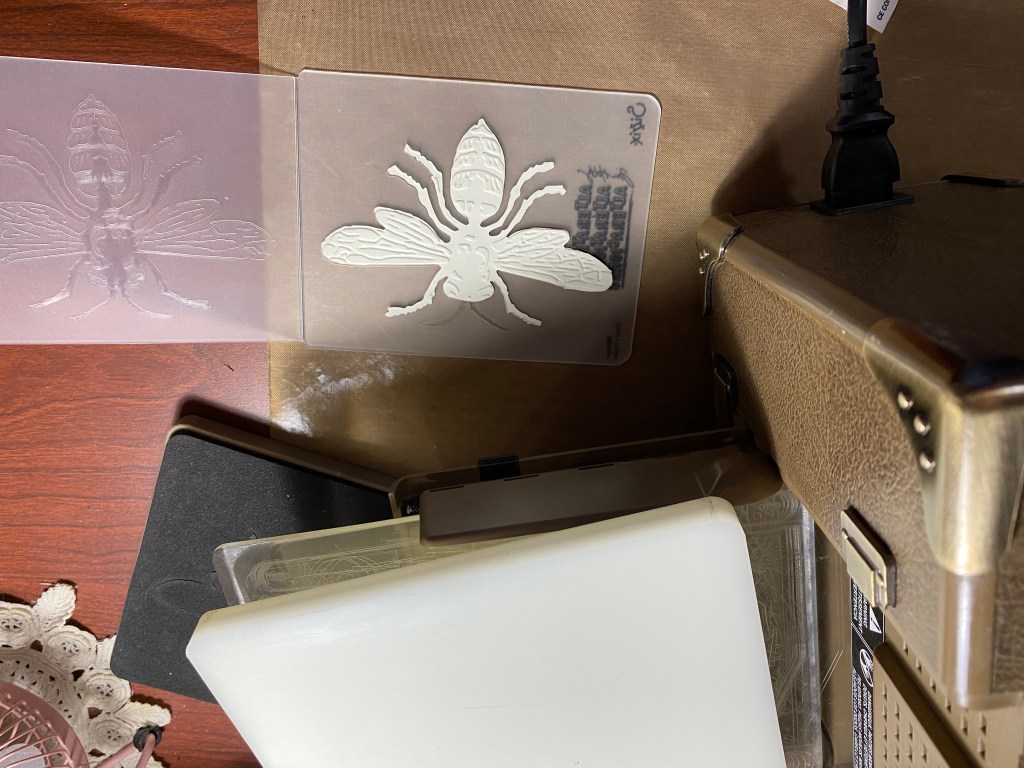
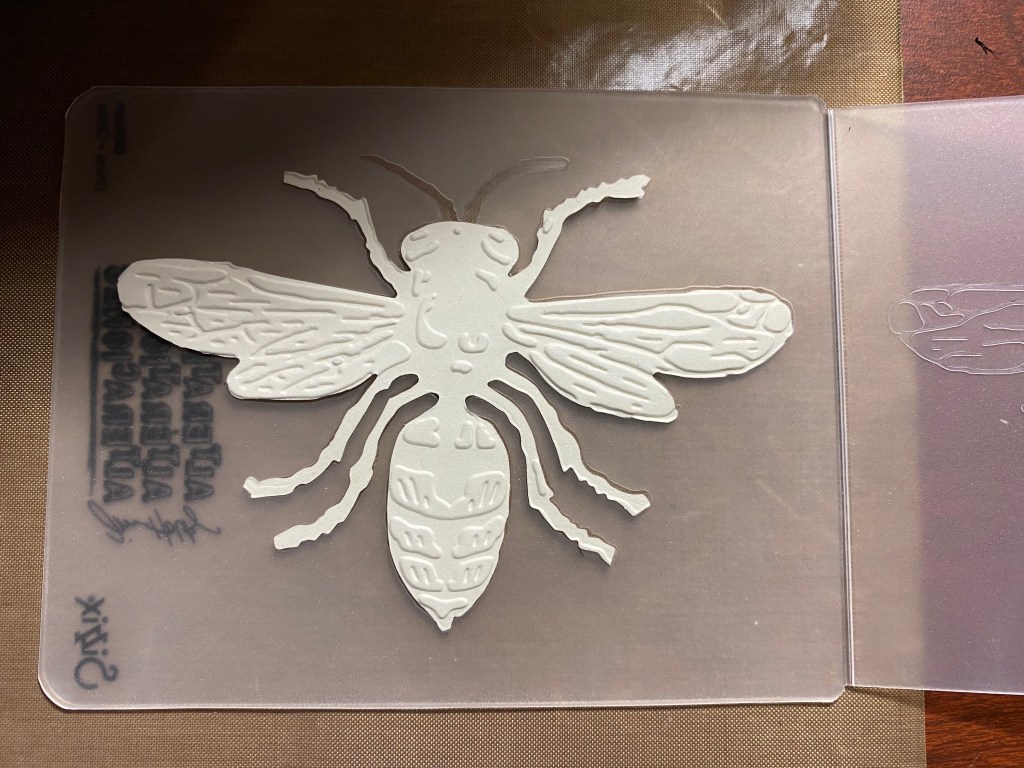
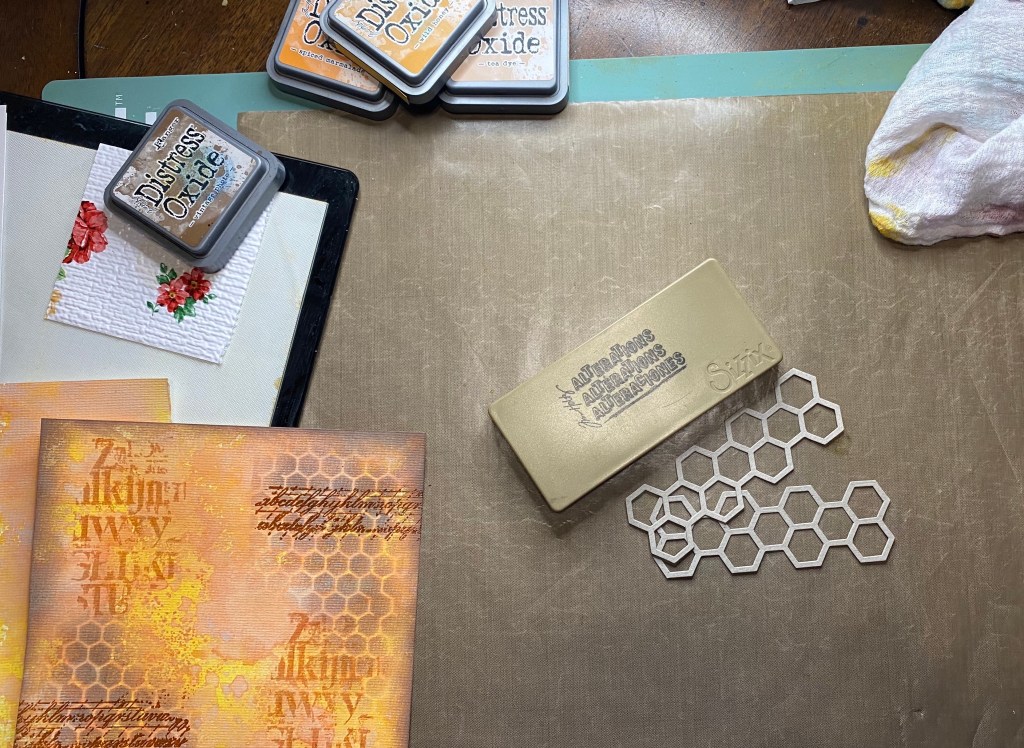
Next thing I did was use my Sizzix Vagabond to cut out and emboss my bee with the Layered Bee Sizzix die, and cut out a few pieces of honeycomb, with the Honeycomb die.
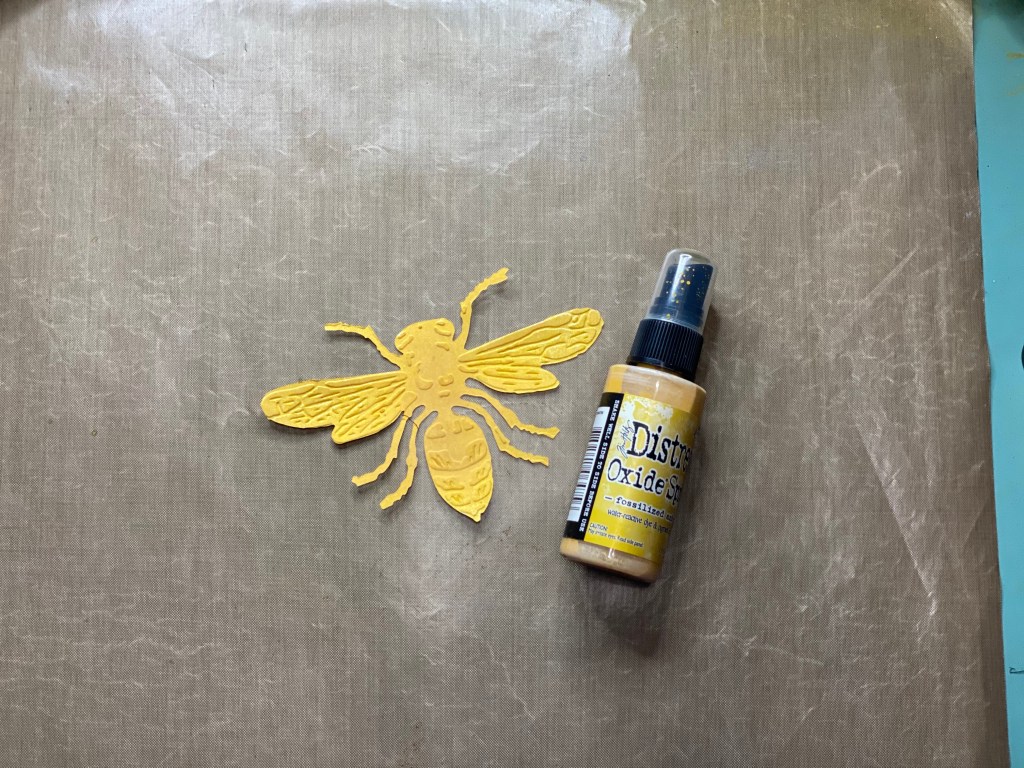

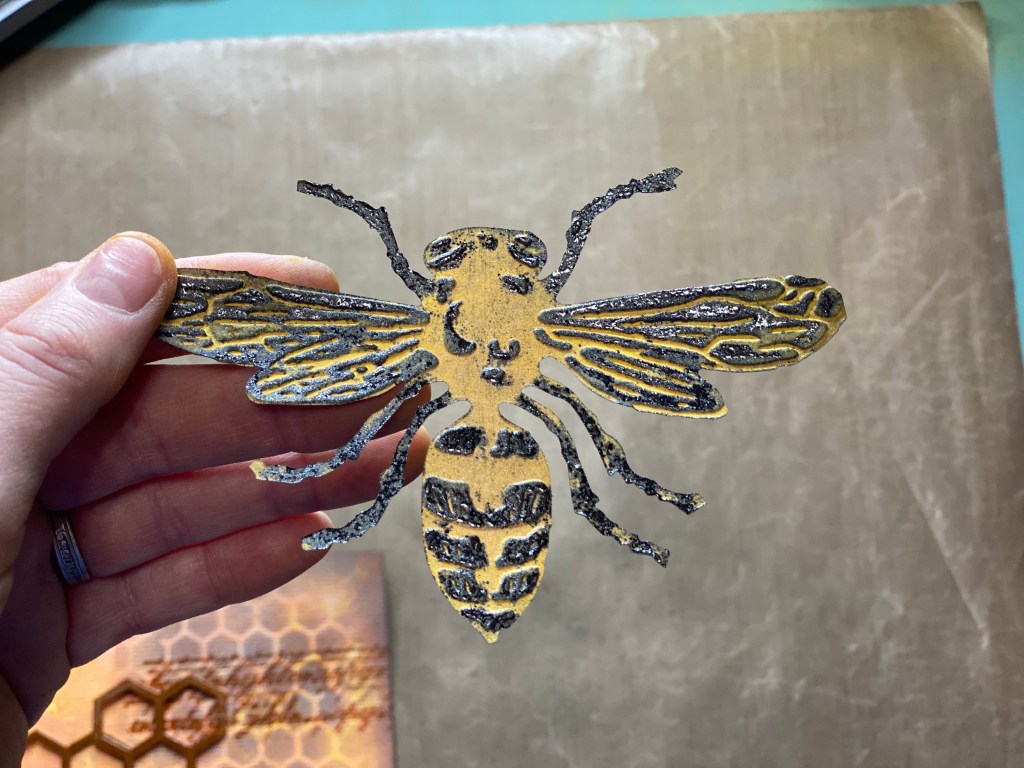
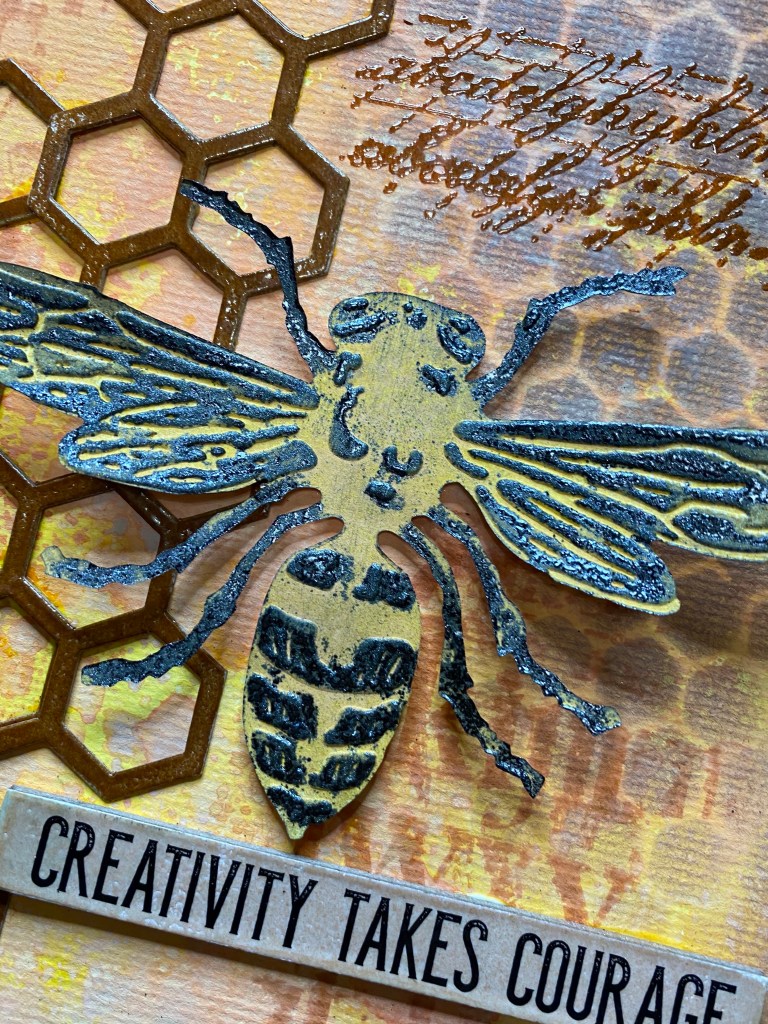
For my bee, I used Fossilized Amber Distress Oxide Spray to give it that lovely shade of yellow. Next, I used a blending tool and the Black Soot distress Oxide Ink to lightly color the raised parts of my bee. I wasn’t quite happy with that, so I used my Distress Embossing Ink again and used Lindy’s Stamp Gang Midnight Pewter Obsidian (black shimmer) embossing powder.
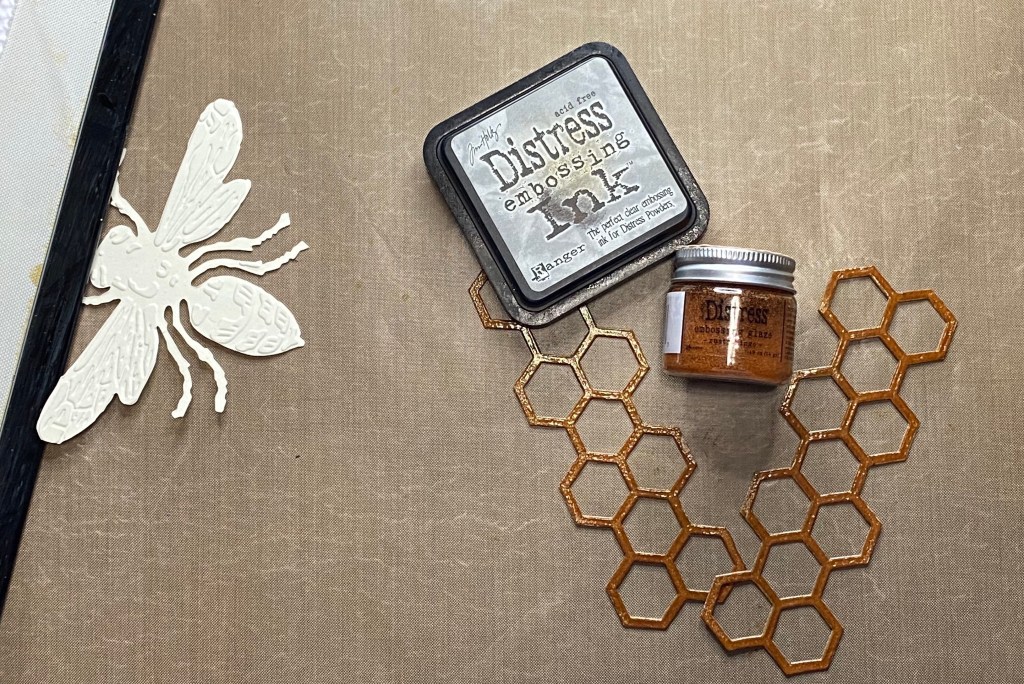
I used the Distress Embossing Ink with the Rusty Hinge Distress Embossing glaze to color my pieces of chipboard honeycomb. Embossing the honeycomb pieces was basically the same as embossing the stamped image, only this time the ink is dabbed onto your chipboard or die cut image. Then you sprinkle the powder over the entire surface. Don’t forget the coffee filter or a piece of paper so that the excess can be salvaged and put back in the jar. These Distress Embossing Glazes are a precious commodity! Haha.


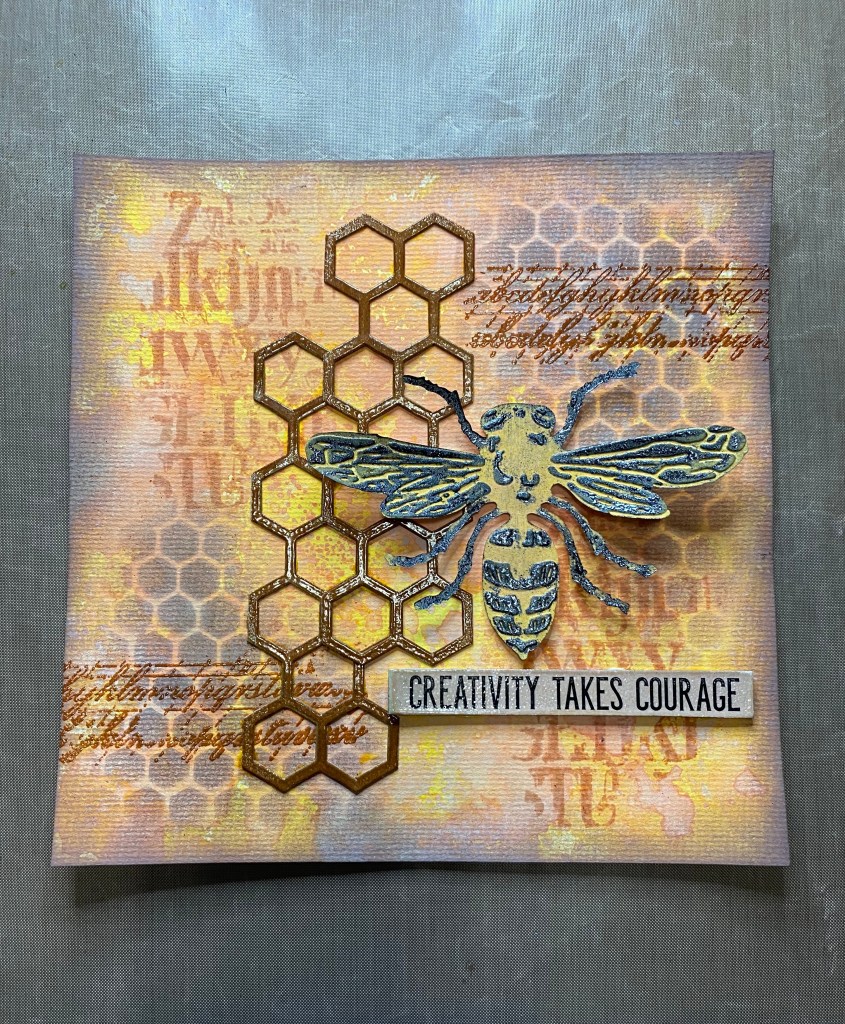
I finished up my project by deciding where to place my embossed objects. I went with stacking the two pieces of honeycomb on top of each other to make it seem like a bigger piece. And then I added the bee with a few foam dots to give it a little more dimension. Last but not least, I added a chipboard piece that I had embossed with the Tattered Rose Distress Embossing Glaze. I am including more close up pics of the finished project.


I hate that the only bee I had to make this challenge was a die cut. I love the the layered bee, and I think he worked out well. One thing I did learn from this challenge, is that I need to be on the hunt for some bee stamps. HaHa. Not that I really need an excuse to shop for stamps.
I hope you have enjoyed this little tutorial on my brand new blog. I hope you found it helpful and it inspired you to take on a challenge or two yourself. Please feel free to ask any questions or leave comments in the space provided, and if you enjoyed this “how to” please subscribe.
Thx so much and Have a Blessed Day!!
Jennifer

Wow!
LikeLike
Thank you 💖
LikeLike