

Do you ever have one of those projects that just doesn’t cooperate with you? This one was one of those projects. Haha. Todays Simon Says Monday Challenge theme was “It’s a Man Thing”. Maybe that’s why it didn’t cooperate. Haha. Let me tell you how it went.
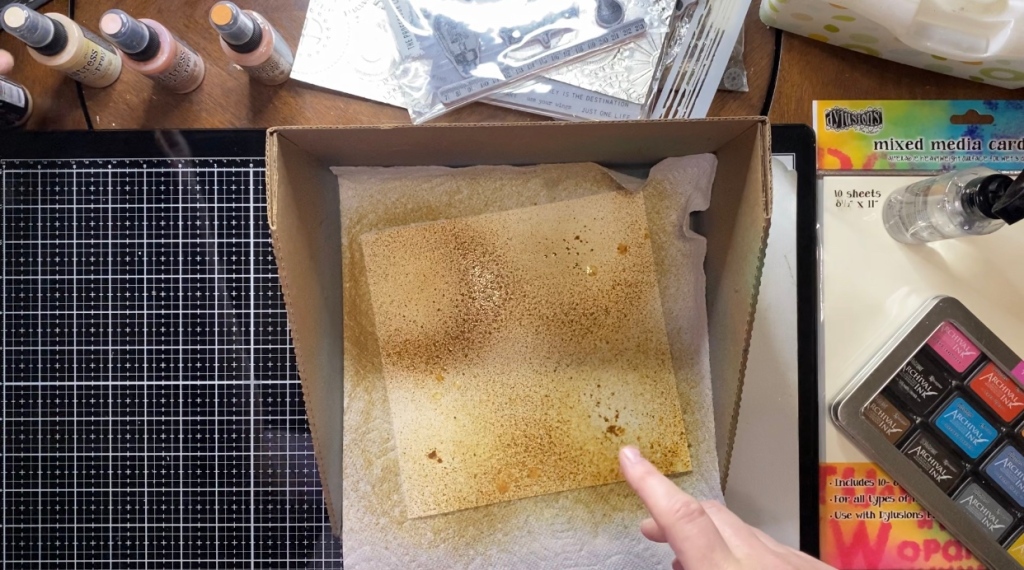
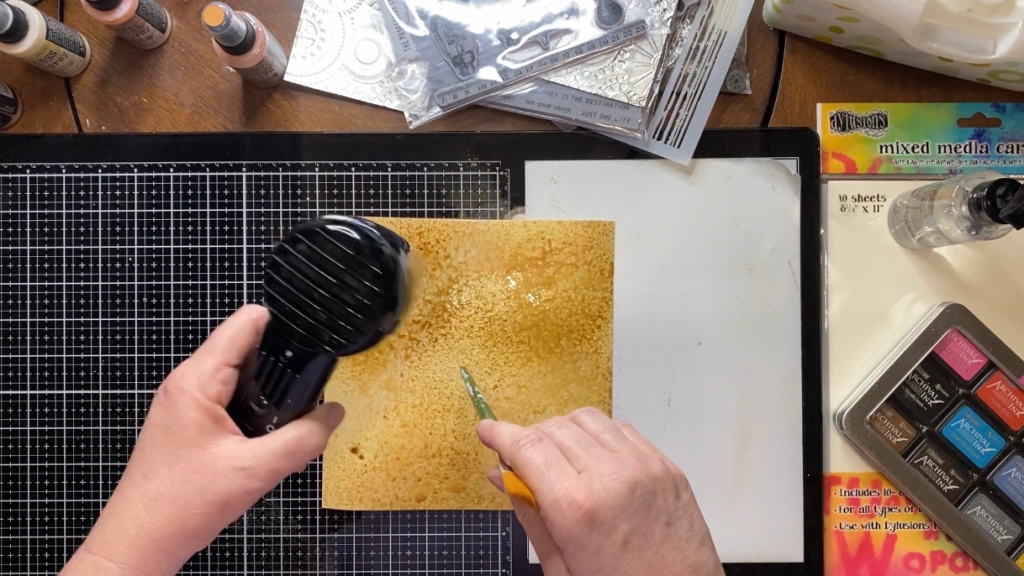
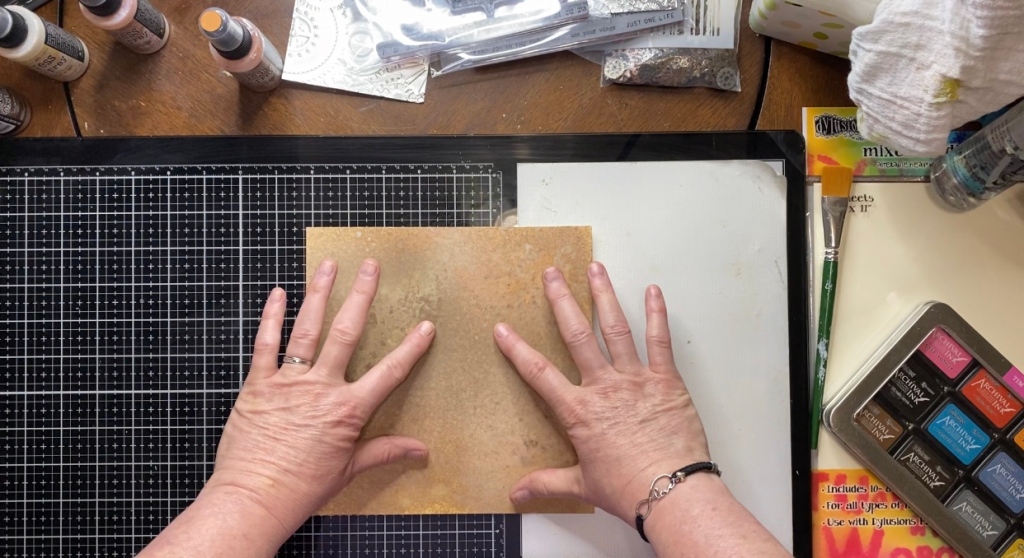
I decided to do an 8″x8″ art journal page. Today I used the Dylusions Mixed Media Cardstock. This is a great paper for mixed media projects. It comes in a pack of 8-1/2″x11″. It’s great for inking and stamping and those sorts of things. For my background today, I used Distress Oxide Sprays. The colors I used were Gathered Twig, Tea Dye and Antique Linen. I placed my paper in my Splat Box and spritzed it with a little water. I then sprayed just a little of each color until I was happy with the coverage. I used my Ranger Heat It tool to make sure it was good and dry.


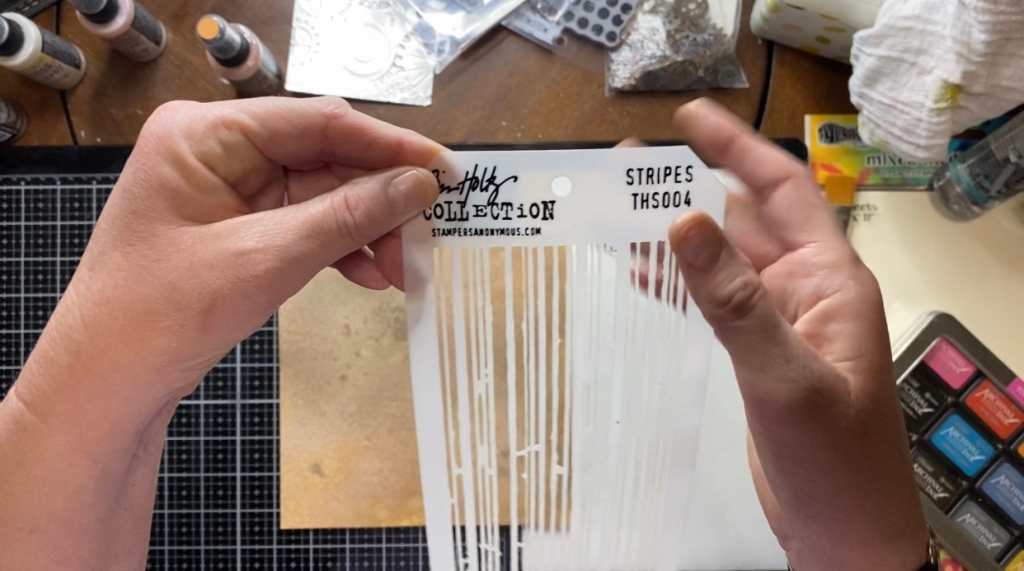
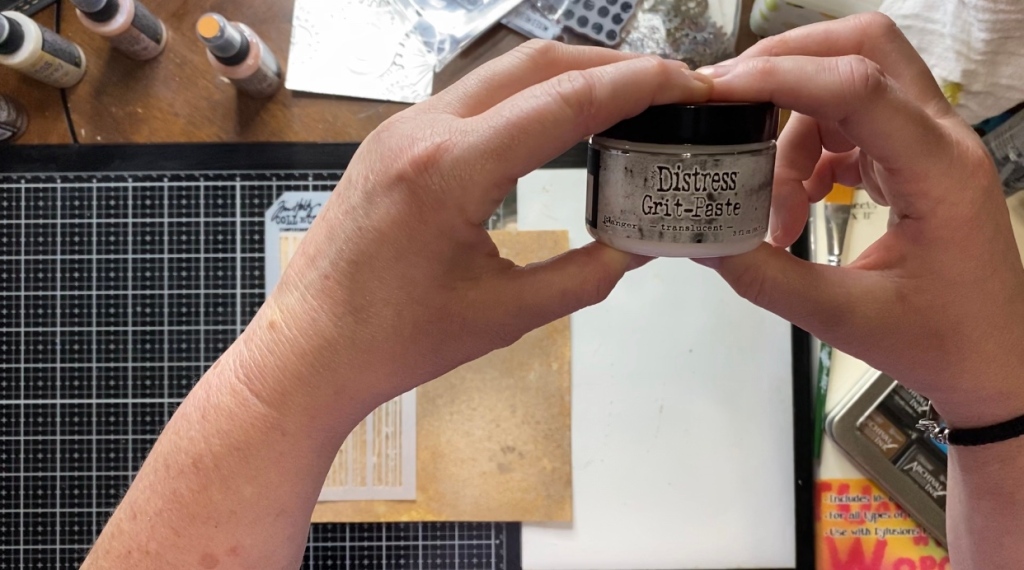
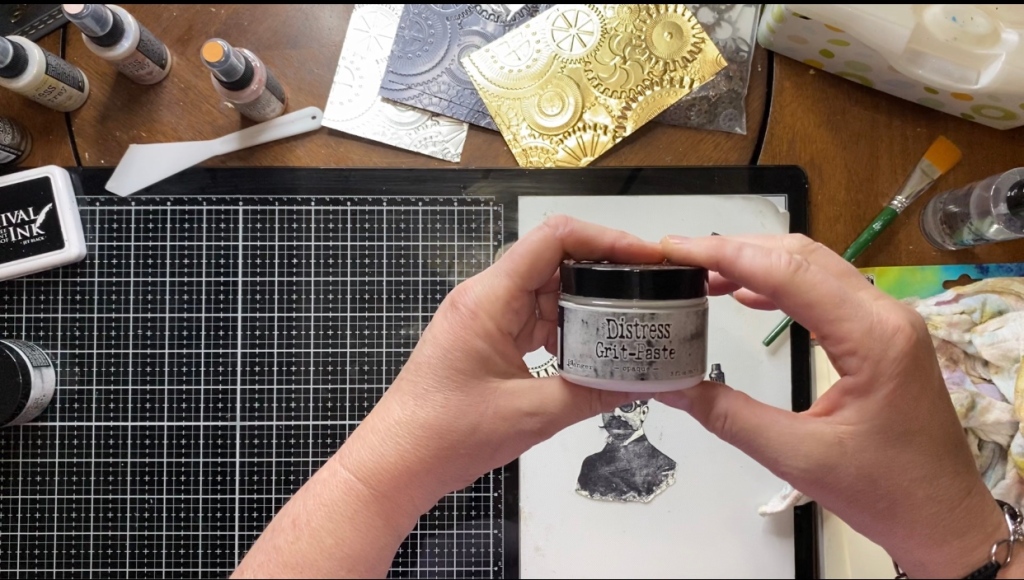
Next step was to do some texture paste and stenciling. For my stencil I chose the Stripes (THS004) layering stencil by Tim Holtz from Stampers Anonymous. I just received the translucent Distress Grit Paste in the mail this weekend. People have been doing some amazing things with it so I wanted to try it out.


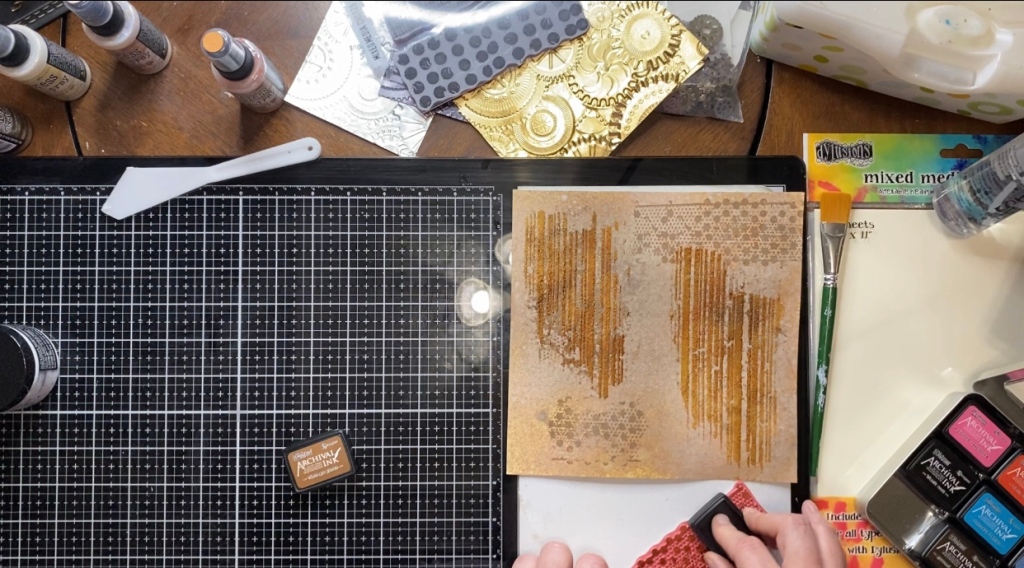
The next step, I think is where I started to go wrong. I attempted a technique I have seen Tim Holtz do on one of his Saturday demos. While the paste was wet, he took Distress Embossing Glaze and sprinkled it over the stenciled area. I think I’m remembering that right. If I’m not, that’s probably why it went wrong. Haha. I decided to sprinkle three different colors over the grit paste. The colors I used were Vintage Photo, Rusty Hinge, and Walnut Stain. I then used my embossing tool to melt the powder. Once I was done, I decided I might need a little more practice for that technique. Haha. The wonderful thing about mixed media and paper crafting is the ability to embellish.


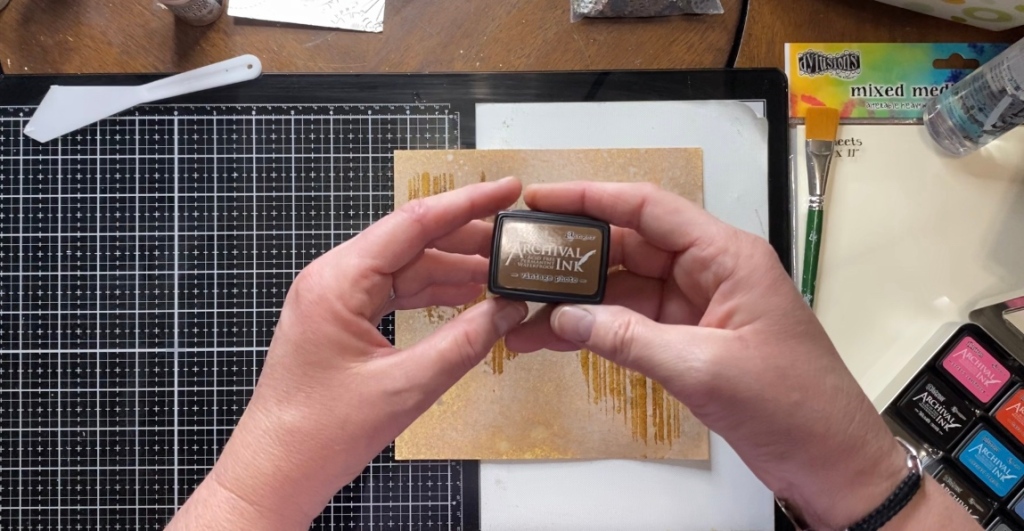
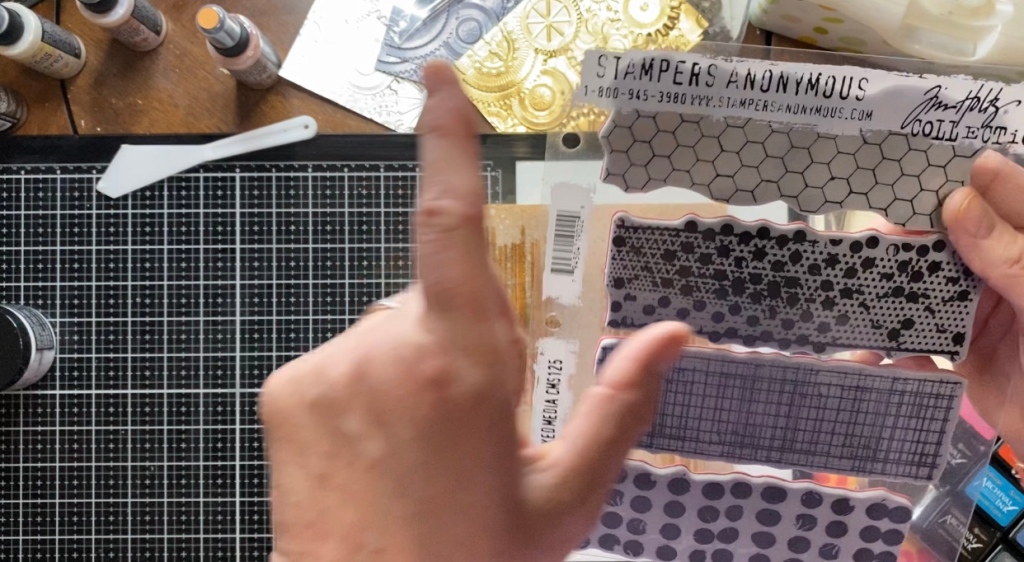
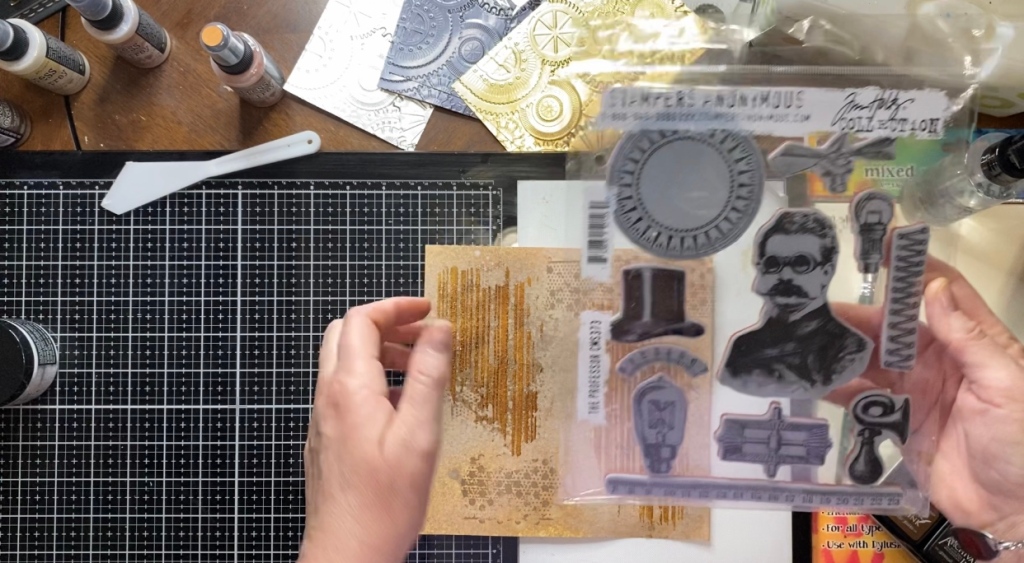
The next step was to do a little stamping. I chose two sets for my project today. The first set was Mixed Media (CMS125) from the Tim Holtz collection from Stampers Anonymous. I chose the stamp with the circles, and the Distress Archival Vintage Photo as my ink. This was the second thing I think that made me unhappy. But, I decided it was just a background and decided to keep on going. You can usually salvage a background by covering up the little things you may not be happy with.

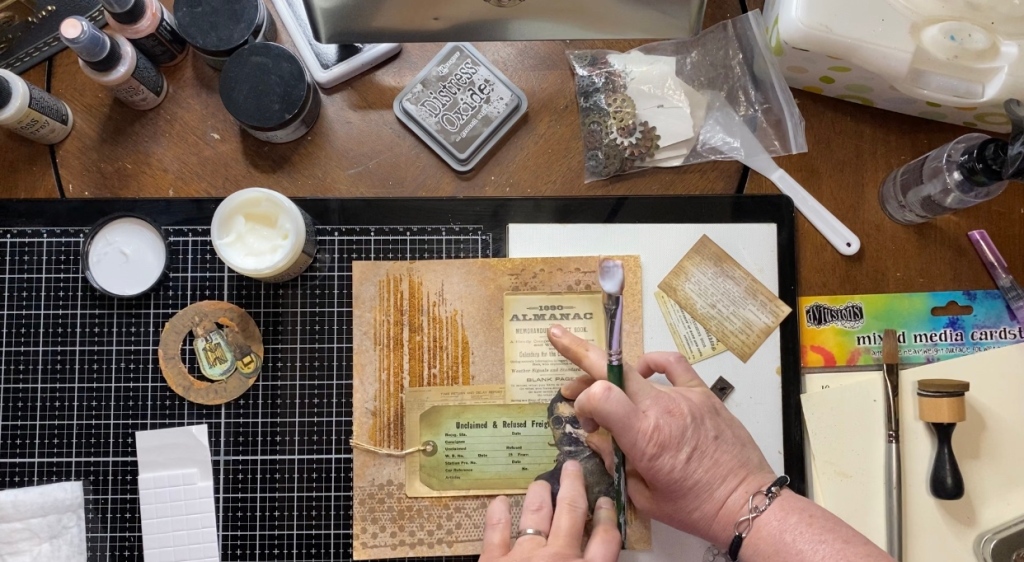
Once I got over myself, (haha) I moved on to the stamped images for my collage. I finally got in a set of stamps that I’ve been wanting for a while now. I’ve been seeing people do some amazing things with The Professor (CMS373) from the Tim Holtz collection at Stampers Anonymous. I knew that it would eventually be one I had to have so I finally broke down and ordered it. Lets face it, it wasn’t that hard of a decision to make. Using my Stamping Platform and my Archival Jet Black ink, I stamped the images that I wanted to use for my project. I then fussy cut them out.


Next step was another one of those that was a mishap and probably not necessary but I’m including it because these things just happen. No sweat, really. You just get over it and move on to the next make. Anyway, drifting back, I used my Distress Collage Medium to cover my stamped images. Sealing your images makes them nonpourace and gives your ink a little movability while you’re coloring. The reason I used the matte medium was because I originally planned on using my Big Brush Markers. But, since Tim Holtz’ last demo was on his Distress Crayons, I decided to give it a shot. For this I did not need matte medium. Haha. So, my crayons didn’t want to participate properly. The Professor turned out okay, but the light bulbs turned out pretty cool.


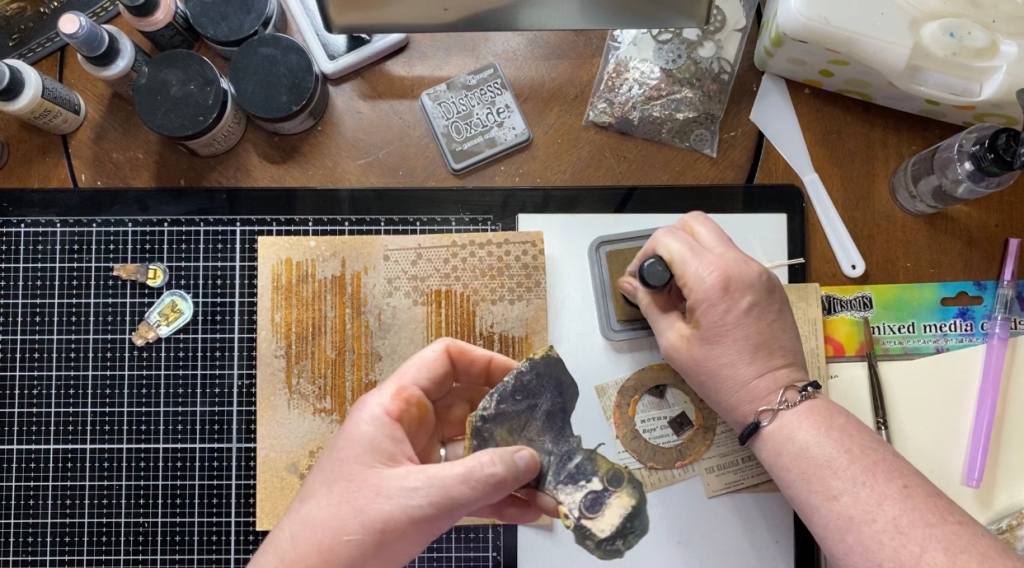

Next thing I did, was try a little rusty technique I saw on instagram. @STACYHSTAMPS is definitely someone to follow. I took the dial image that I stamped and sprayed it with the Gathered Twigs. Then I took my Distress Grit Paste and grunged it up a little. To color the paste, I sprayed a little Rusty Hinge and Gathered Twig on my nonstick mat. I used a paint brush to dab it until I was happy with the color. This is definitely a technique that will require more practice. It will get there.


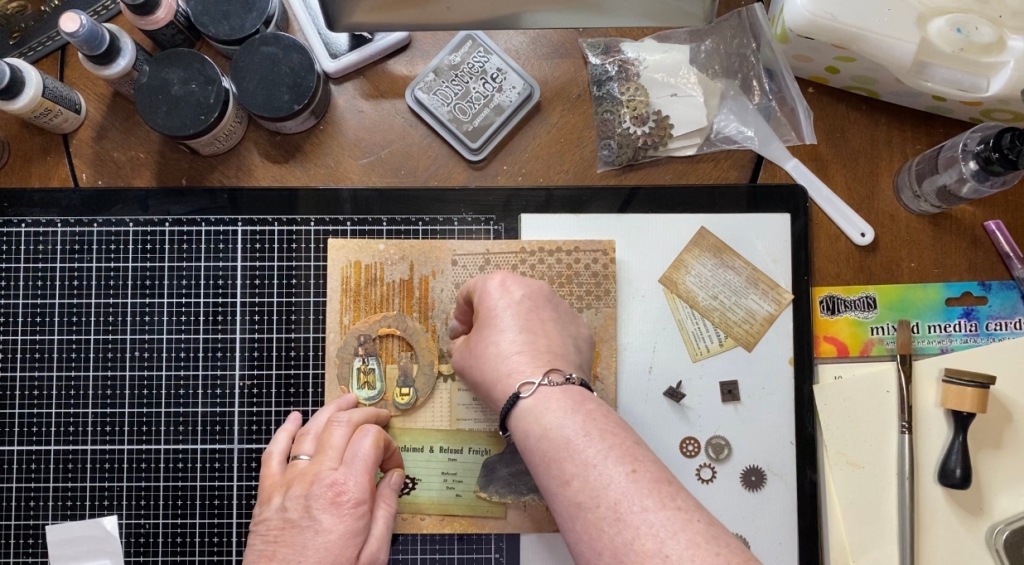
Once I was somewhat happy with my stamped images, I pulled out my cigar boxes and dug for a few more items to add to my page. I found some journalling cards, a tag, some brads, and a few gears.


Once I picked out all my embellishments, I played with it a little while to figure out the placement of everything. It’s really a process of just playing with it until you’re happy with the way it looks. Once I was happy with the placement, and sure that I had covered anything that didn’t make me happy, I used my Distress Collage Medium to glue everything into place.

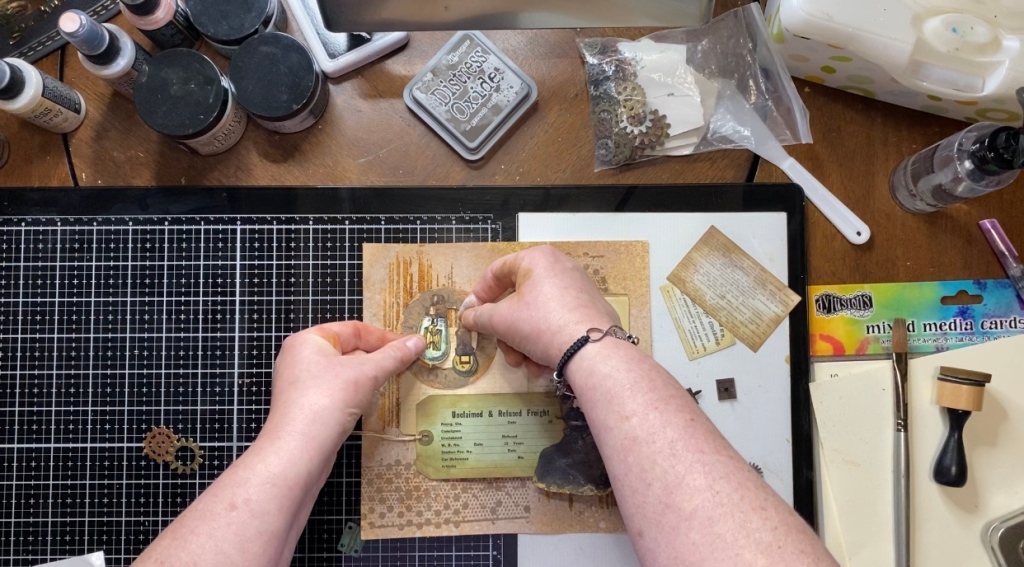


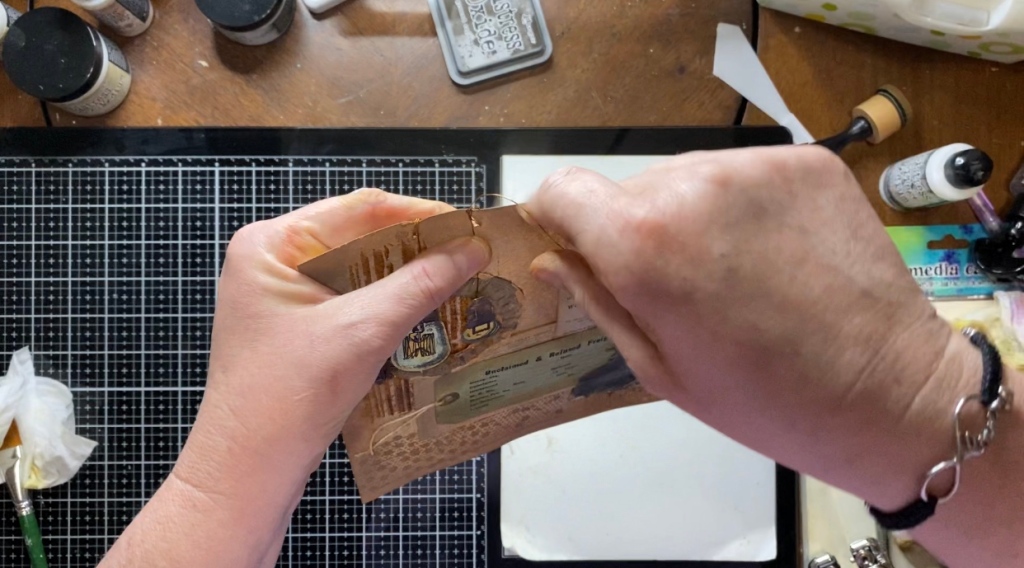
I think the thing that made me most unhappy about this project was an idea I had in my head didn’t make it onto the paper. Once I placed the light bulbs into the dial, I decided, “Wouldn’t it be cool if they had wire?” Yeah, uh, No! I’ll spare you the detail of the mishap and tell you how I somewhat fixed it. I took two eyelets and my Crop-a-Dial and put the eyelets where I had messed up my paper by just feeding the wire through a hole. Then, I restrung the wire from the light bulbs through the eyelets and to the back of the page. That little step could have been left out altogether. Oh well, it happens. I then took my Tonic Distressing Tool and distressed the edges of my page. I also took the Distress Oxide Vintage Photo and inked the edges.

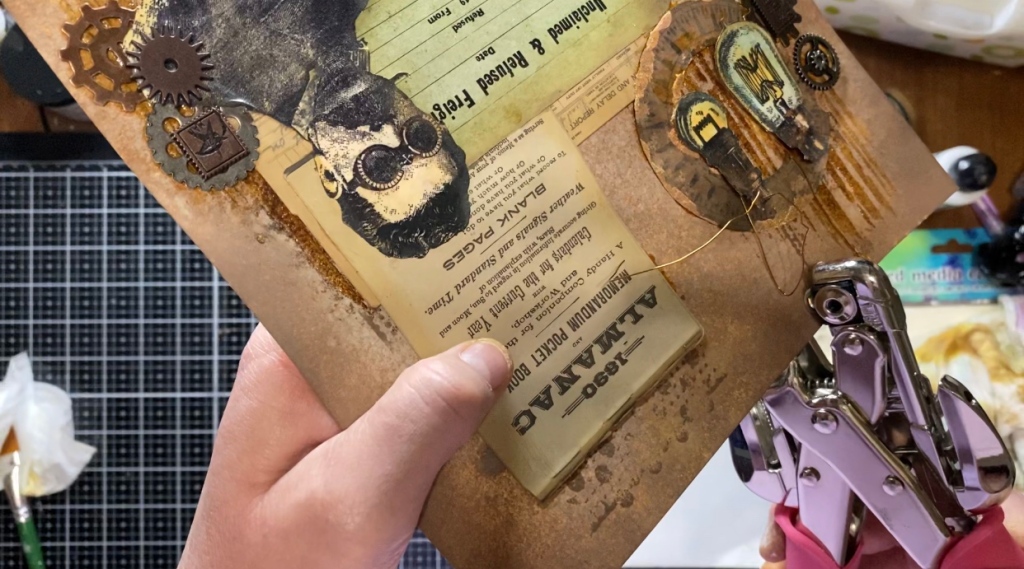


All in all, I think it turned out okay. Could it have been better? Yes. But I guess this is one of those times when you just have to get over yourself. It’s not always going to be perfect. I have definitely found some areas to practice on. But that’s the thing about mixed media, you’re always learning new things. I hope that this post has taught you some new things, even if they are what not to do. Sometimes, that’s important, too.
Until next time,
Jennifer
Here is a list of the items used in today’s make:
Products used :
Distress Oxide Spray Rusty Hinge
Distress Oxide Spray Antique Linen
Distress Oxide Spray Tea dye
Distress Oxide Spray Gathered Twig
Distress Oxide Ink Vintage Photo
Distress Collage Medium
Distress Embossing GlazeVintage Photo
Distress Embossing Glaze Rusty Hinge
Distress Embossing Glaze Walnut Stain
Distress Grit Texture Paste Translucent & Opaque
Distress Crayons Walnut Stain
Distress Crayons Hickory Smoke
Distress Crayons Tumbled Glass
Distress Crayons Rusty Hinge
Distress Crayons Wild Honey
Distress Crayons Antiqued Bronze
Distress Crayons Dried Marigold
Tools:
Stampers Anonymous Mixed Media CMS125
Stampers Anonymous The Professor CMS373
Stampers Anonymous Stripes THS004
Ranger Blending Tool & Foams
Ranger Heat it Craft Tool
Tim Holtz Distress Sprayer
Tim Holtz Media Mat by Tonic
Tim Holtz Journaling Cards
Tim Holtz Tags
Embossing Heat Tool

beautiful vintage style.
LikeLike
Thank you!❤️
LikeLike
Oh wow!! Thx so much! It just goes to show “ you gotta get over yourself” and just keep making. ❤️❤️
LikeLike